Game Design (v2)
Level 1
(Video walkthrough)
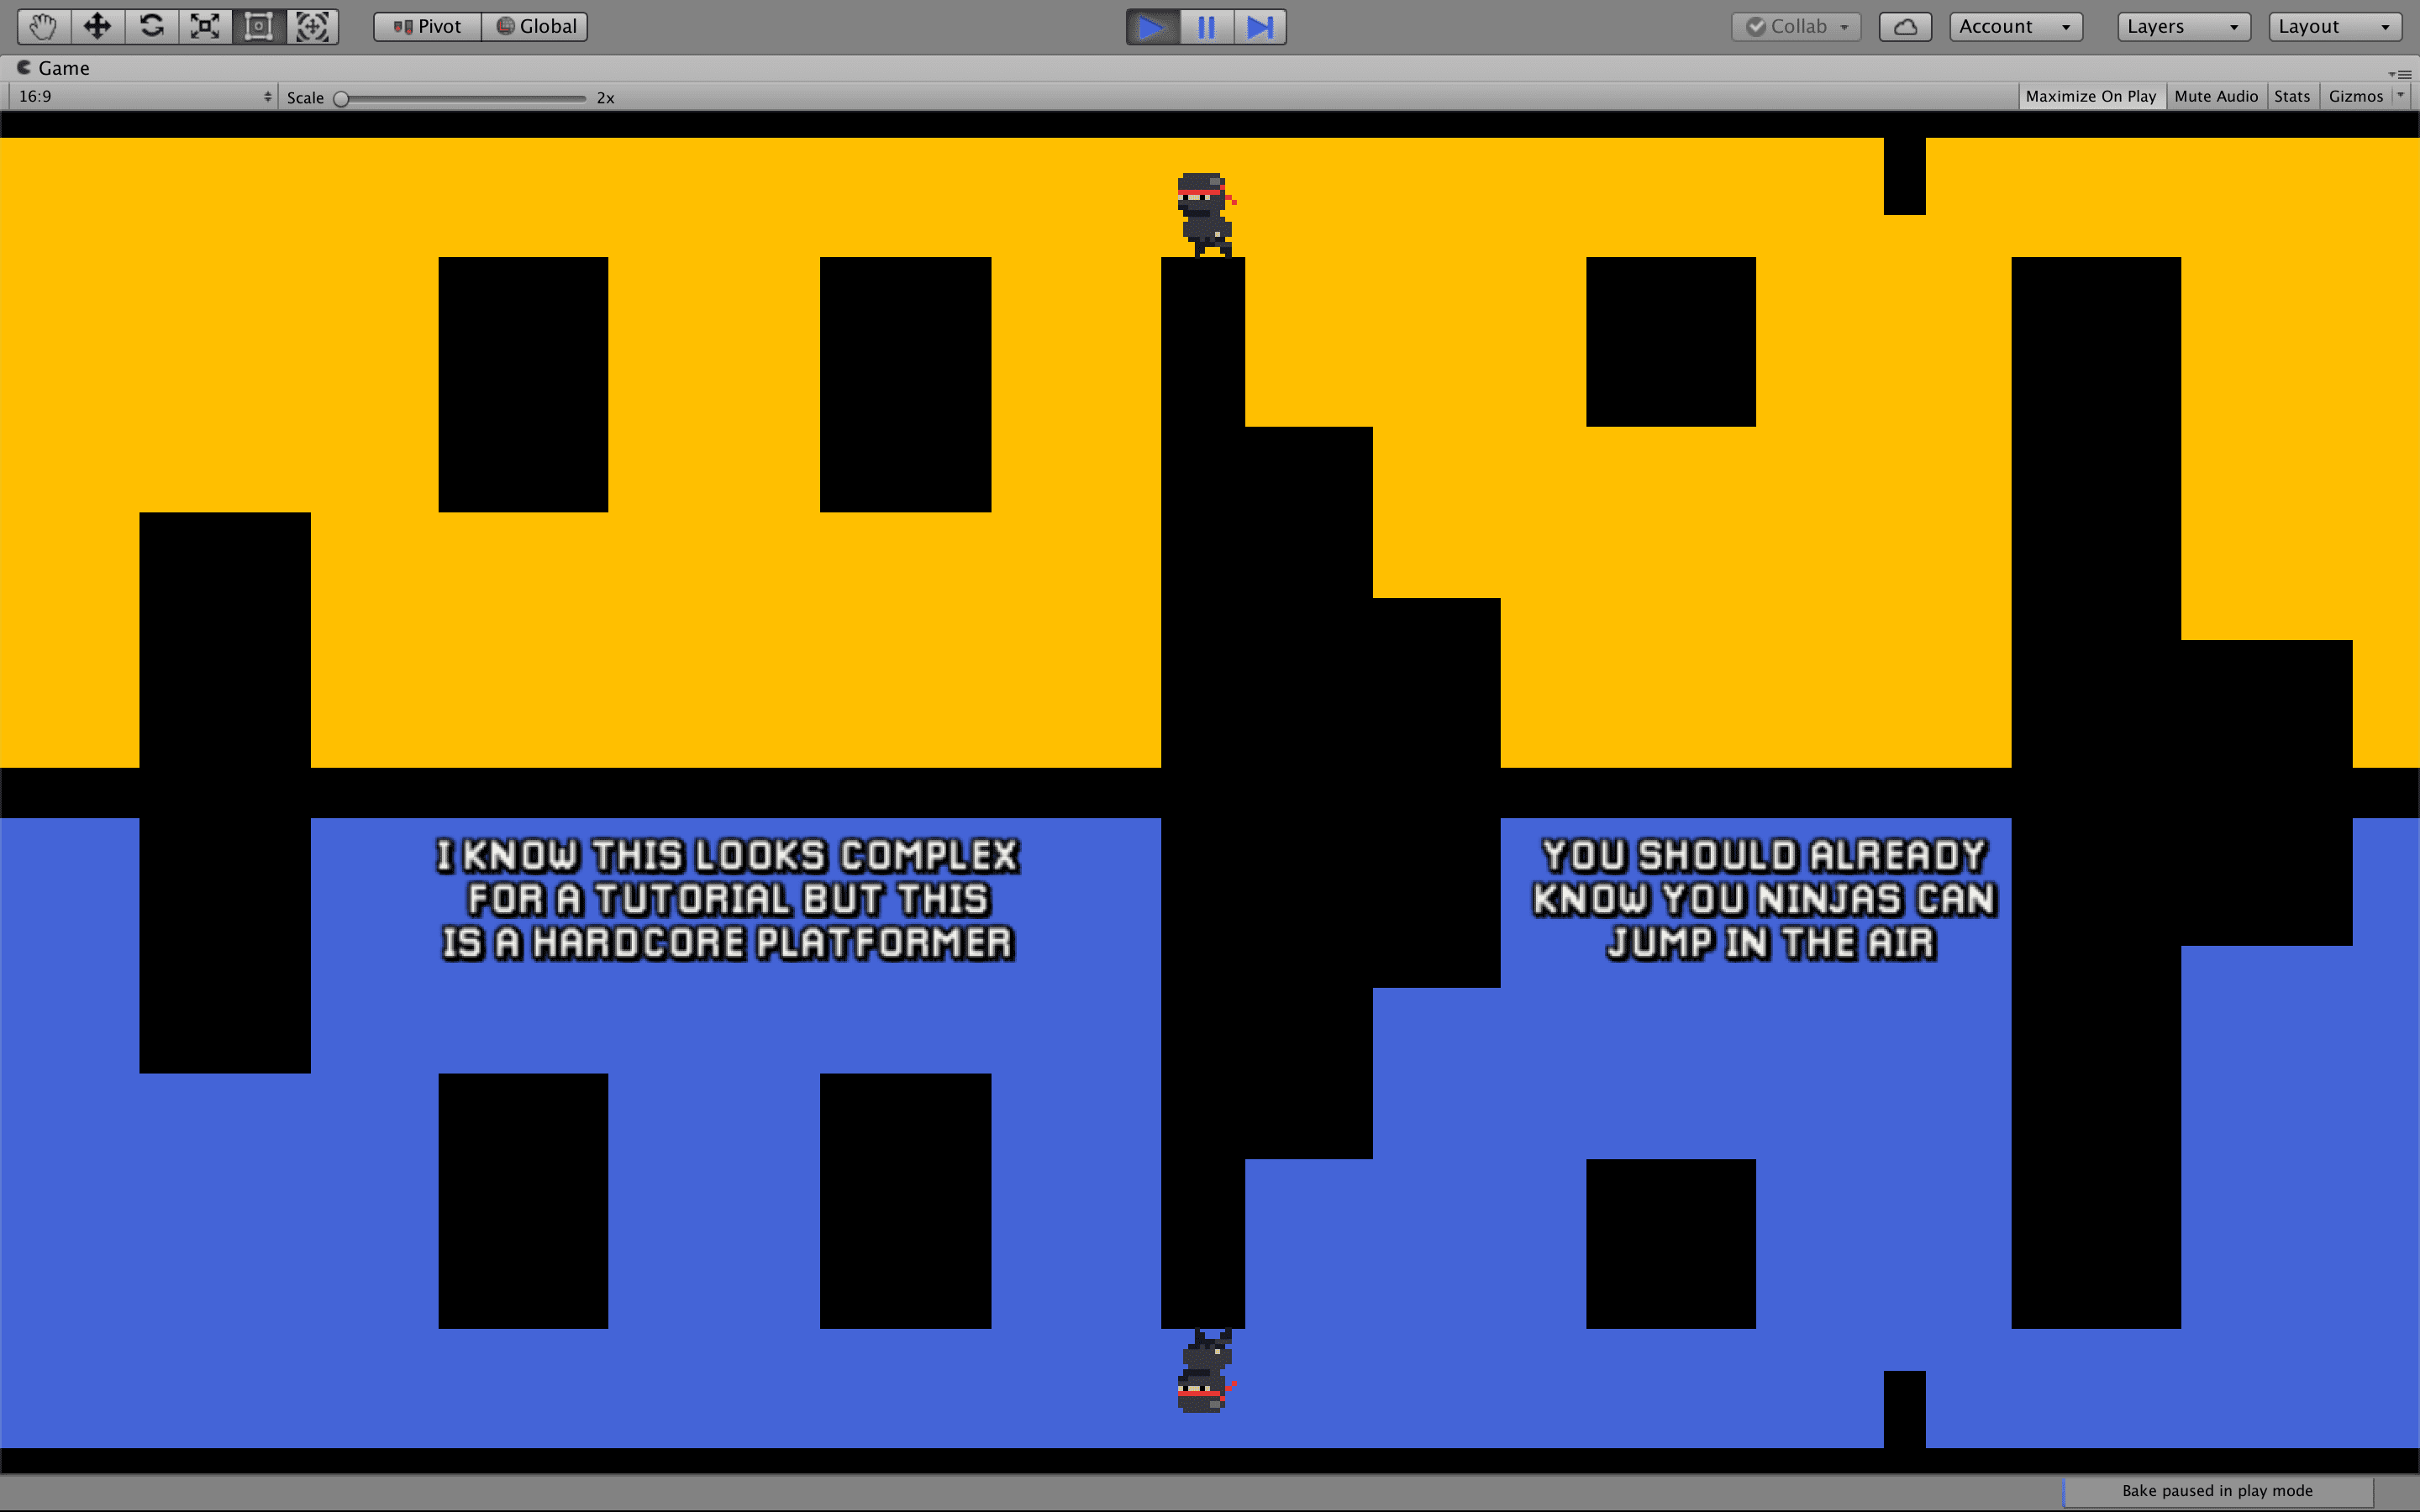
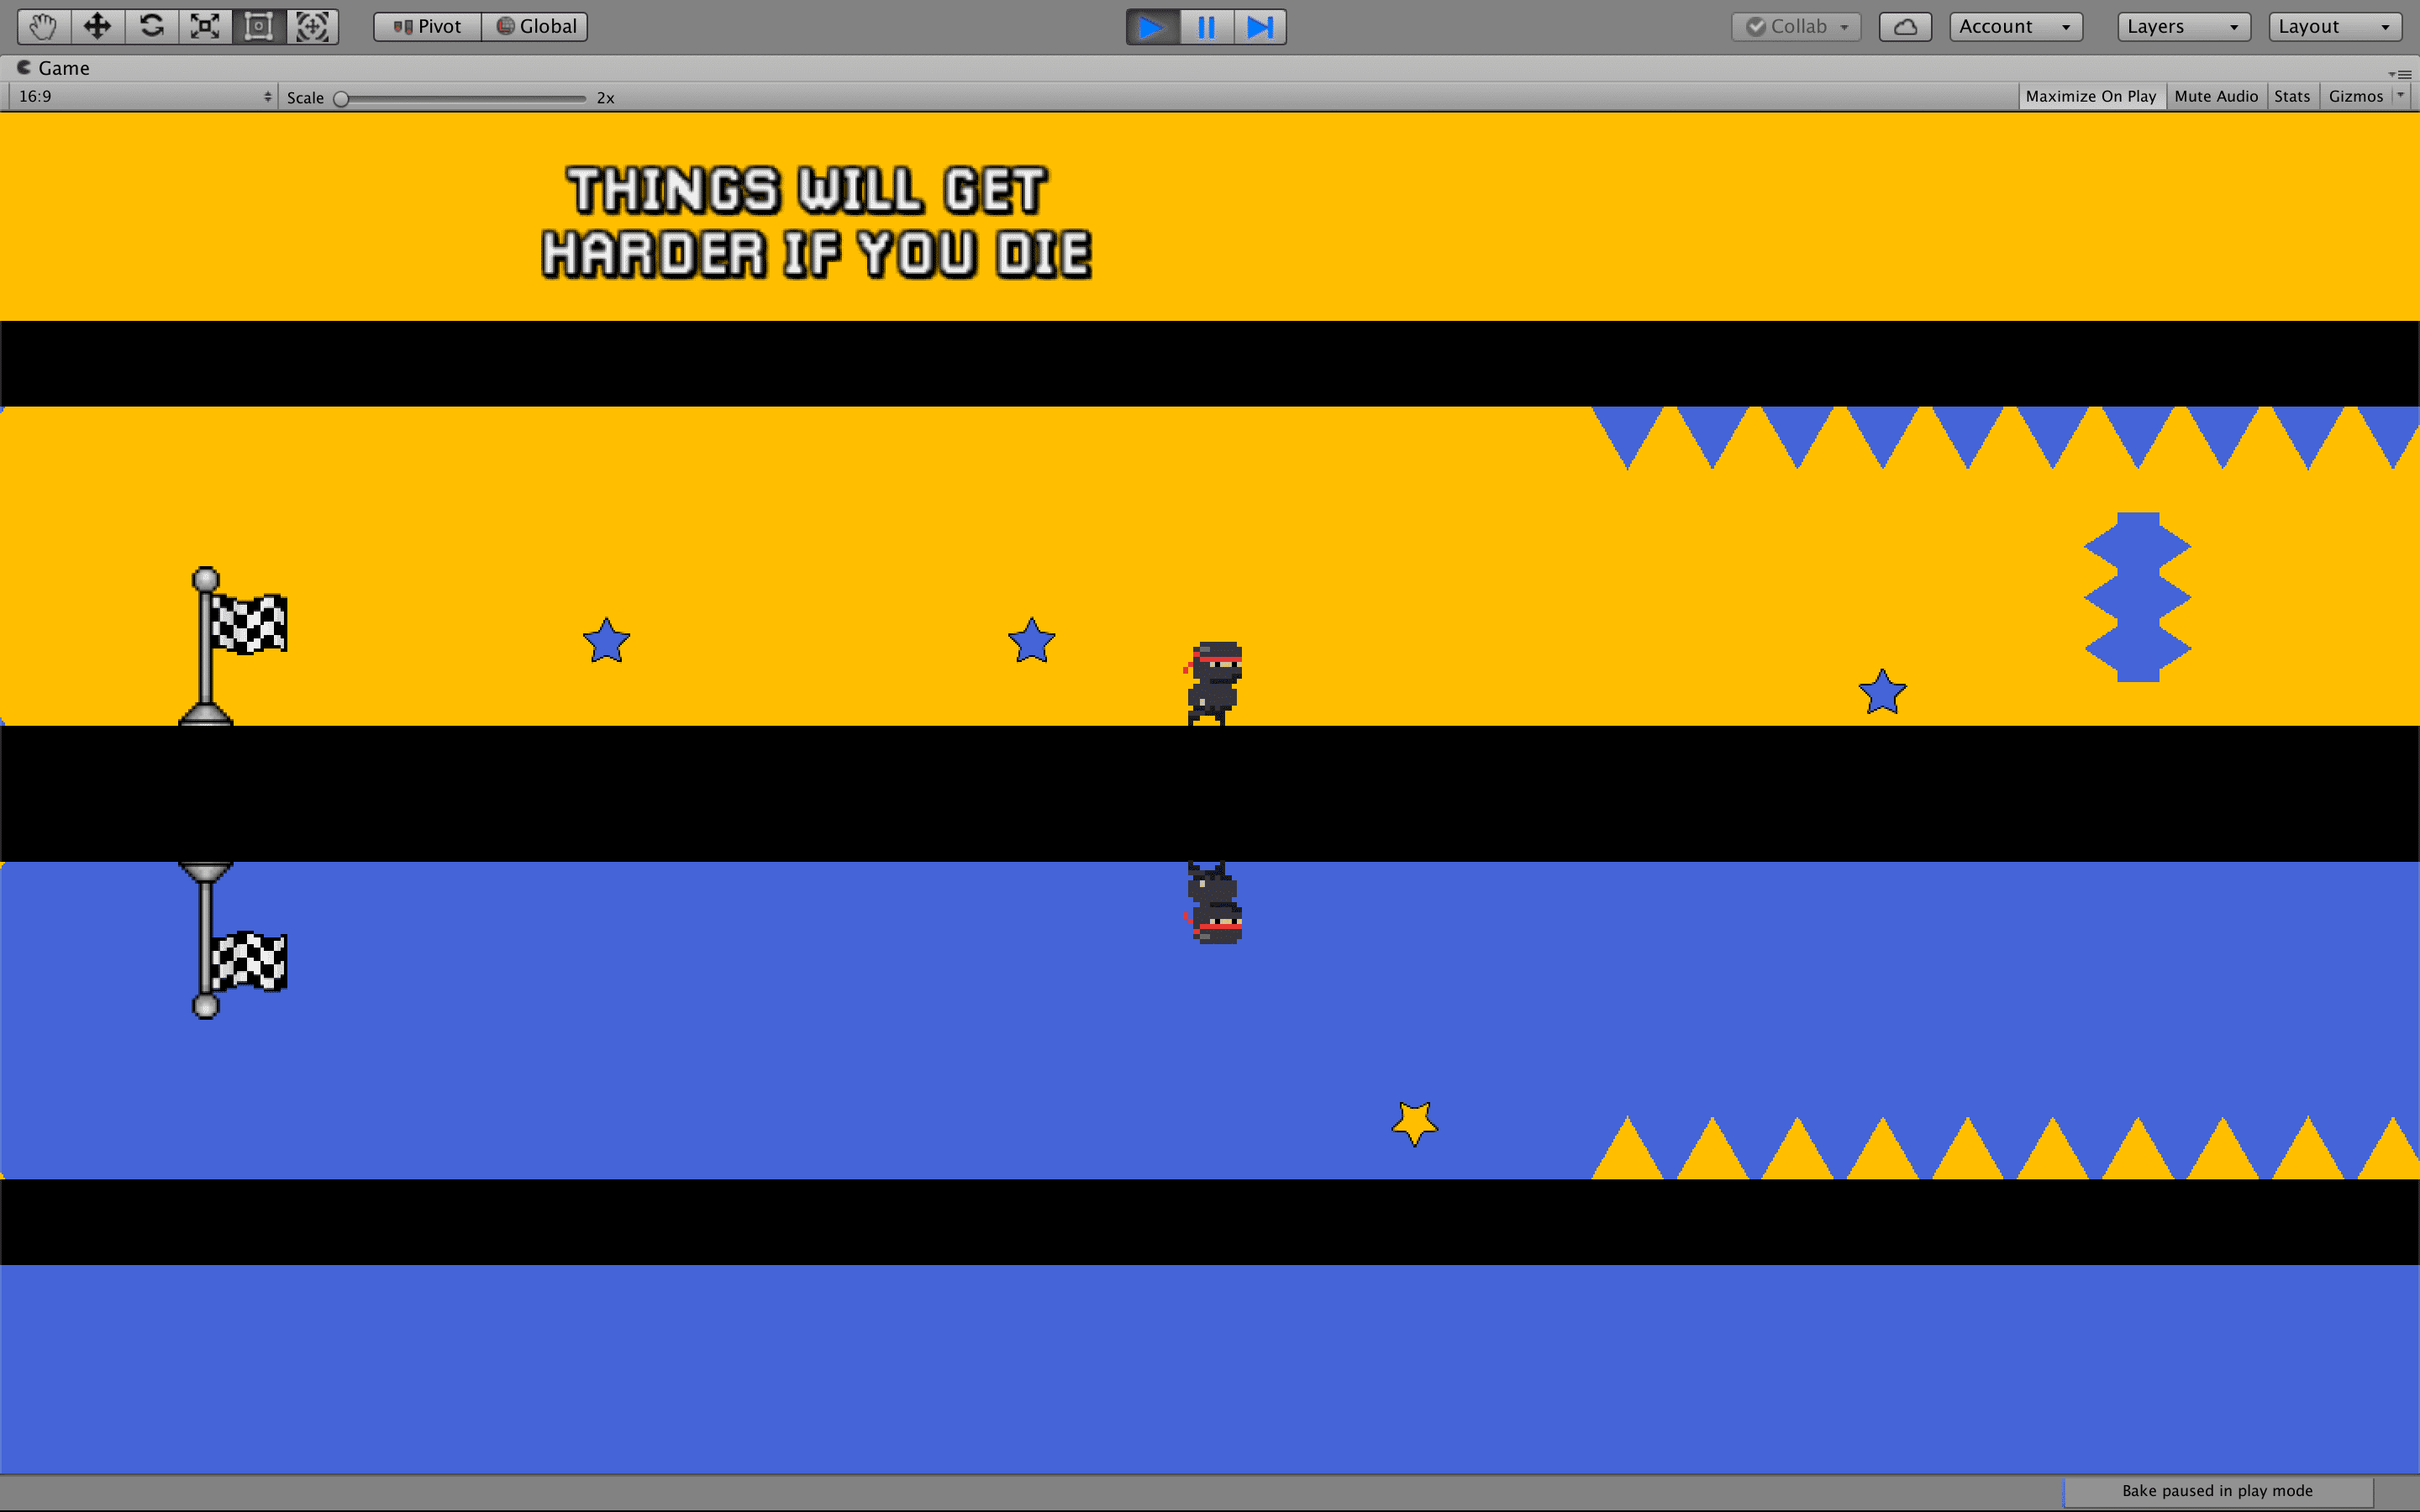
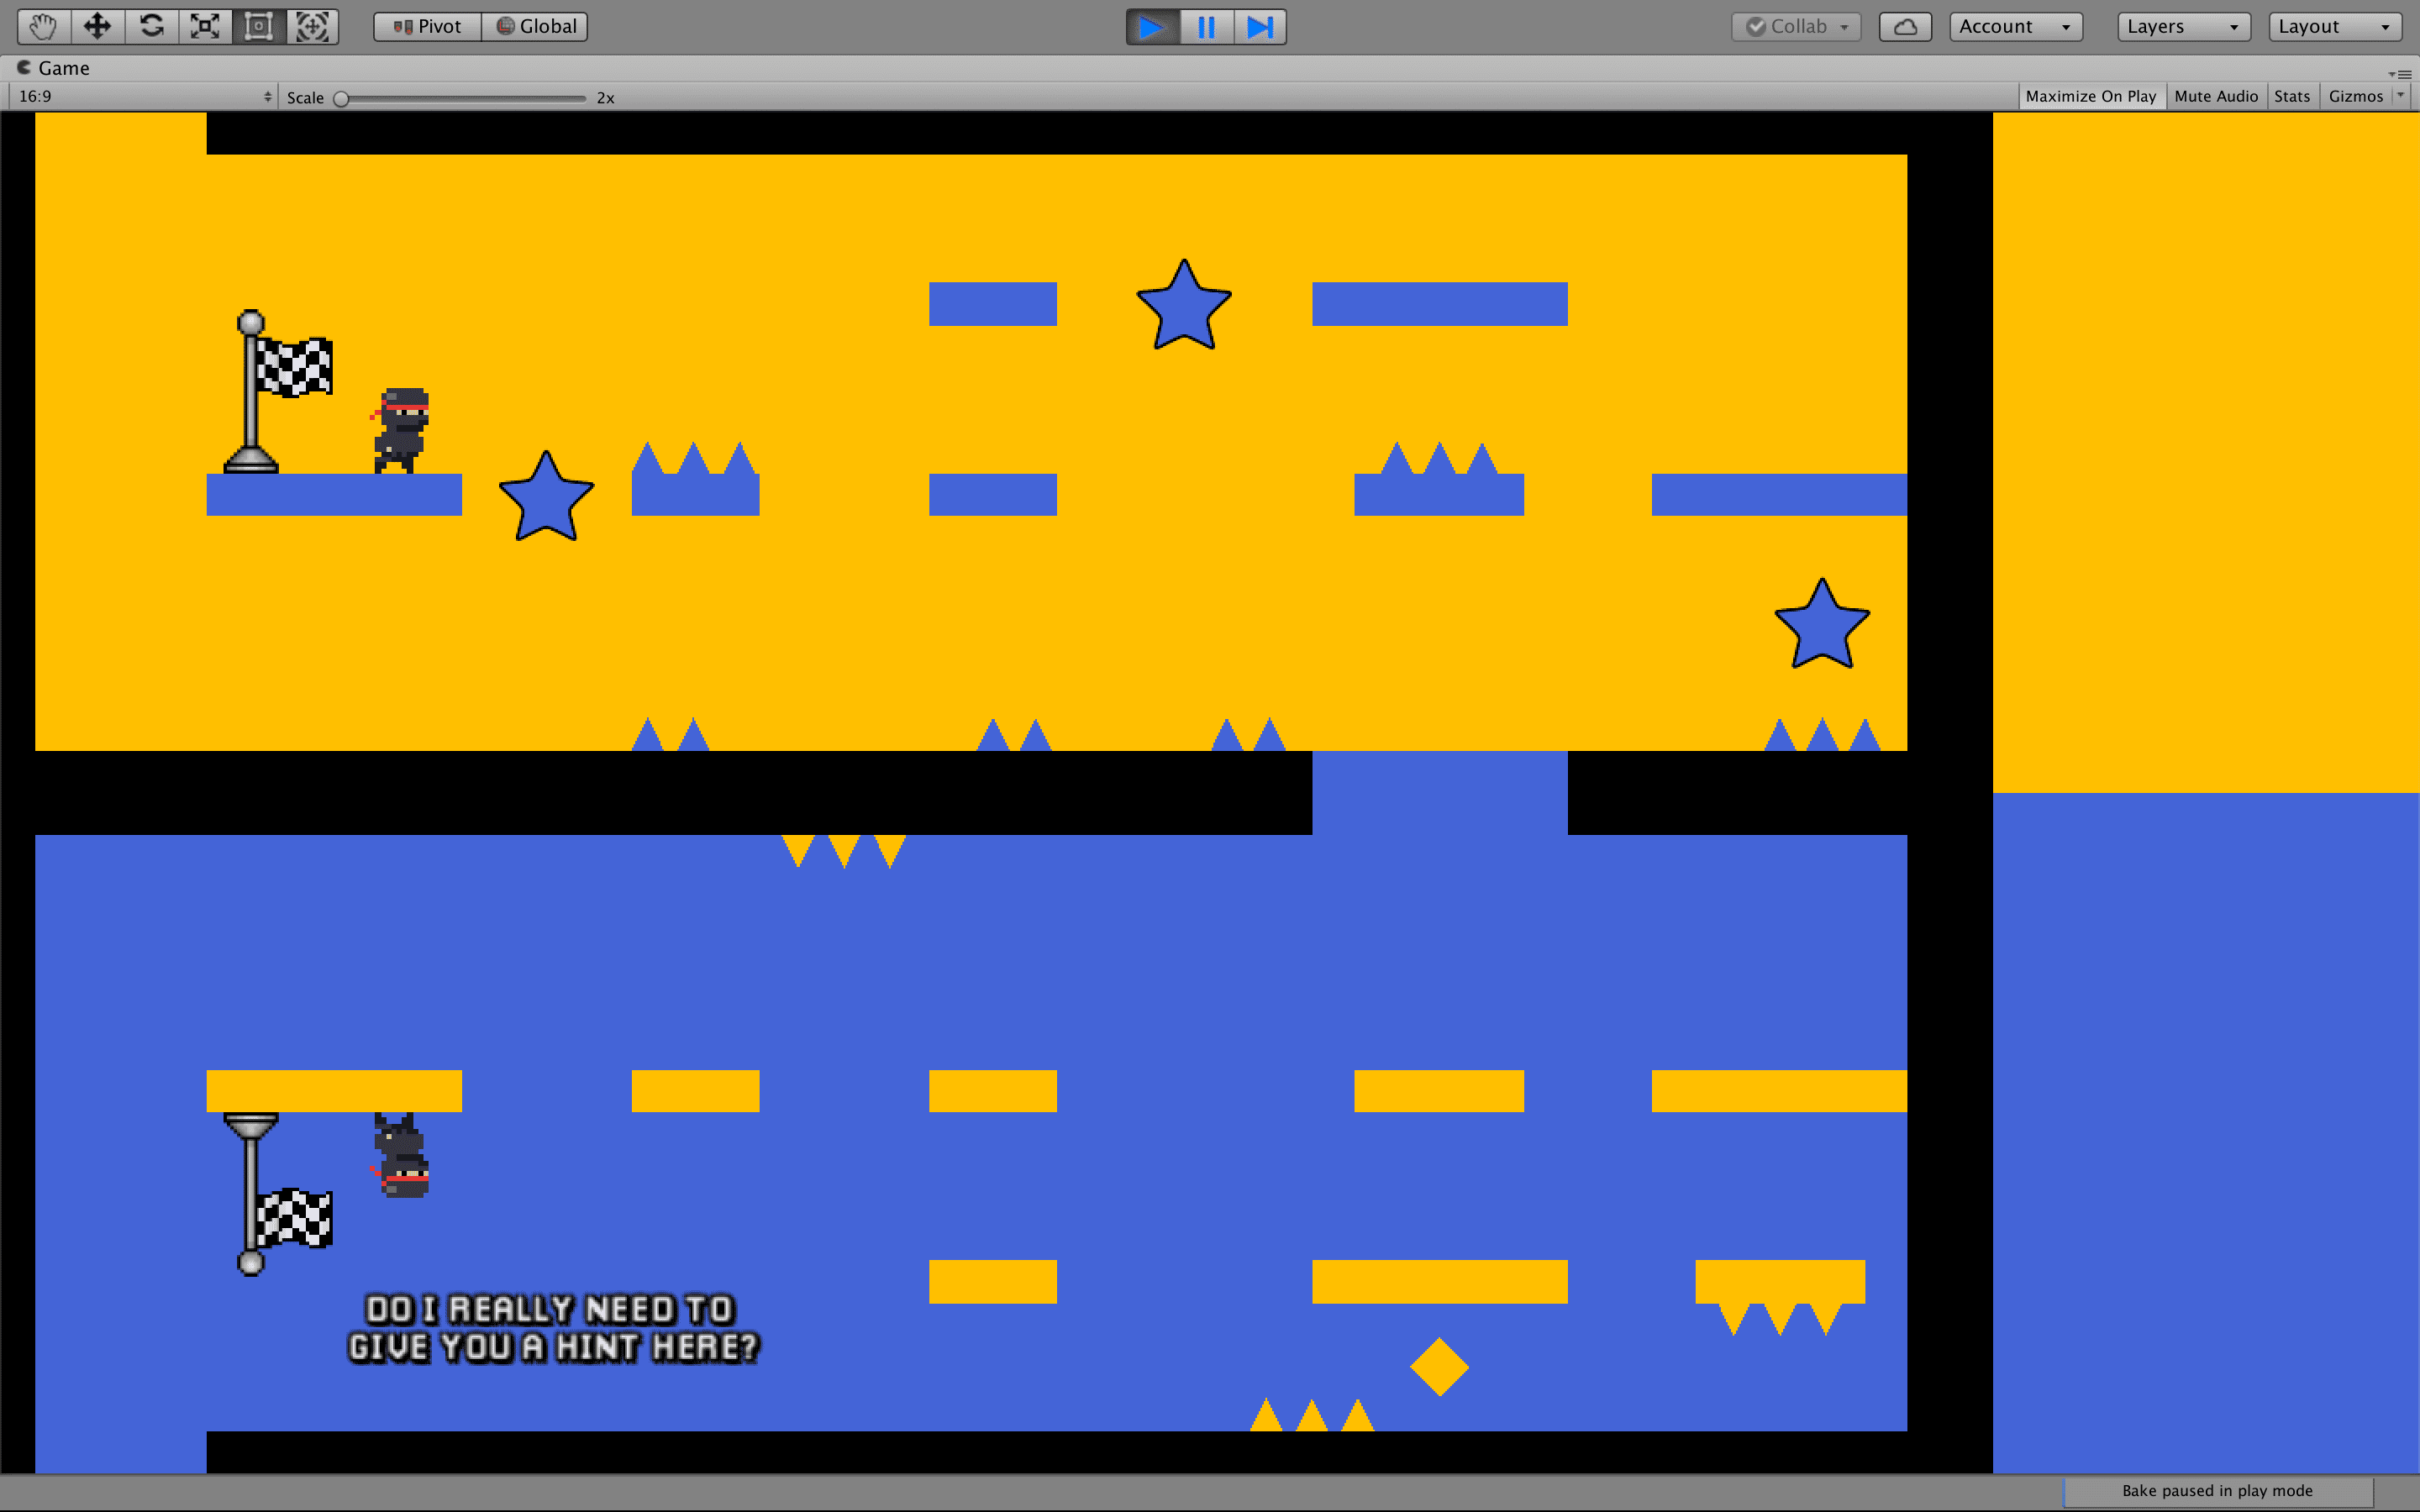
1A: here we changed the overall difficulty and presented all jumping mechanincs, as we felt players left the tutorial in v1 without knowing certain aspects of them.
1B: no changes.

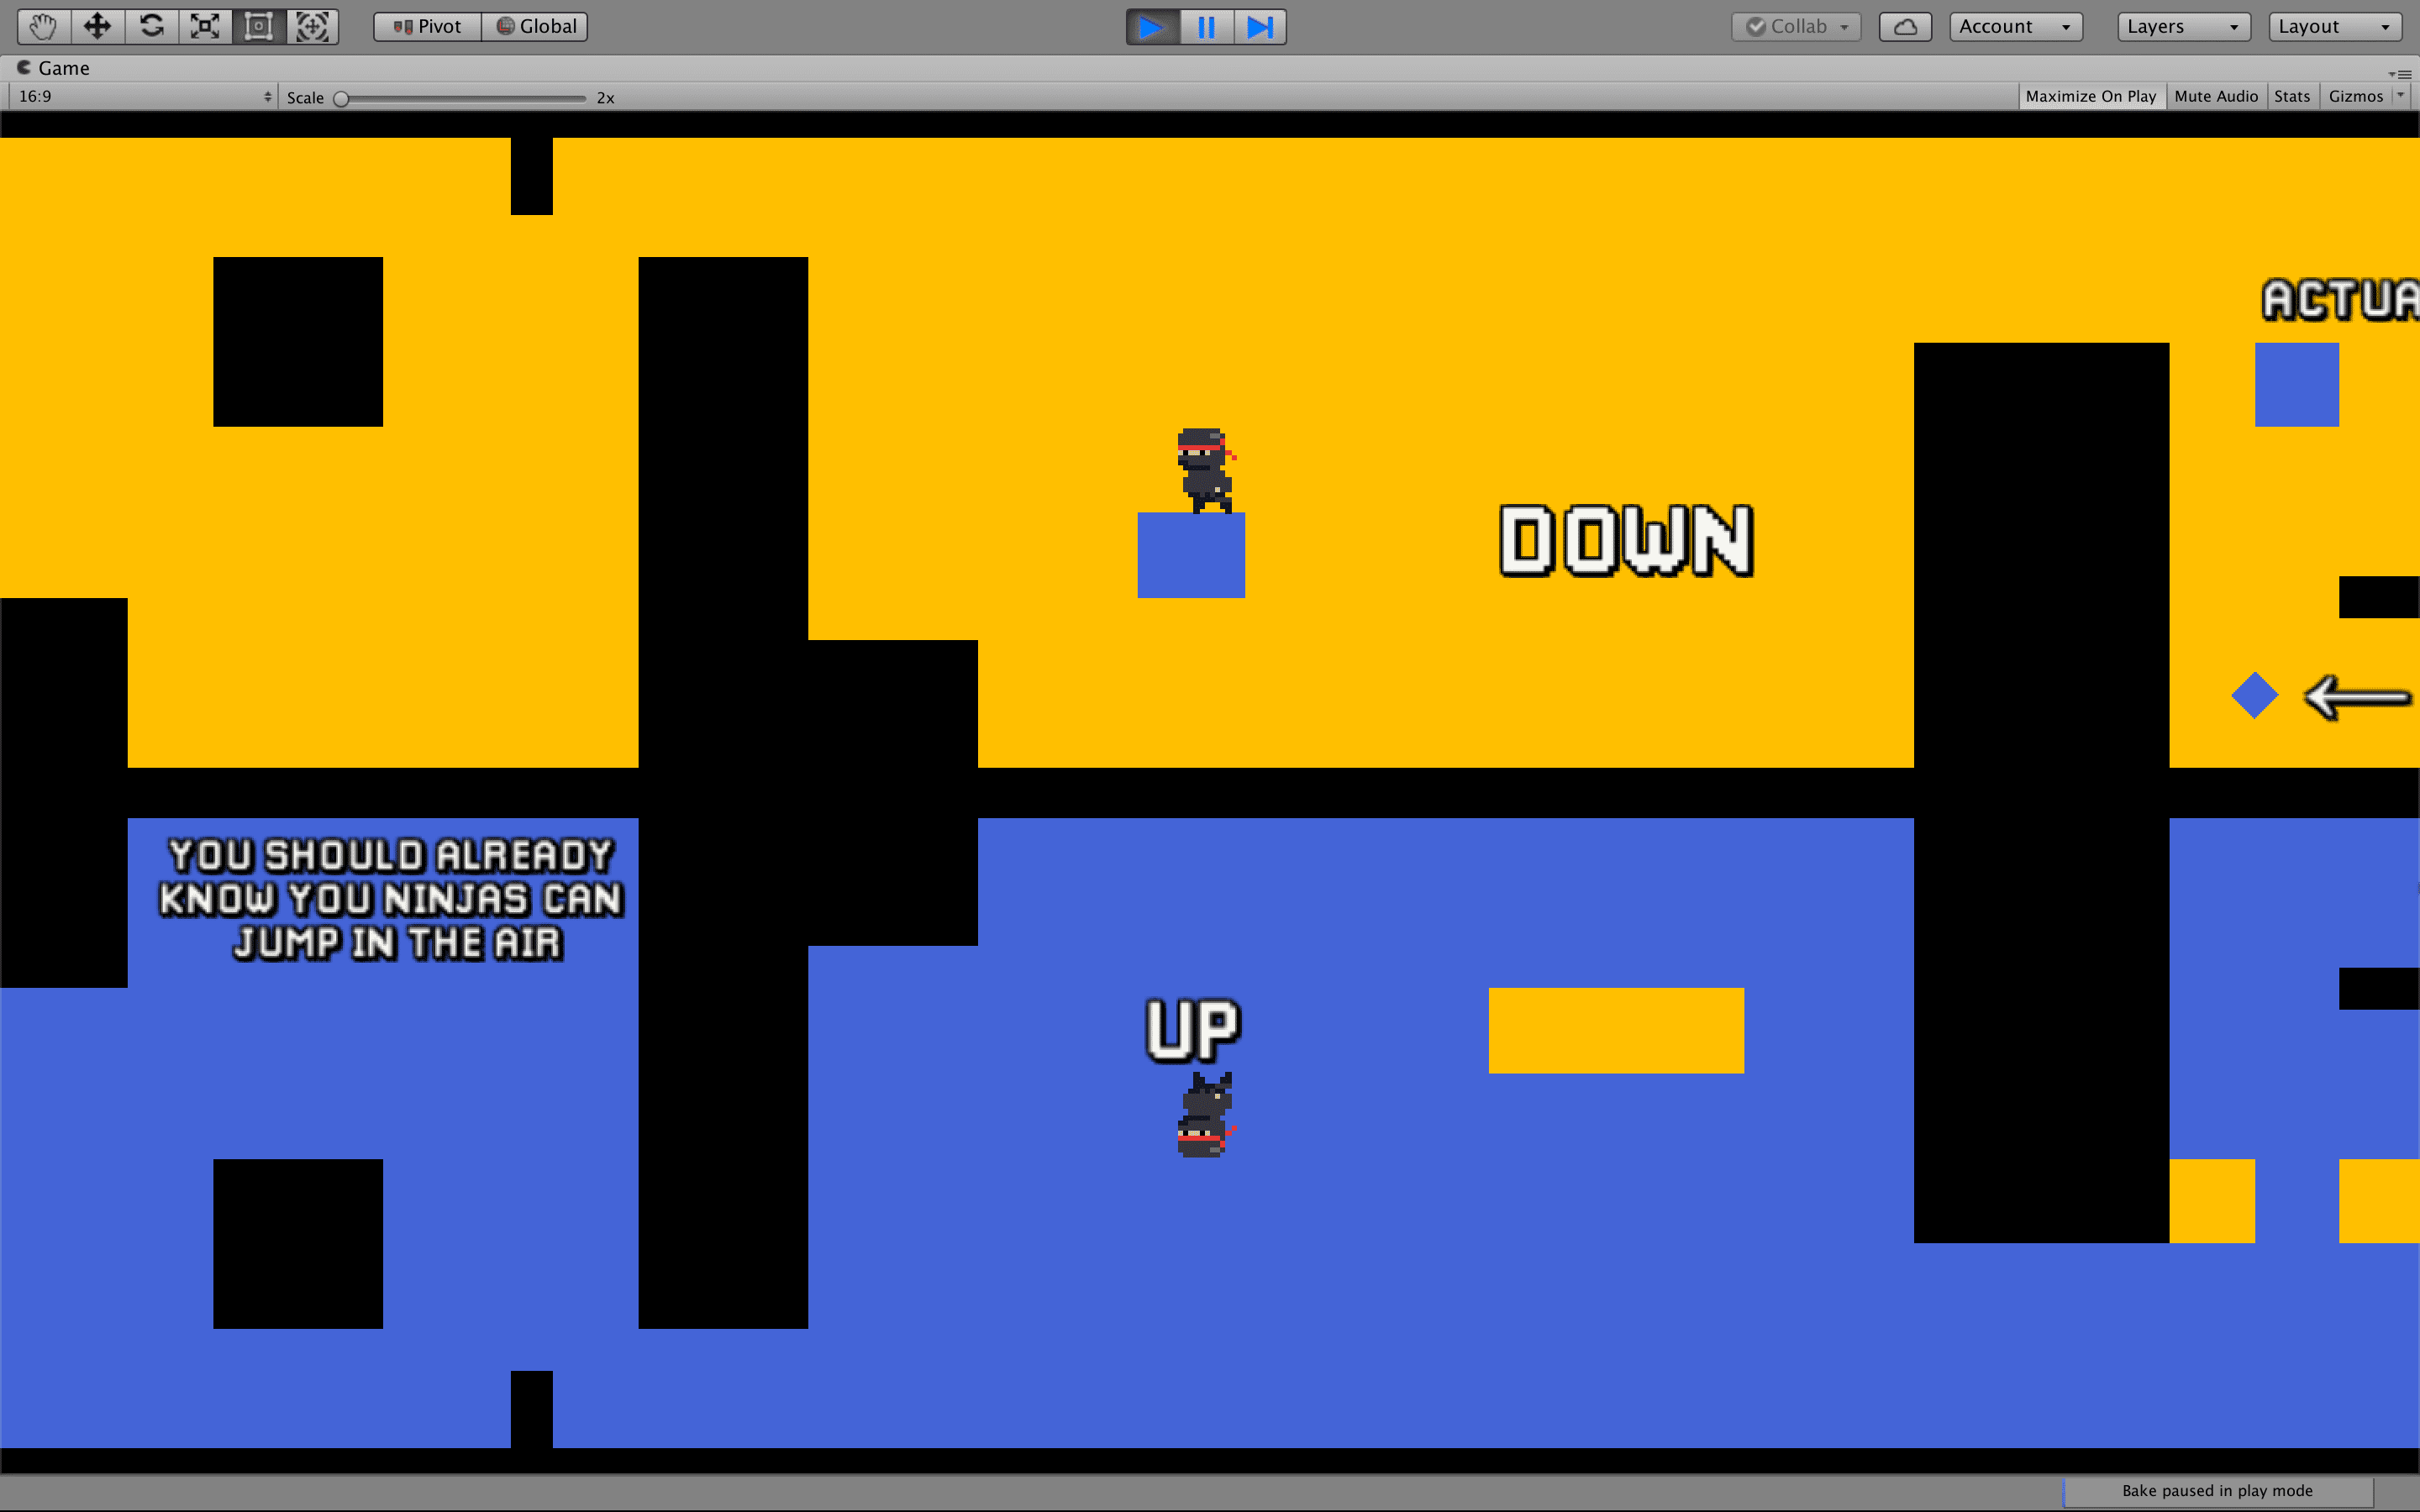
1C: added a clearer indicator.
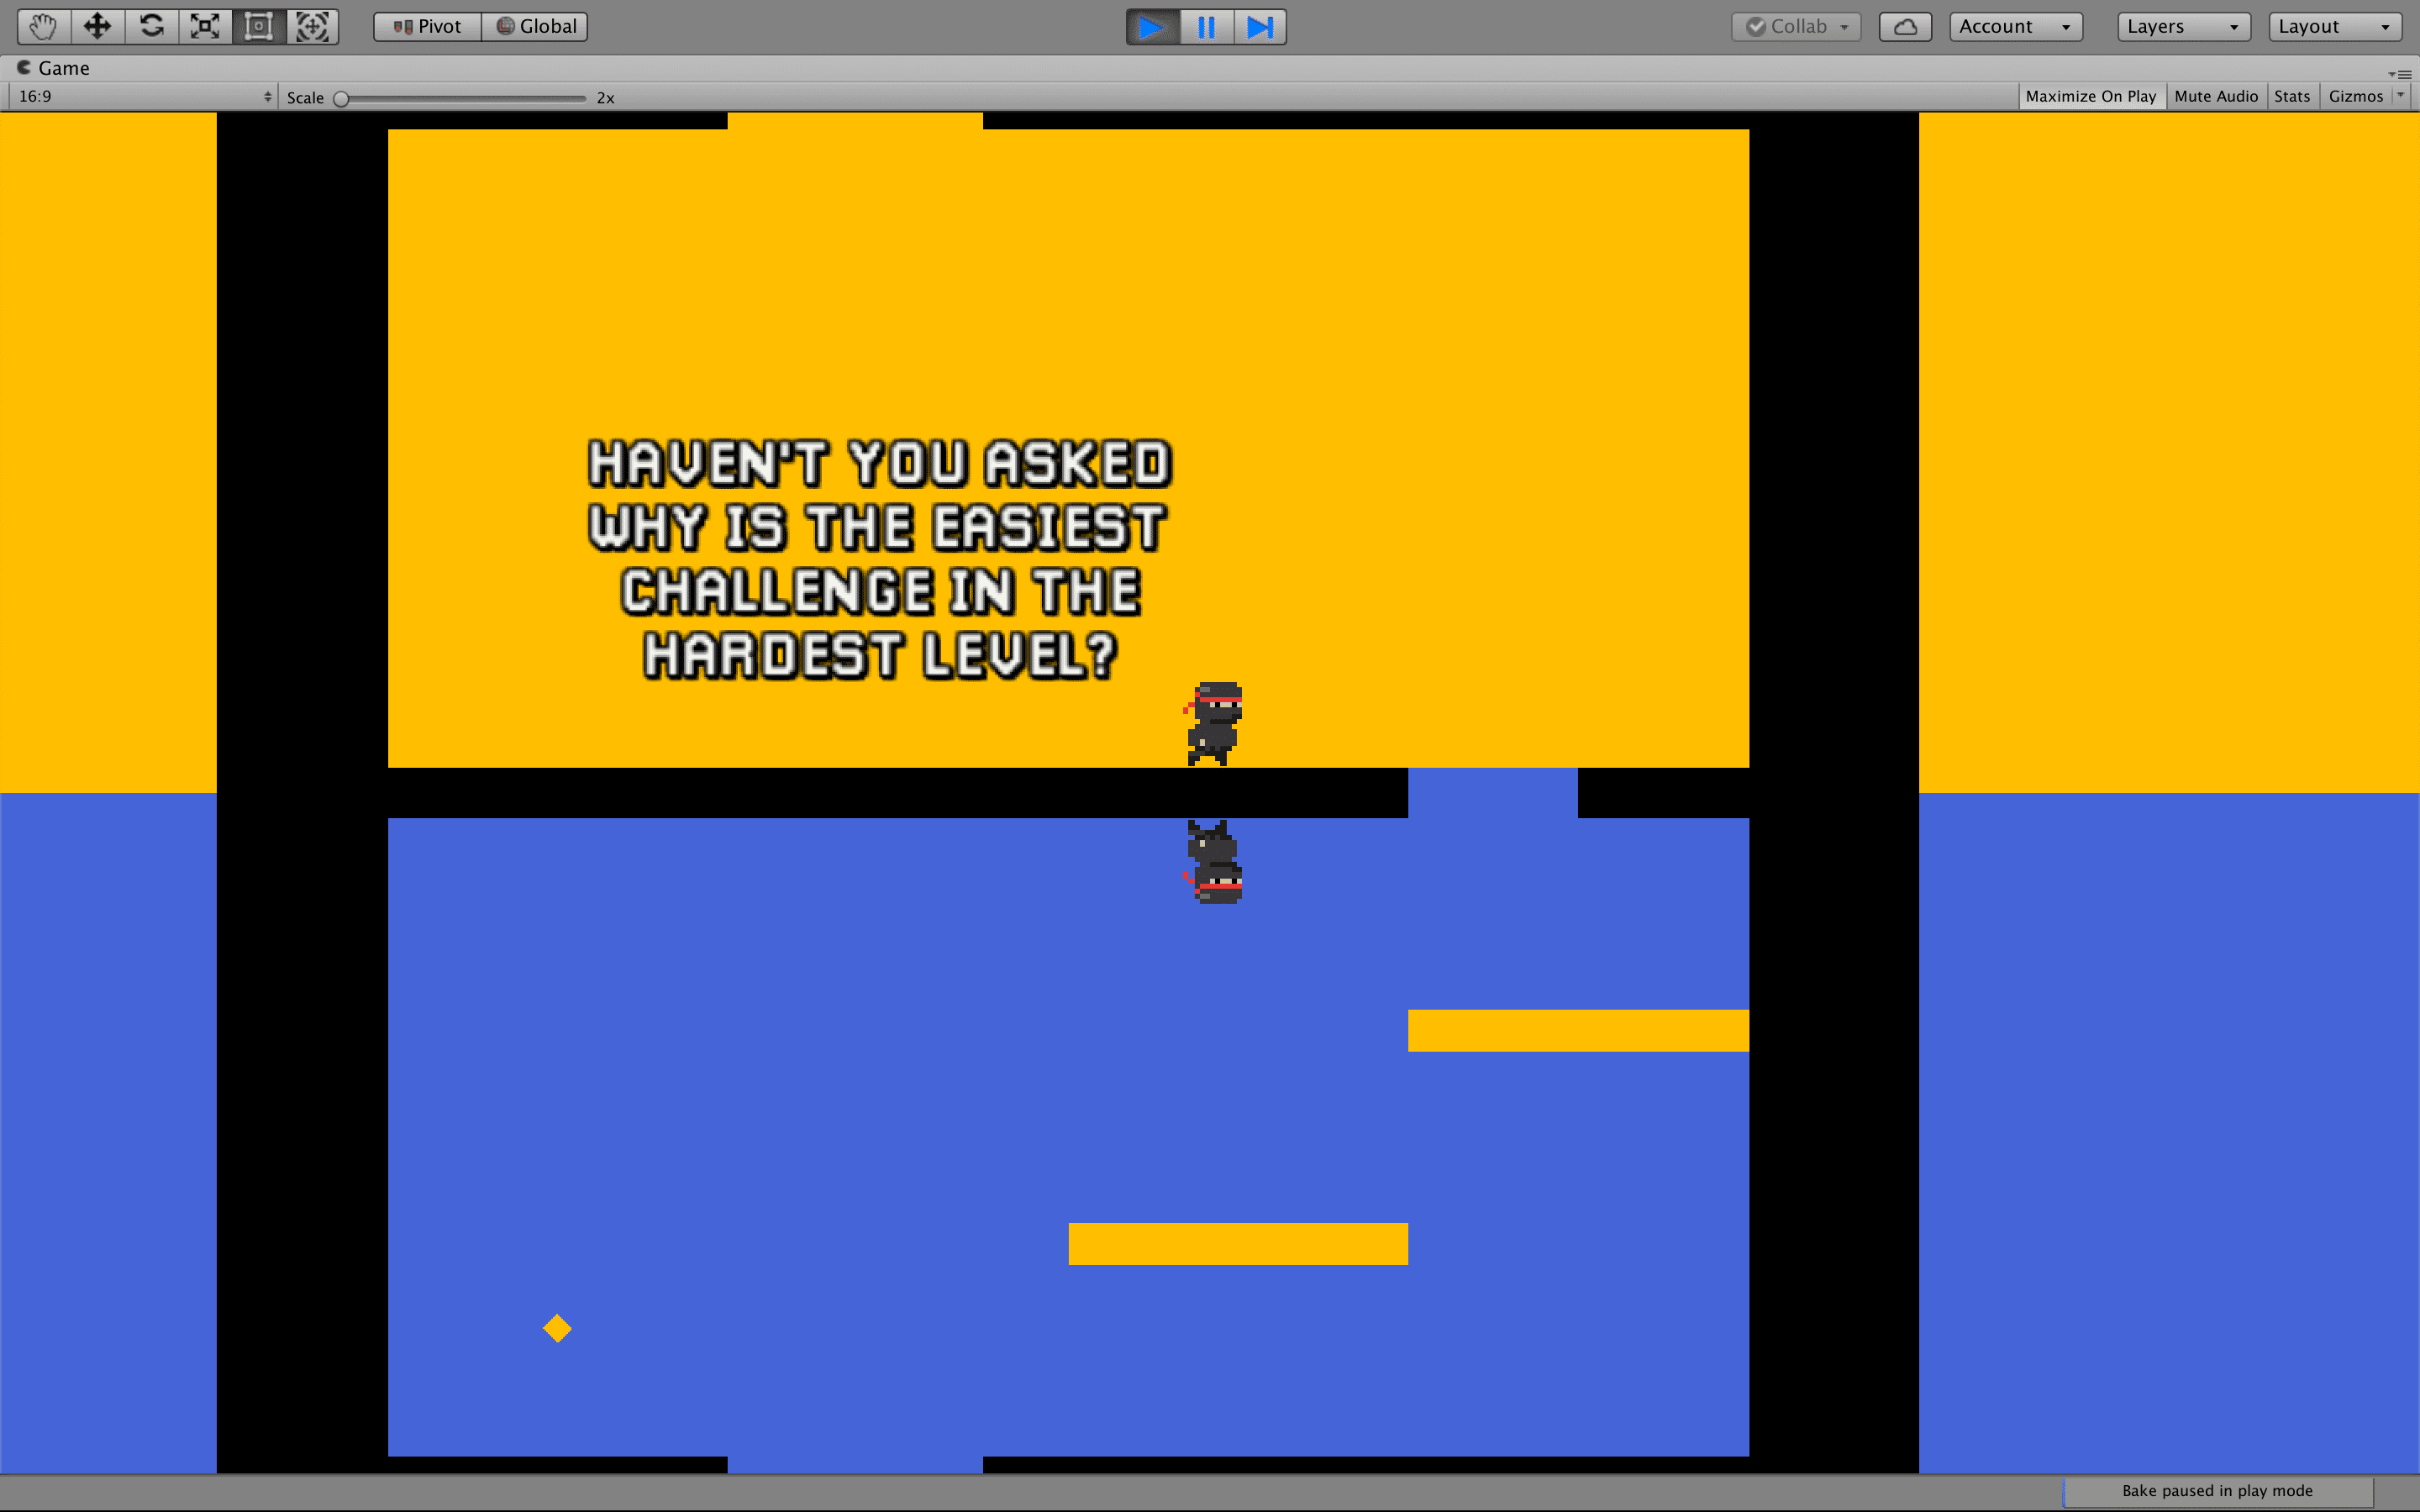
1D: removed a blue platform and enlarged the yellow one.
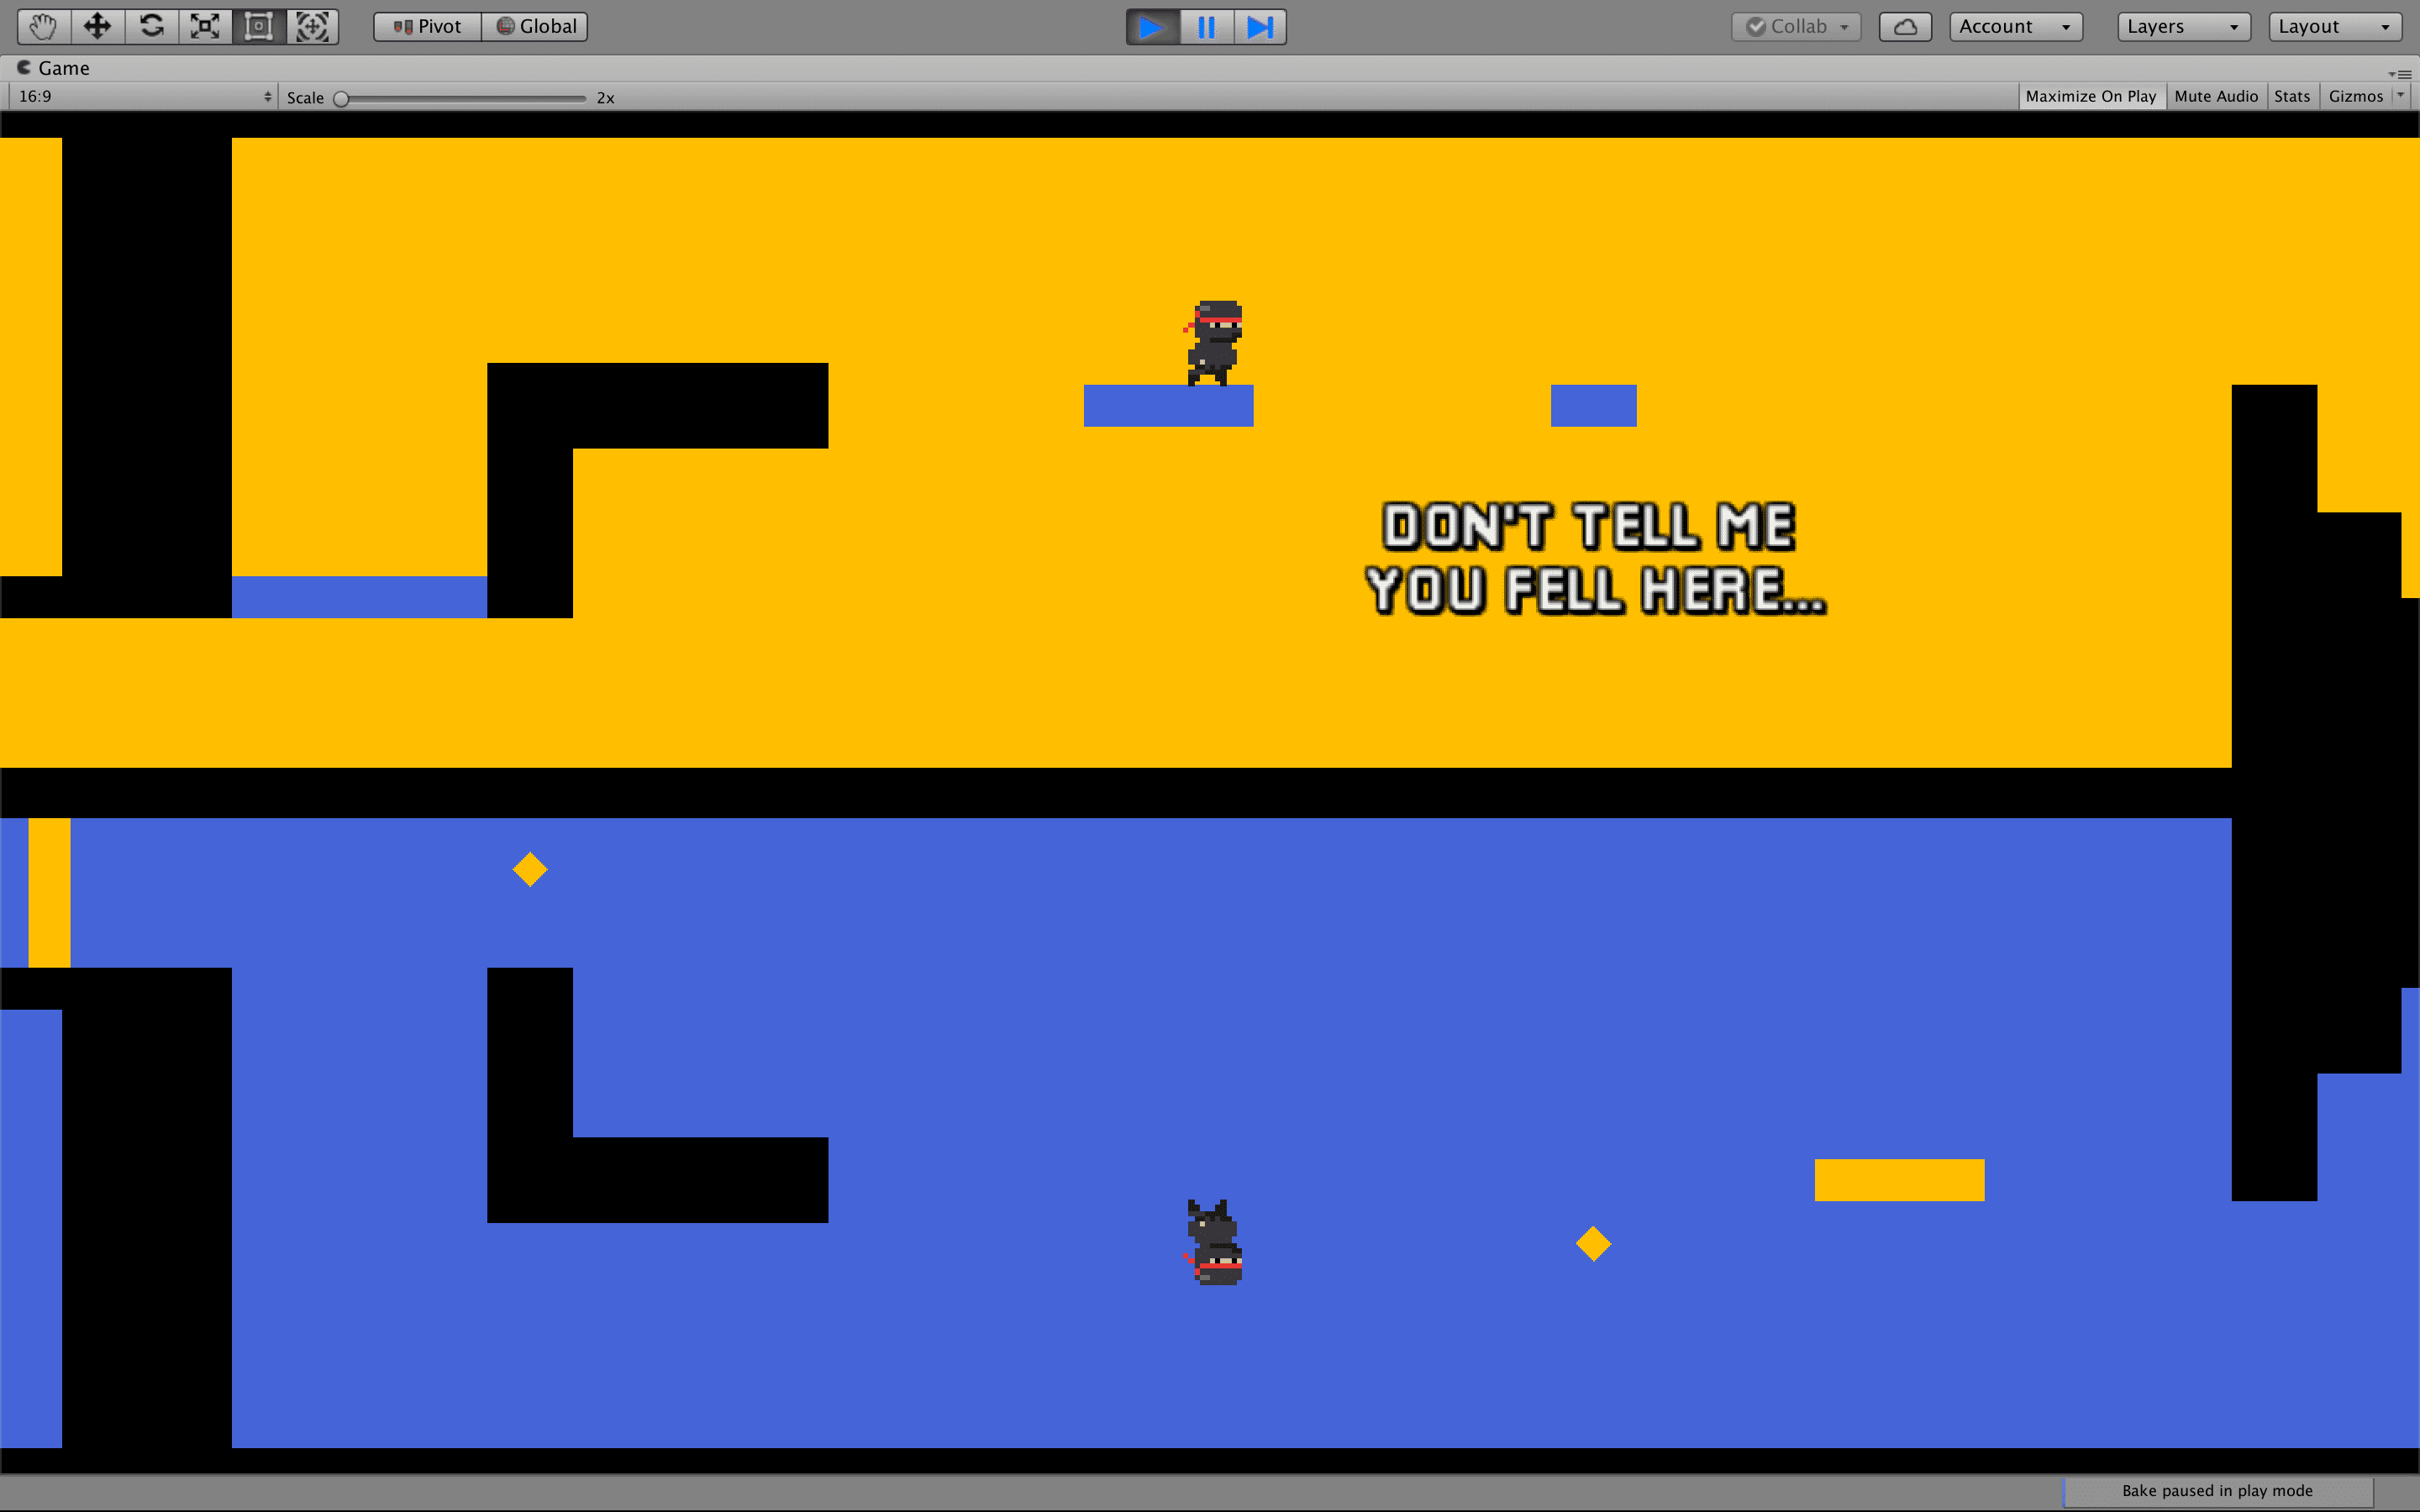
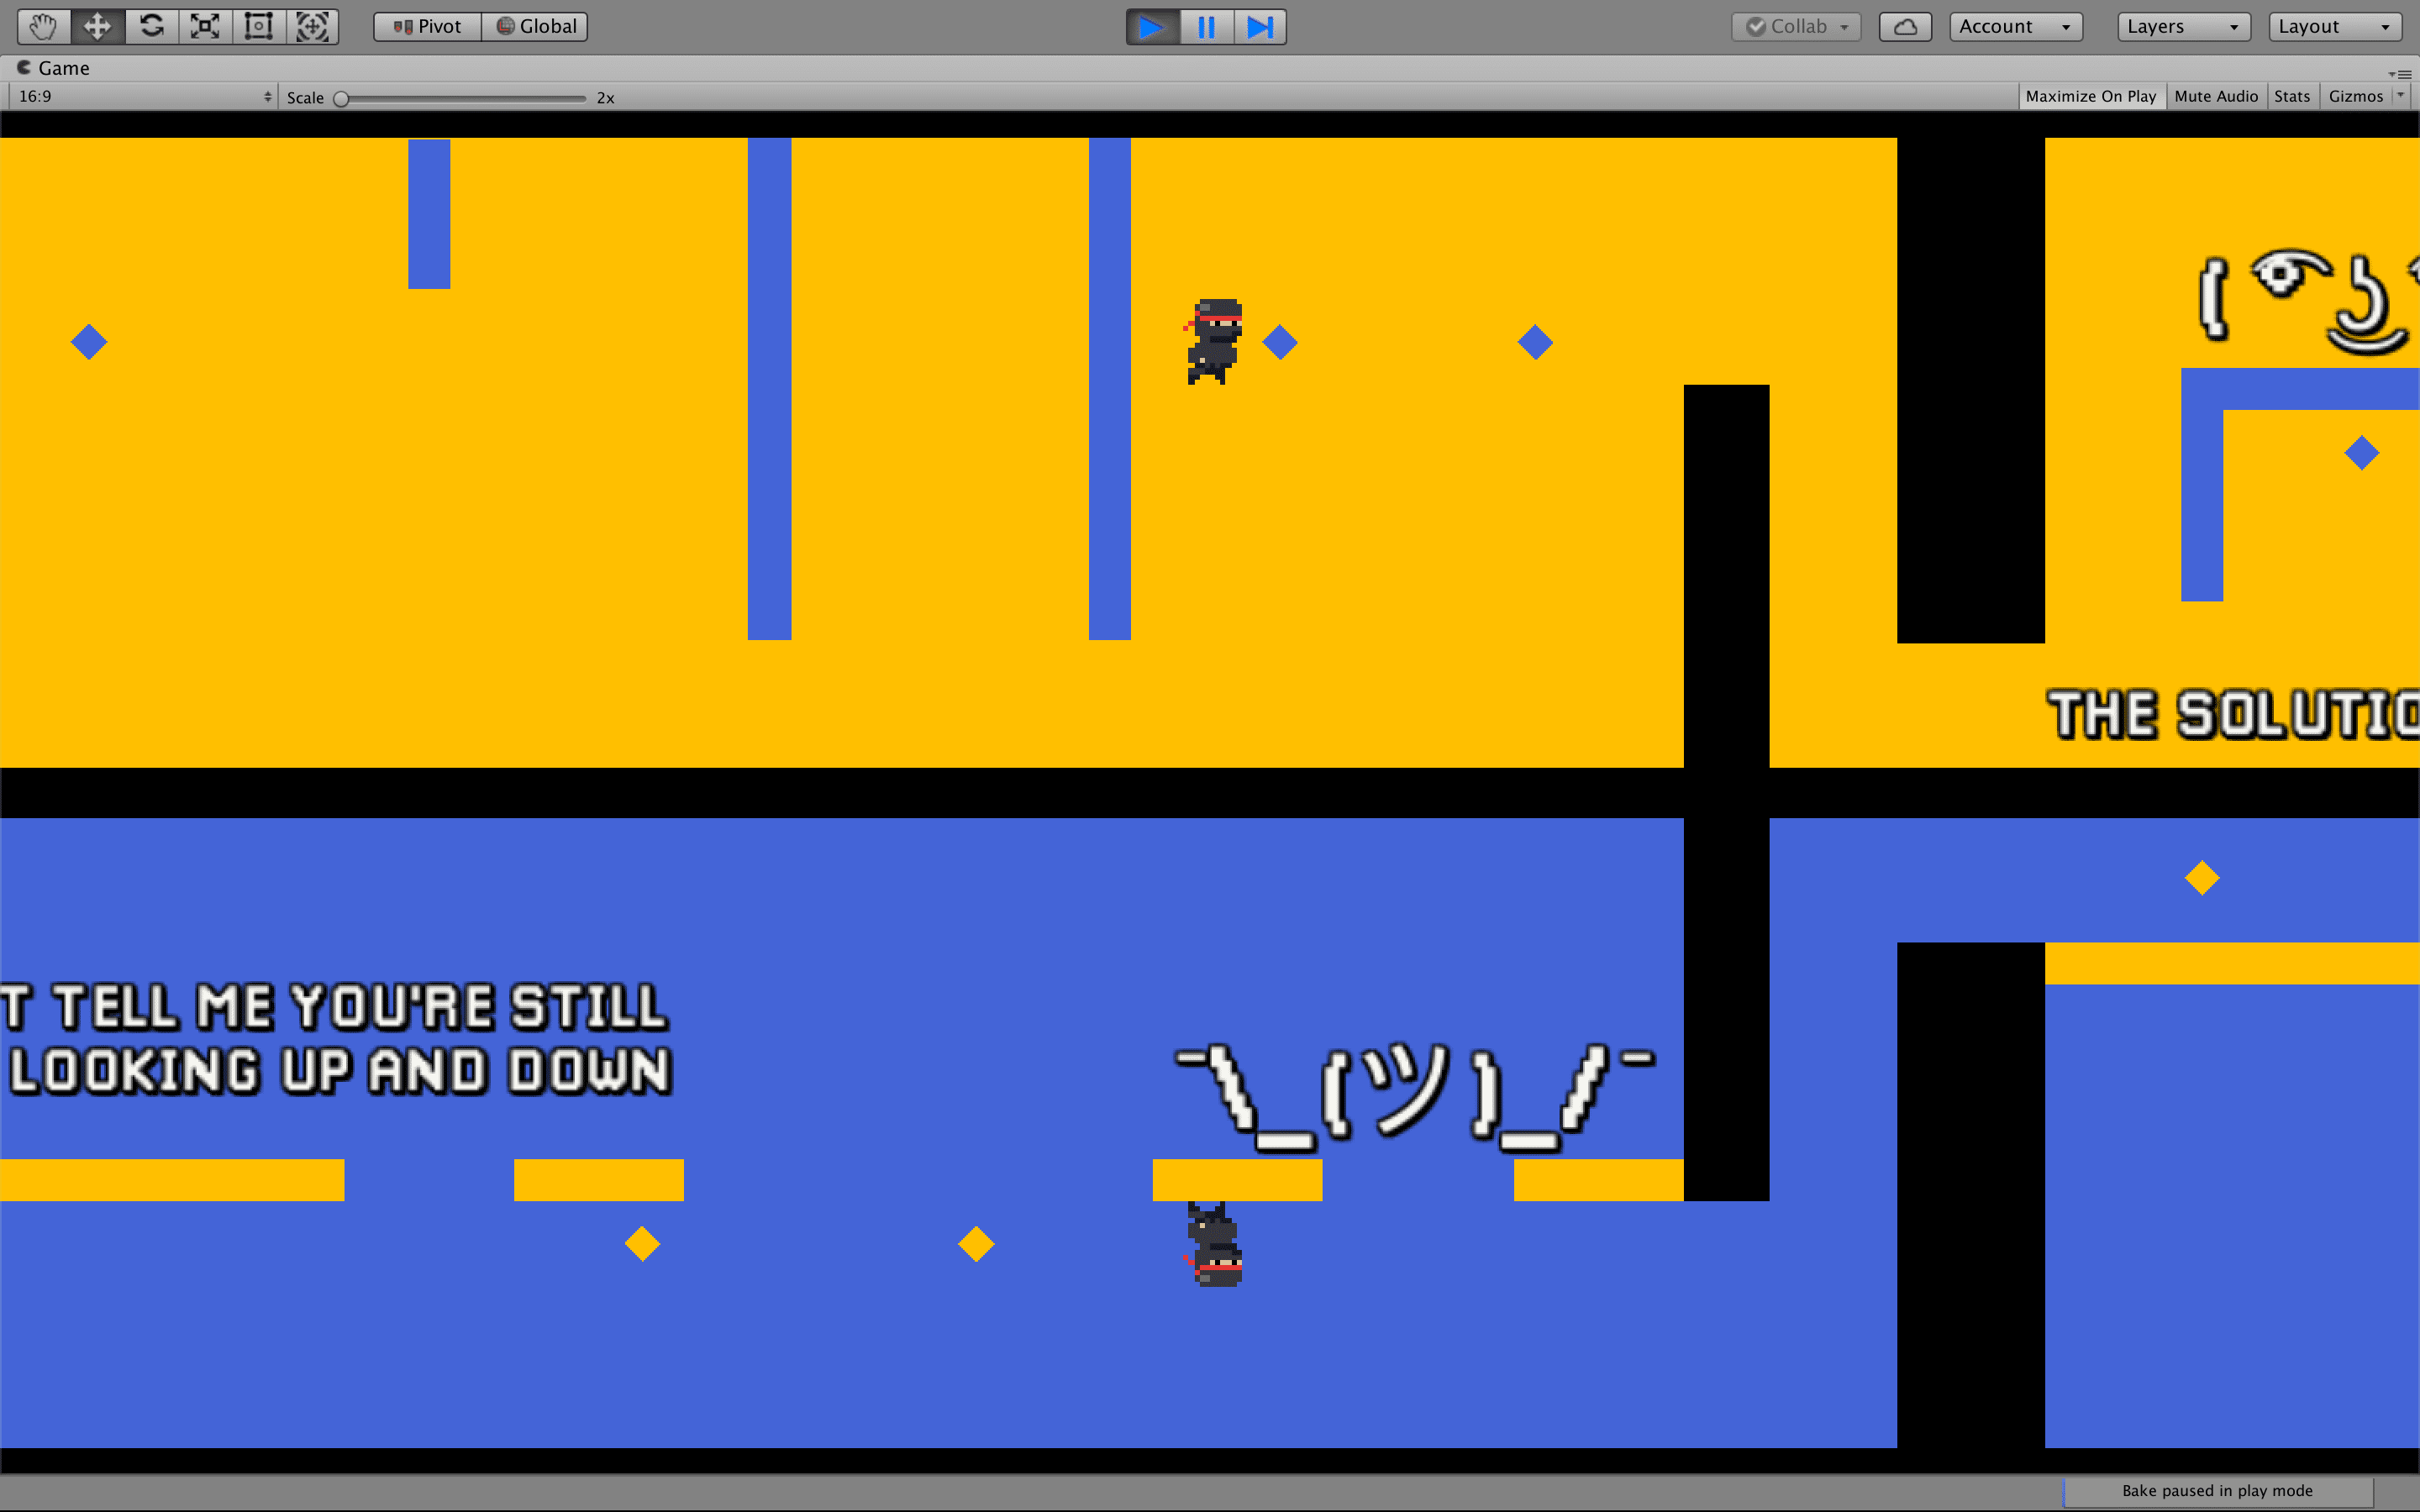
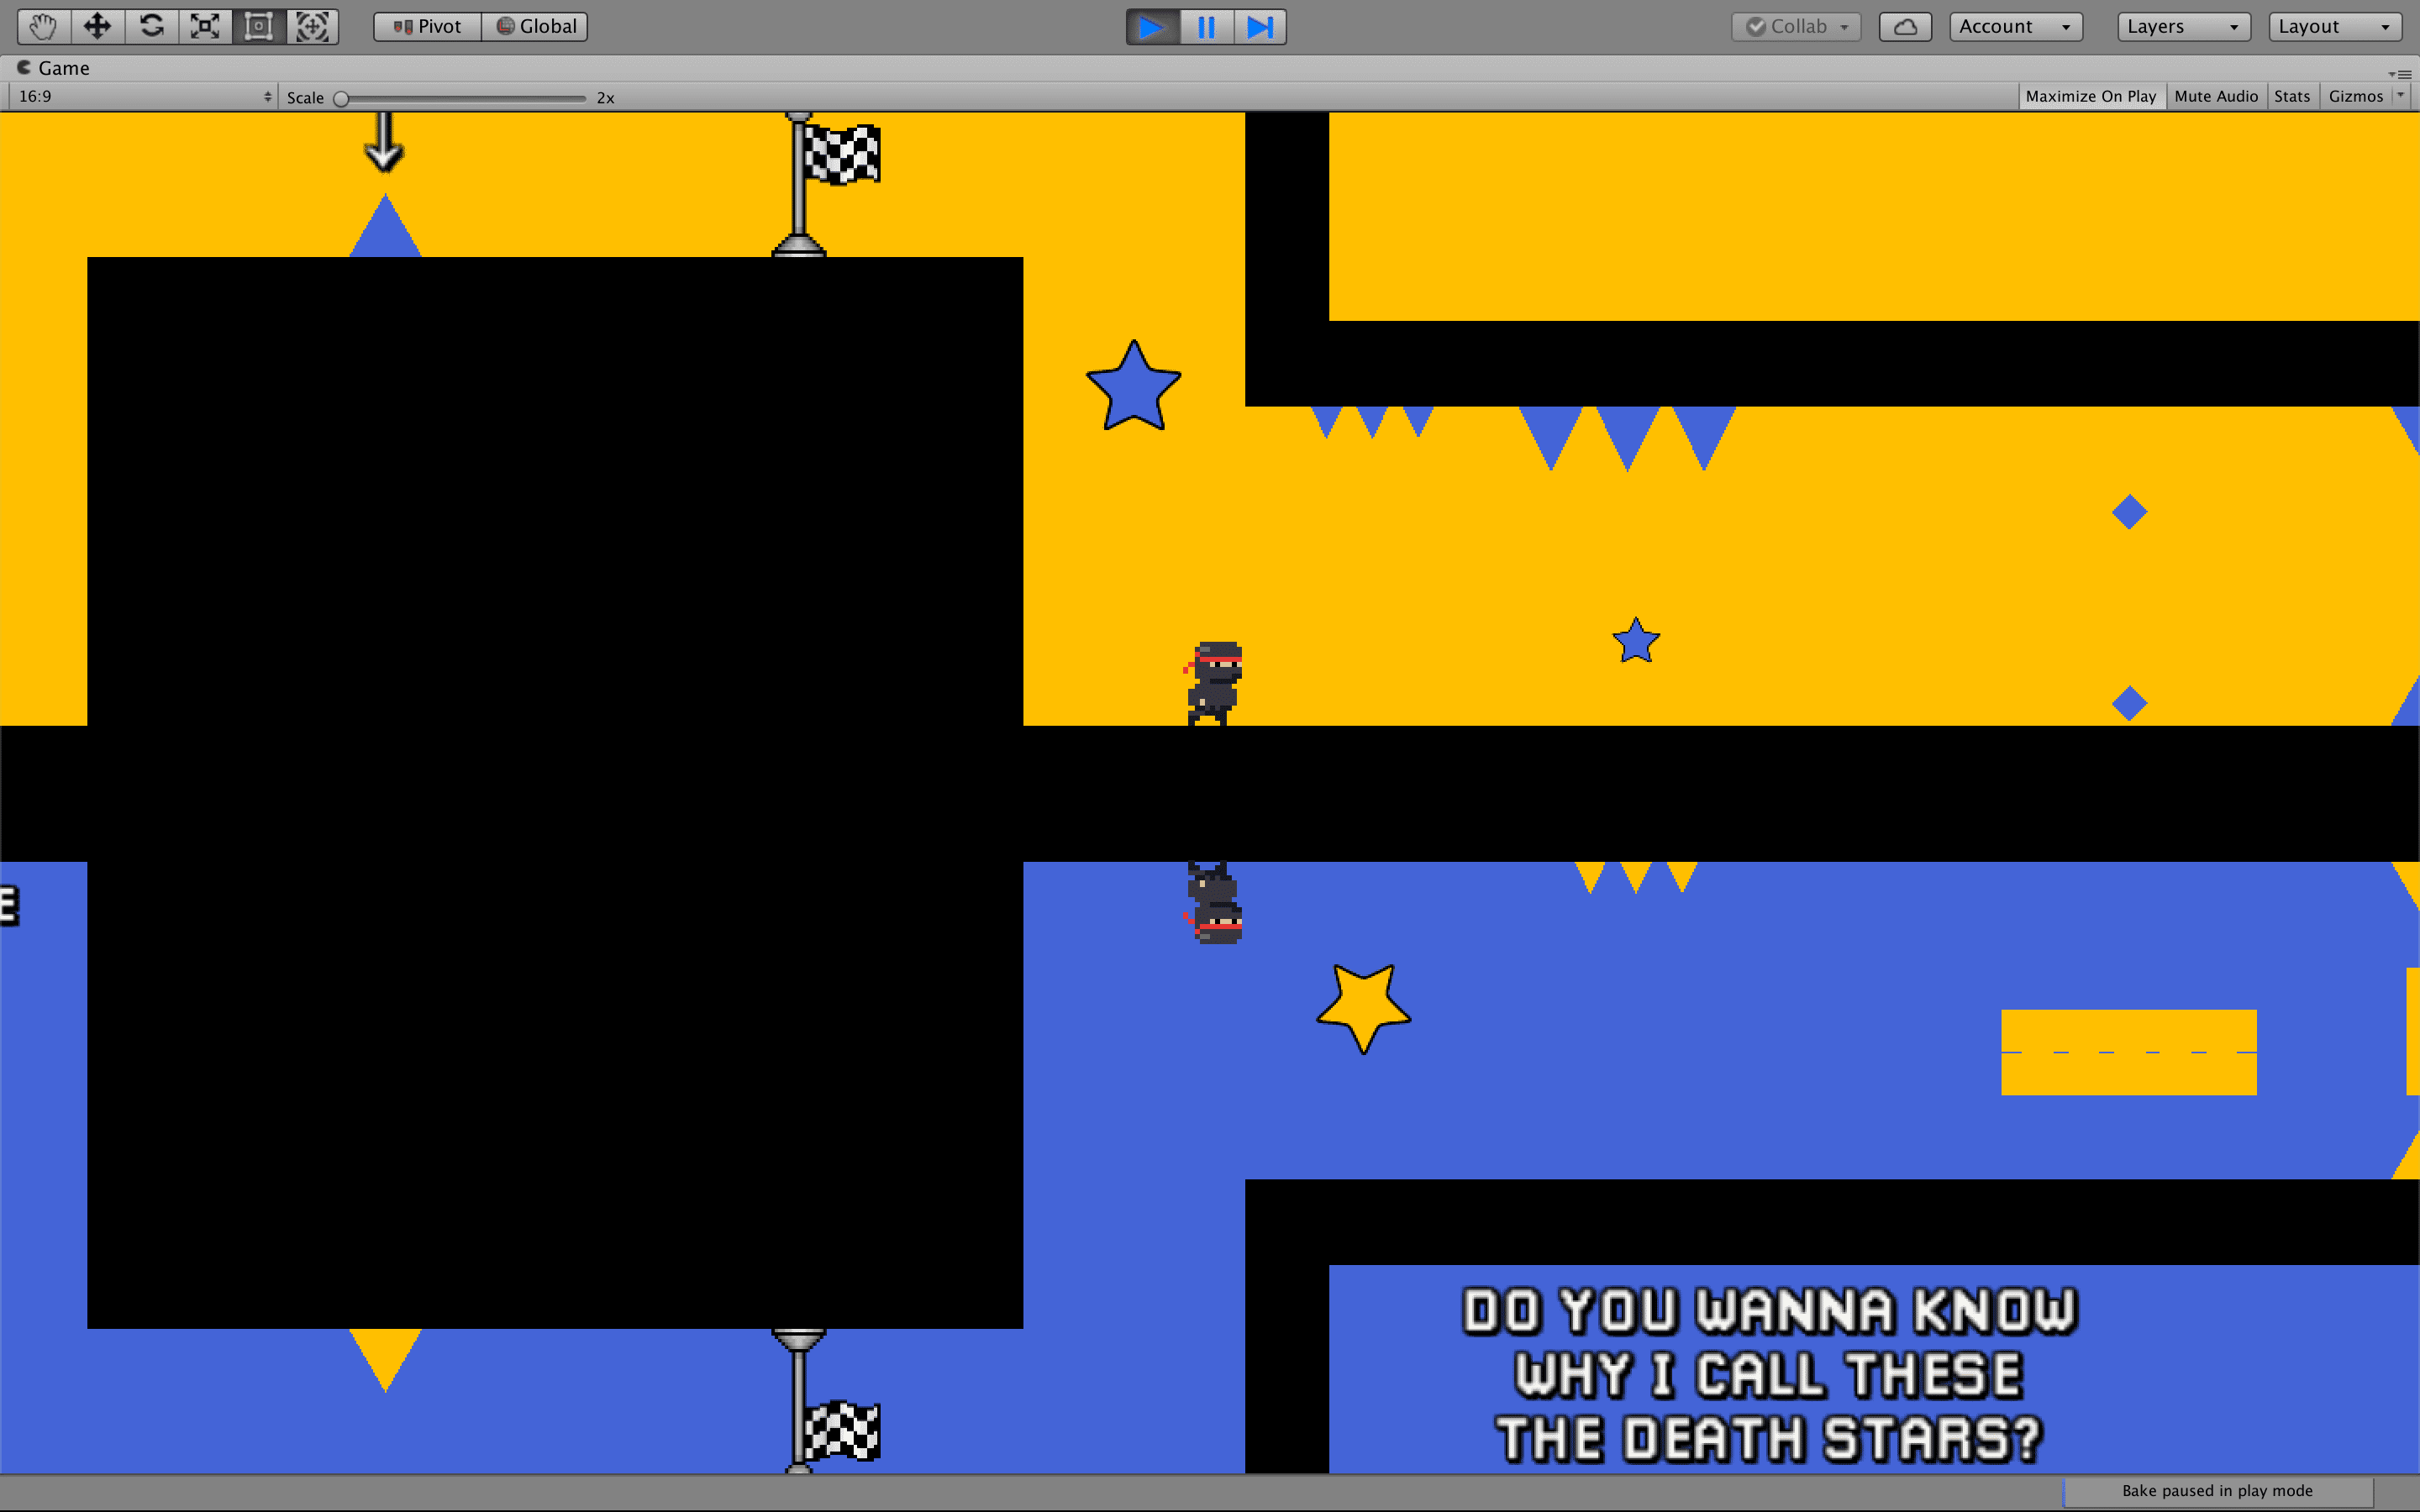
1E: shortened the original challenge, so players don't get confused about the diamond.
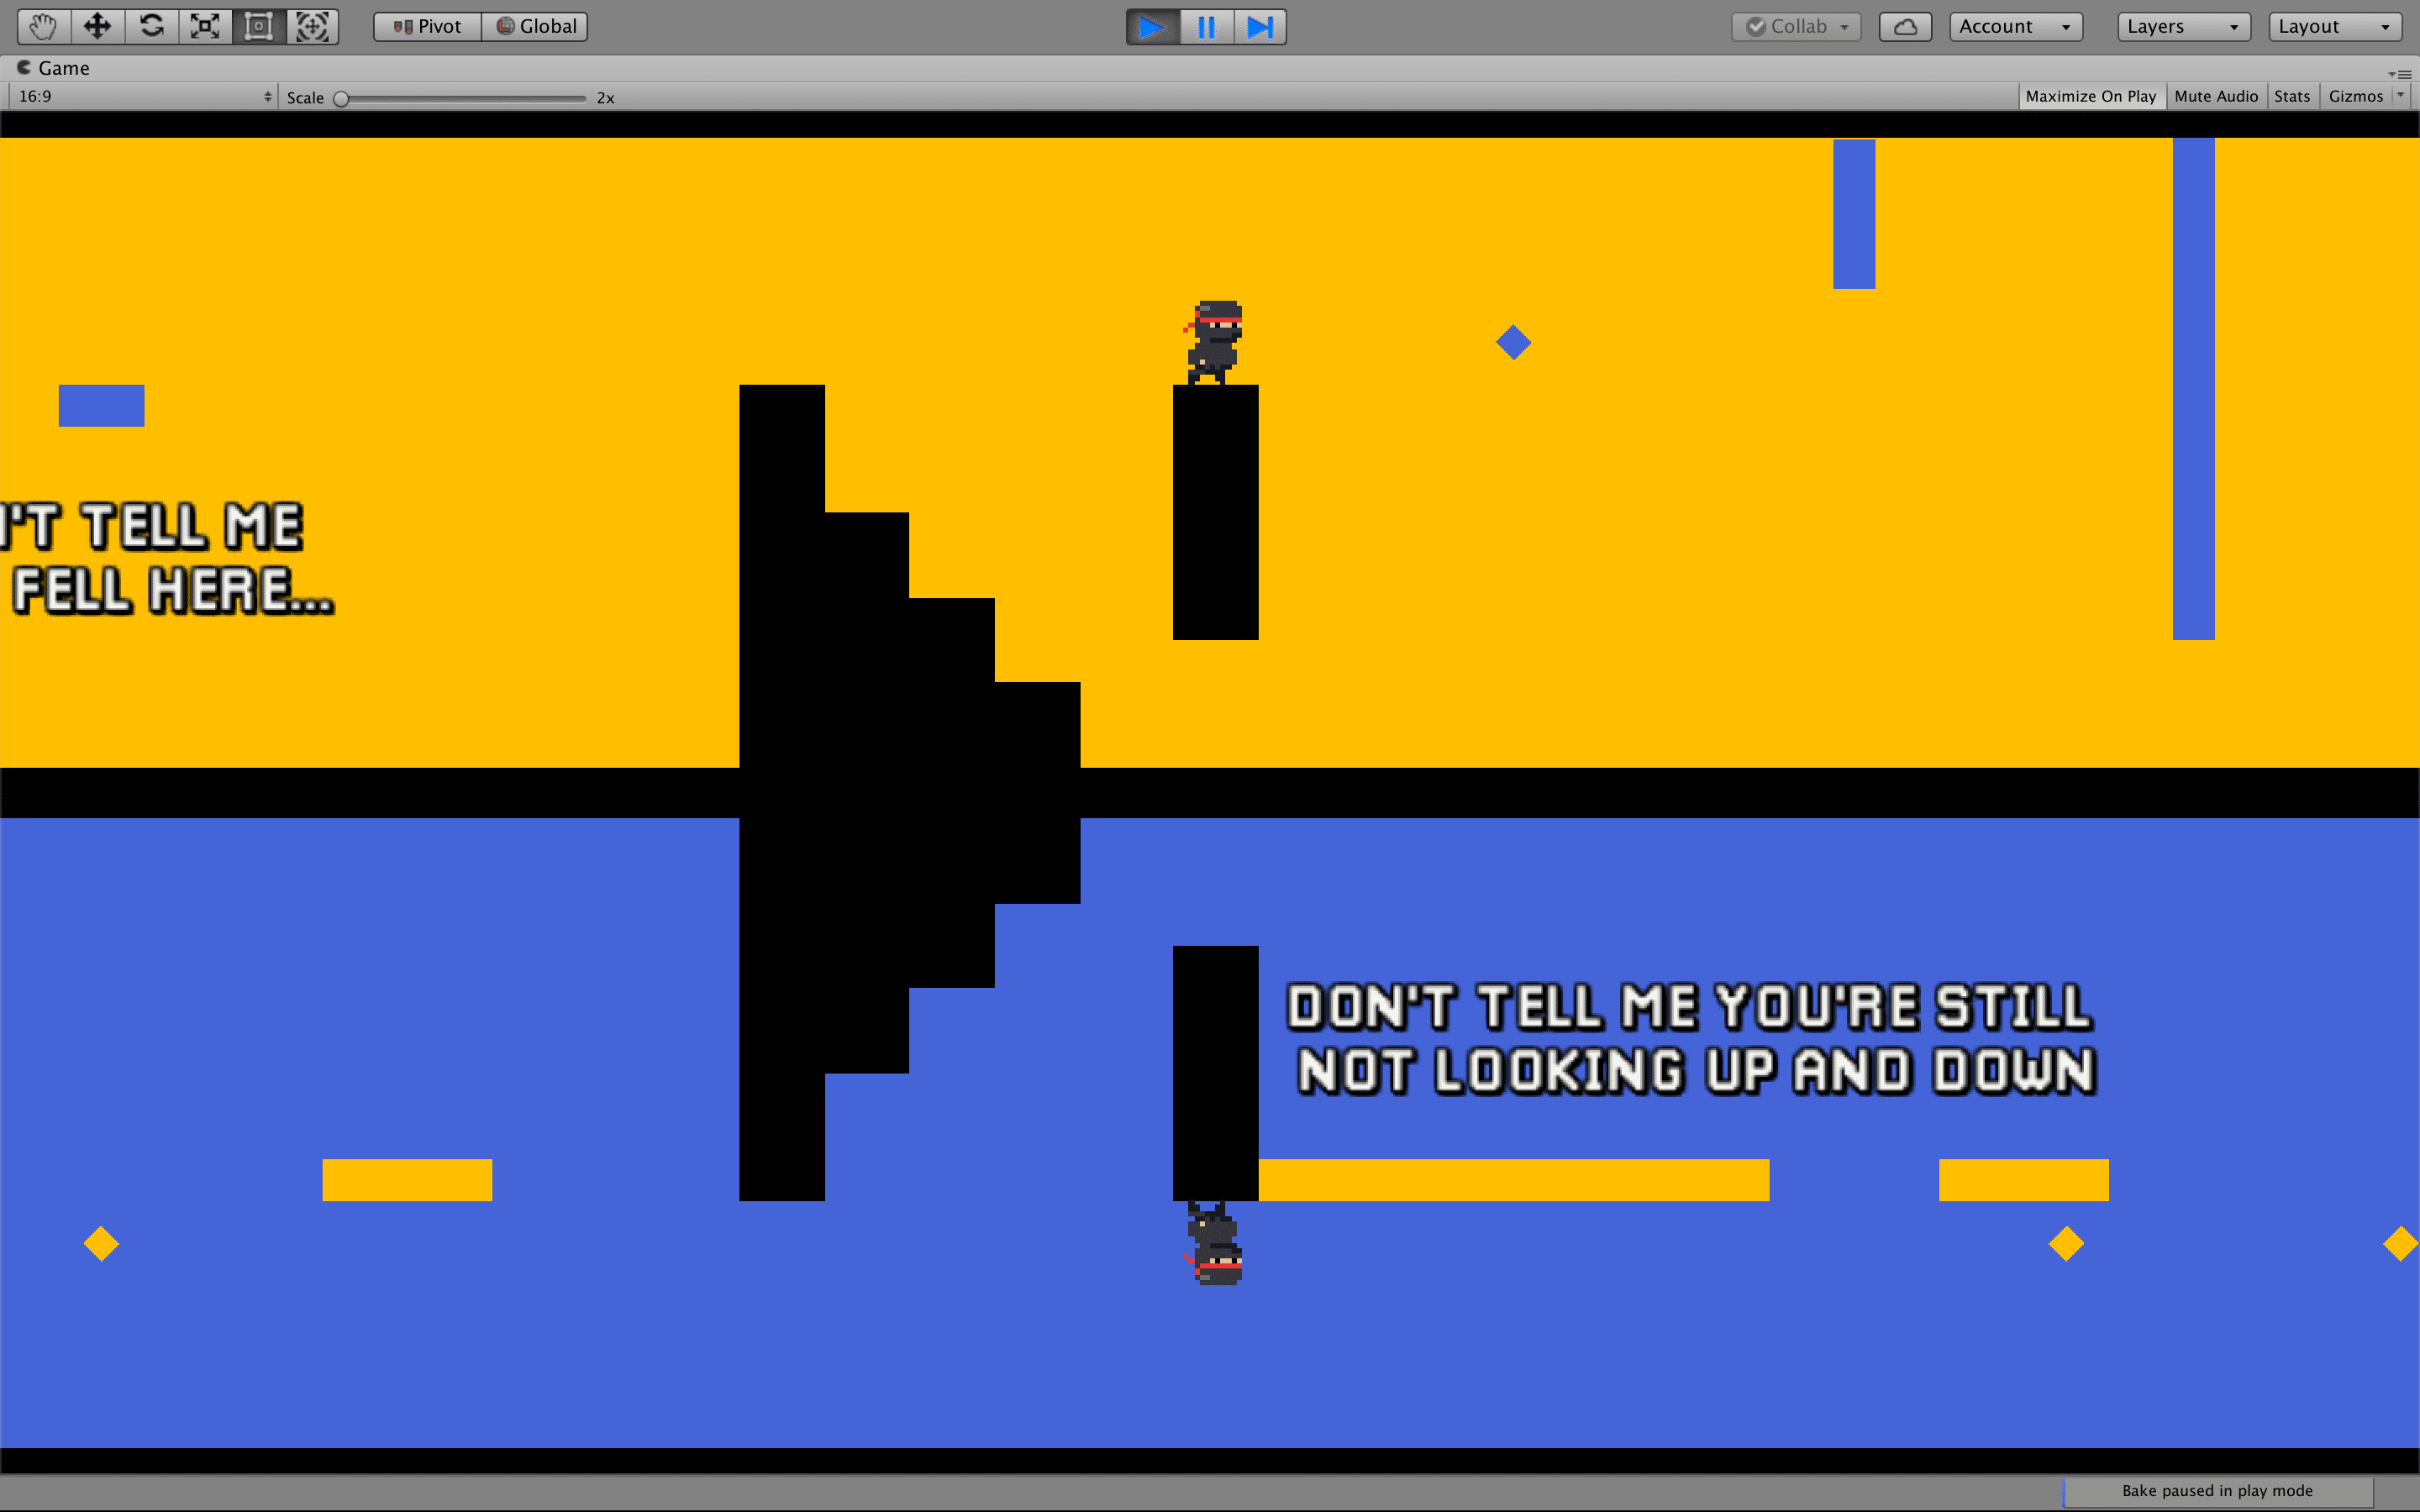
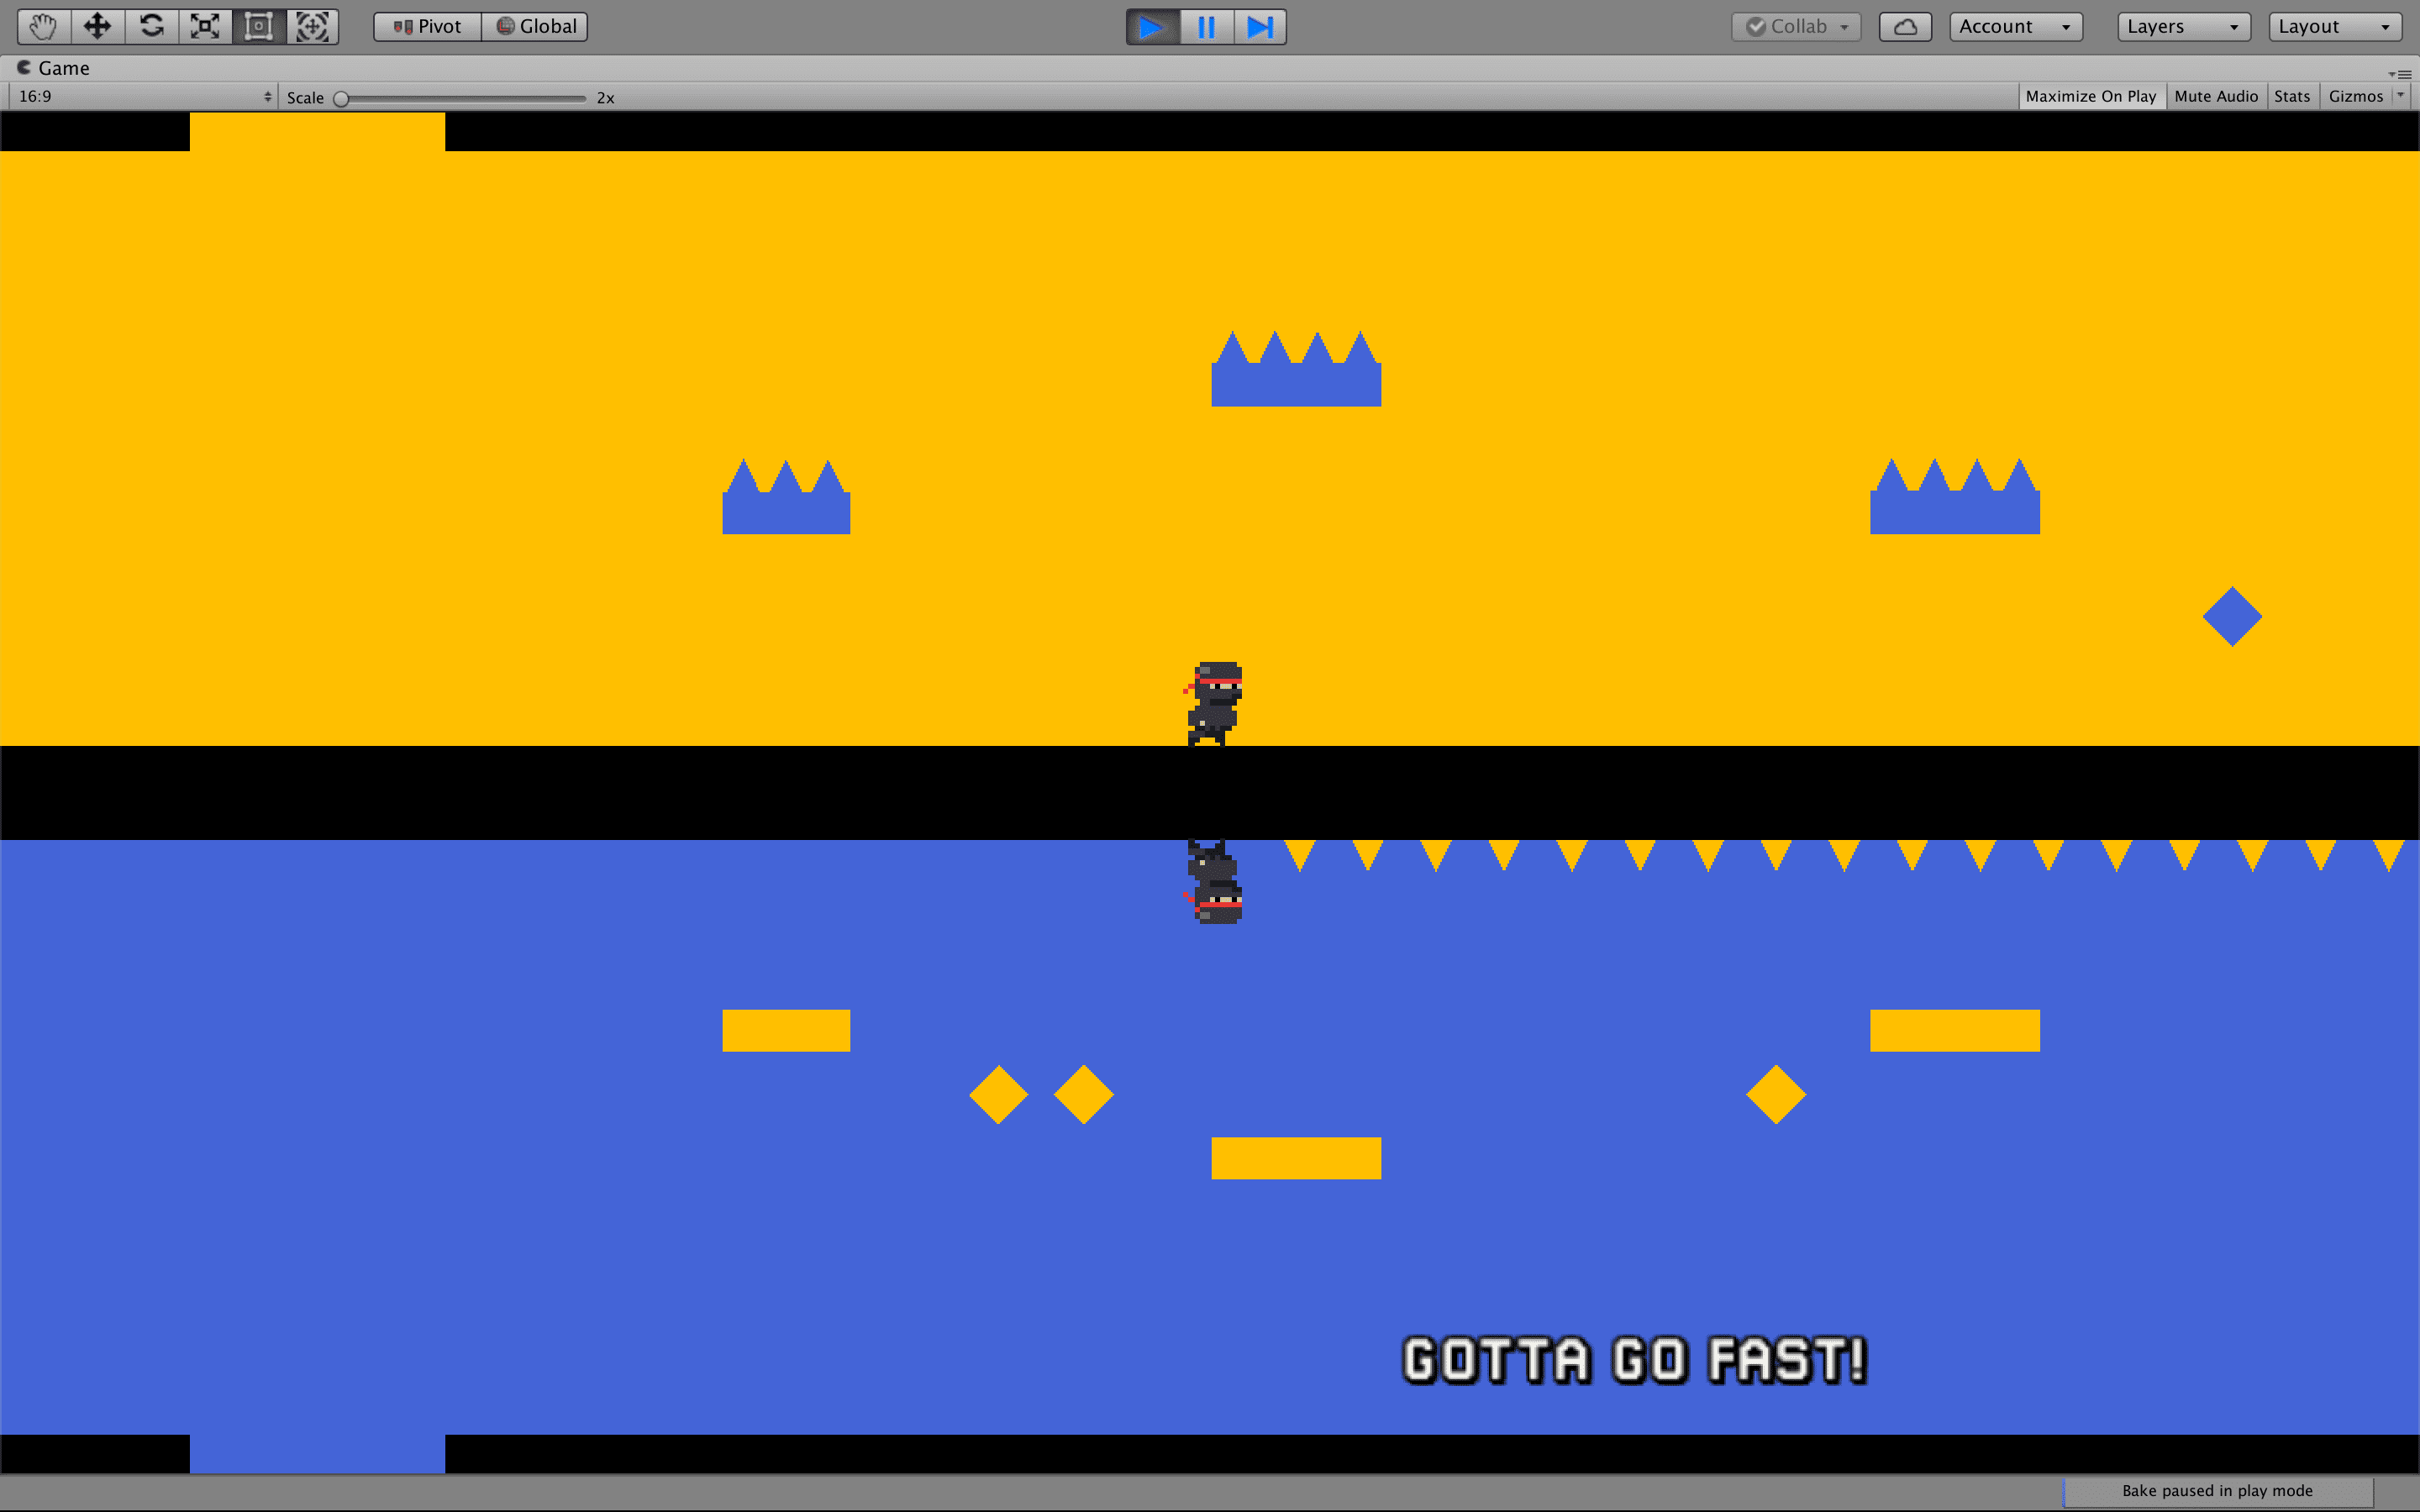
1F: new challenge: players have to do timed jumps to get the triggers and avoid the ones closer to the end.

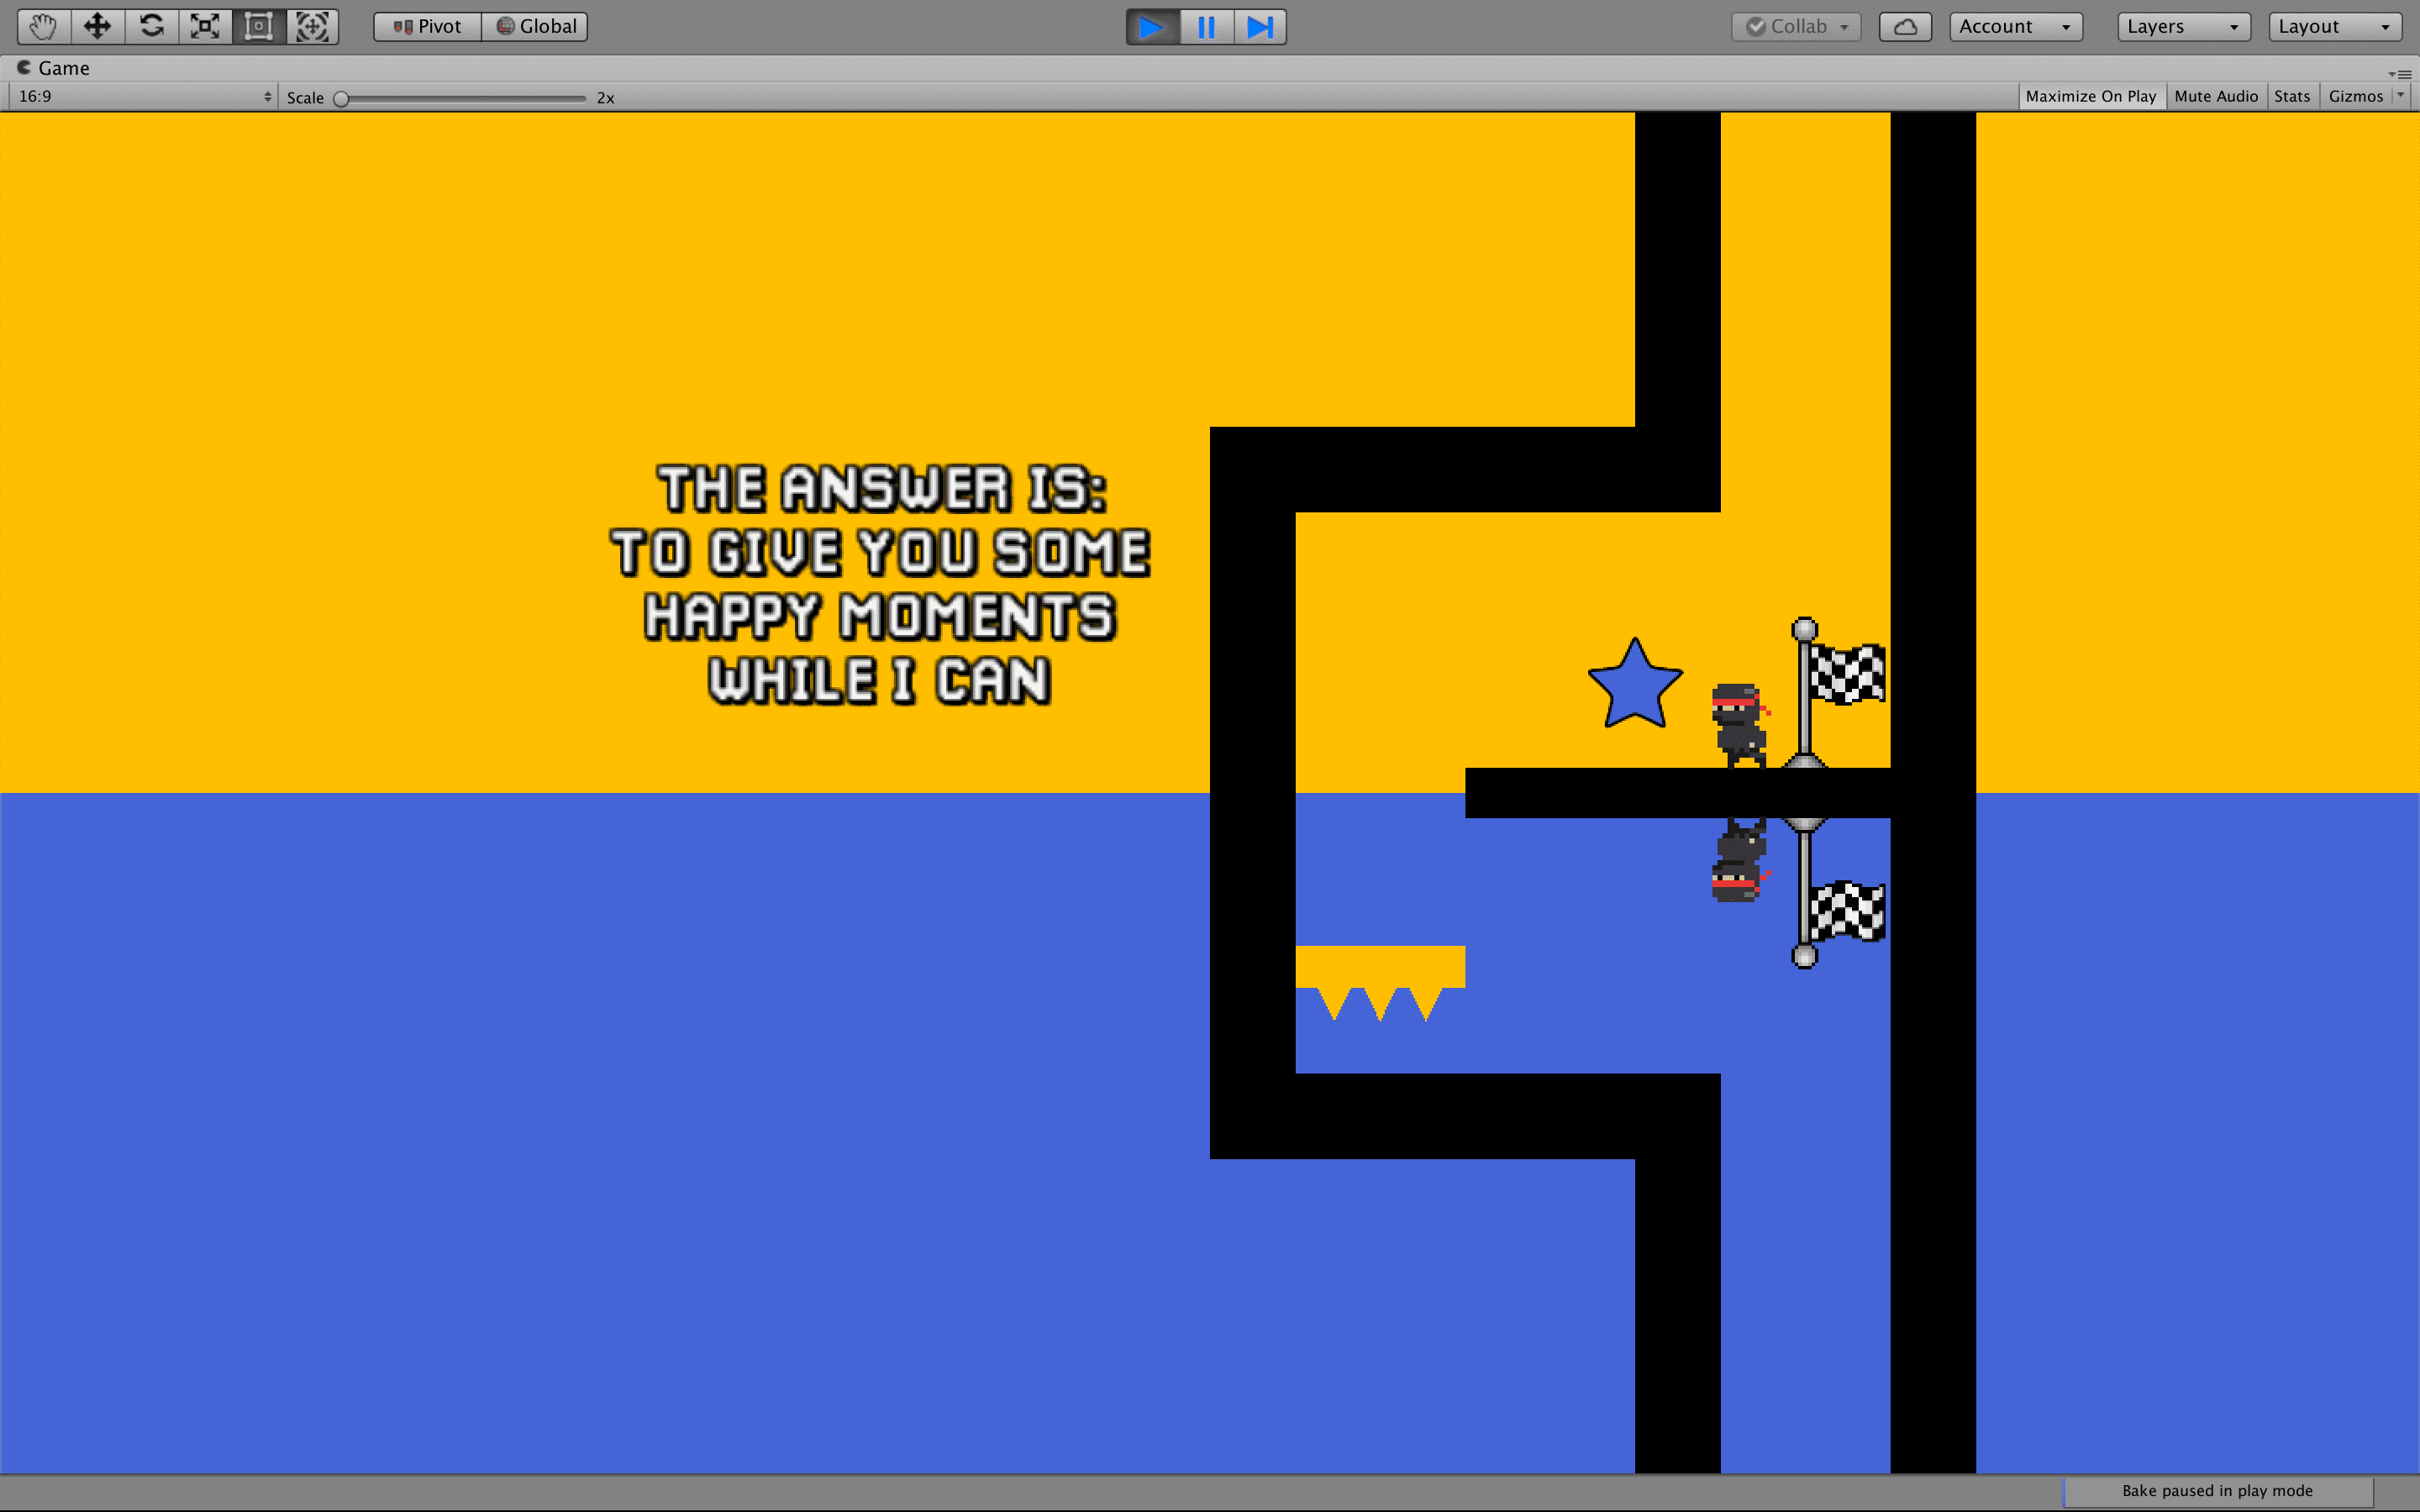
1G: few changes were made to make this challenge easier. We reduced platforms width, moved one of the traps up and decreased overall delay, so players can travel through the barriers a bit faster.
Level 2
(Video walkthrough)
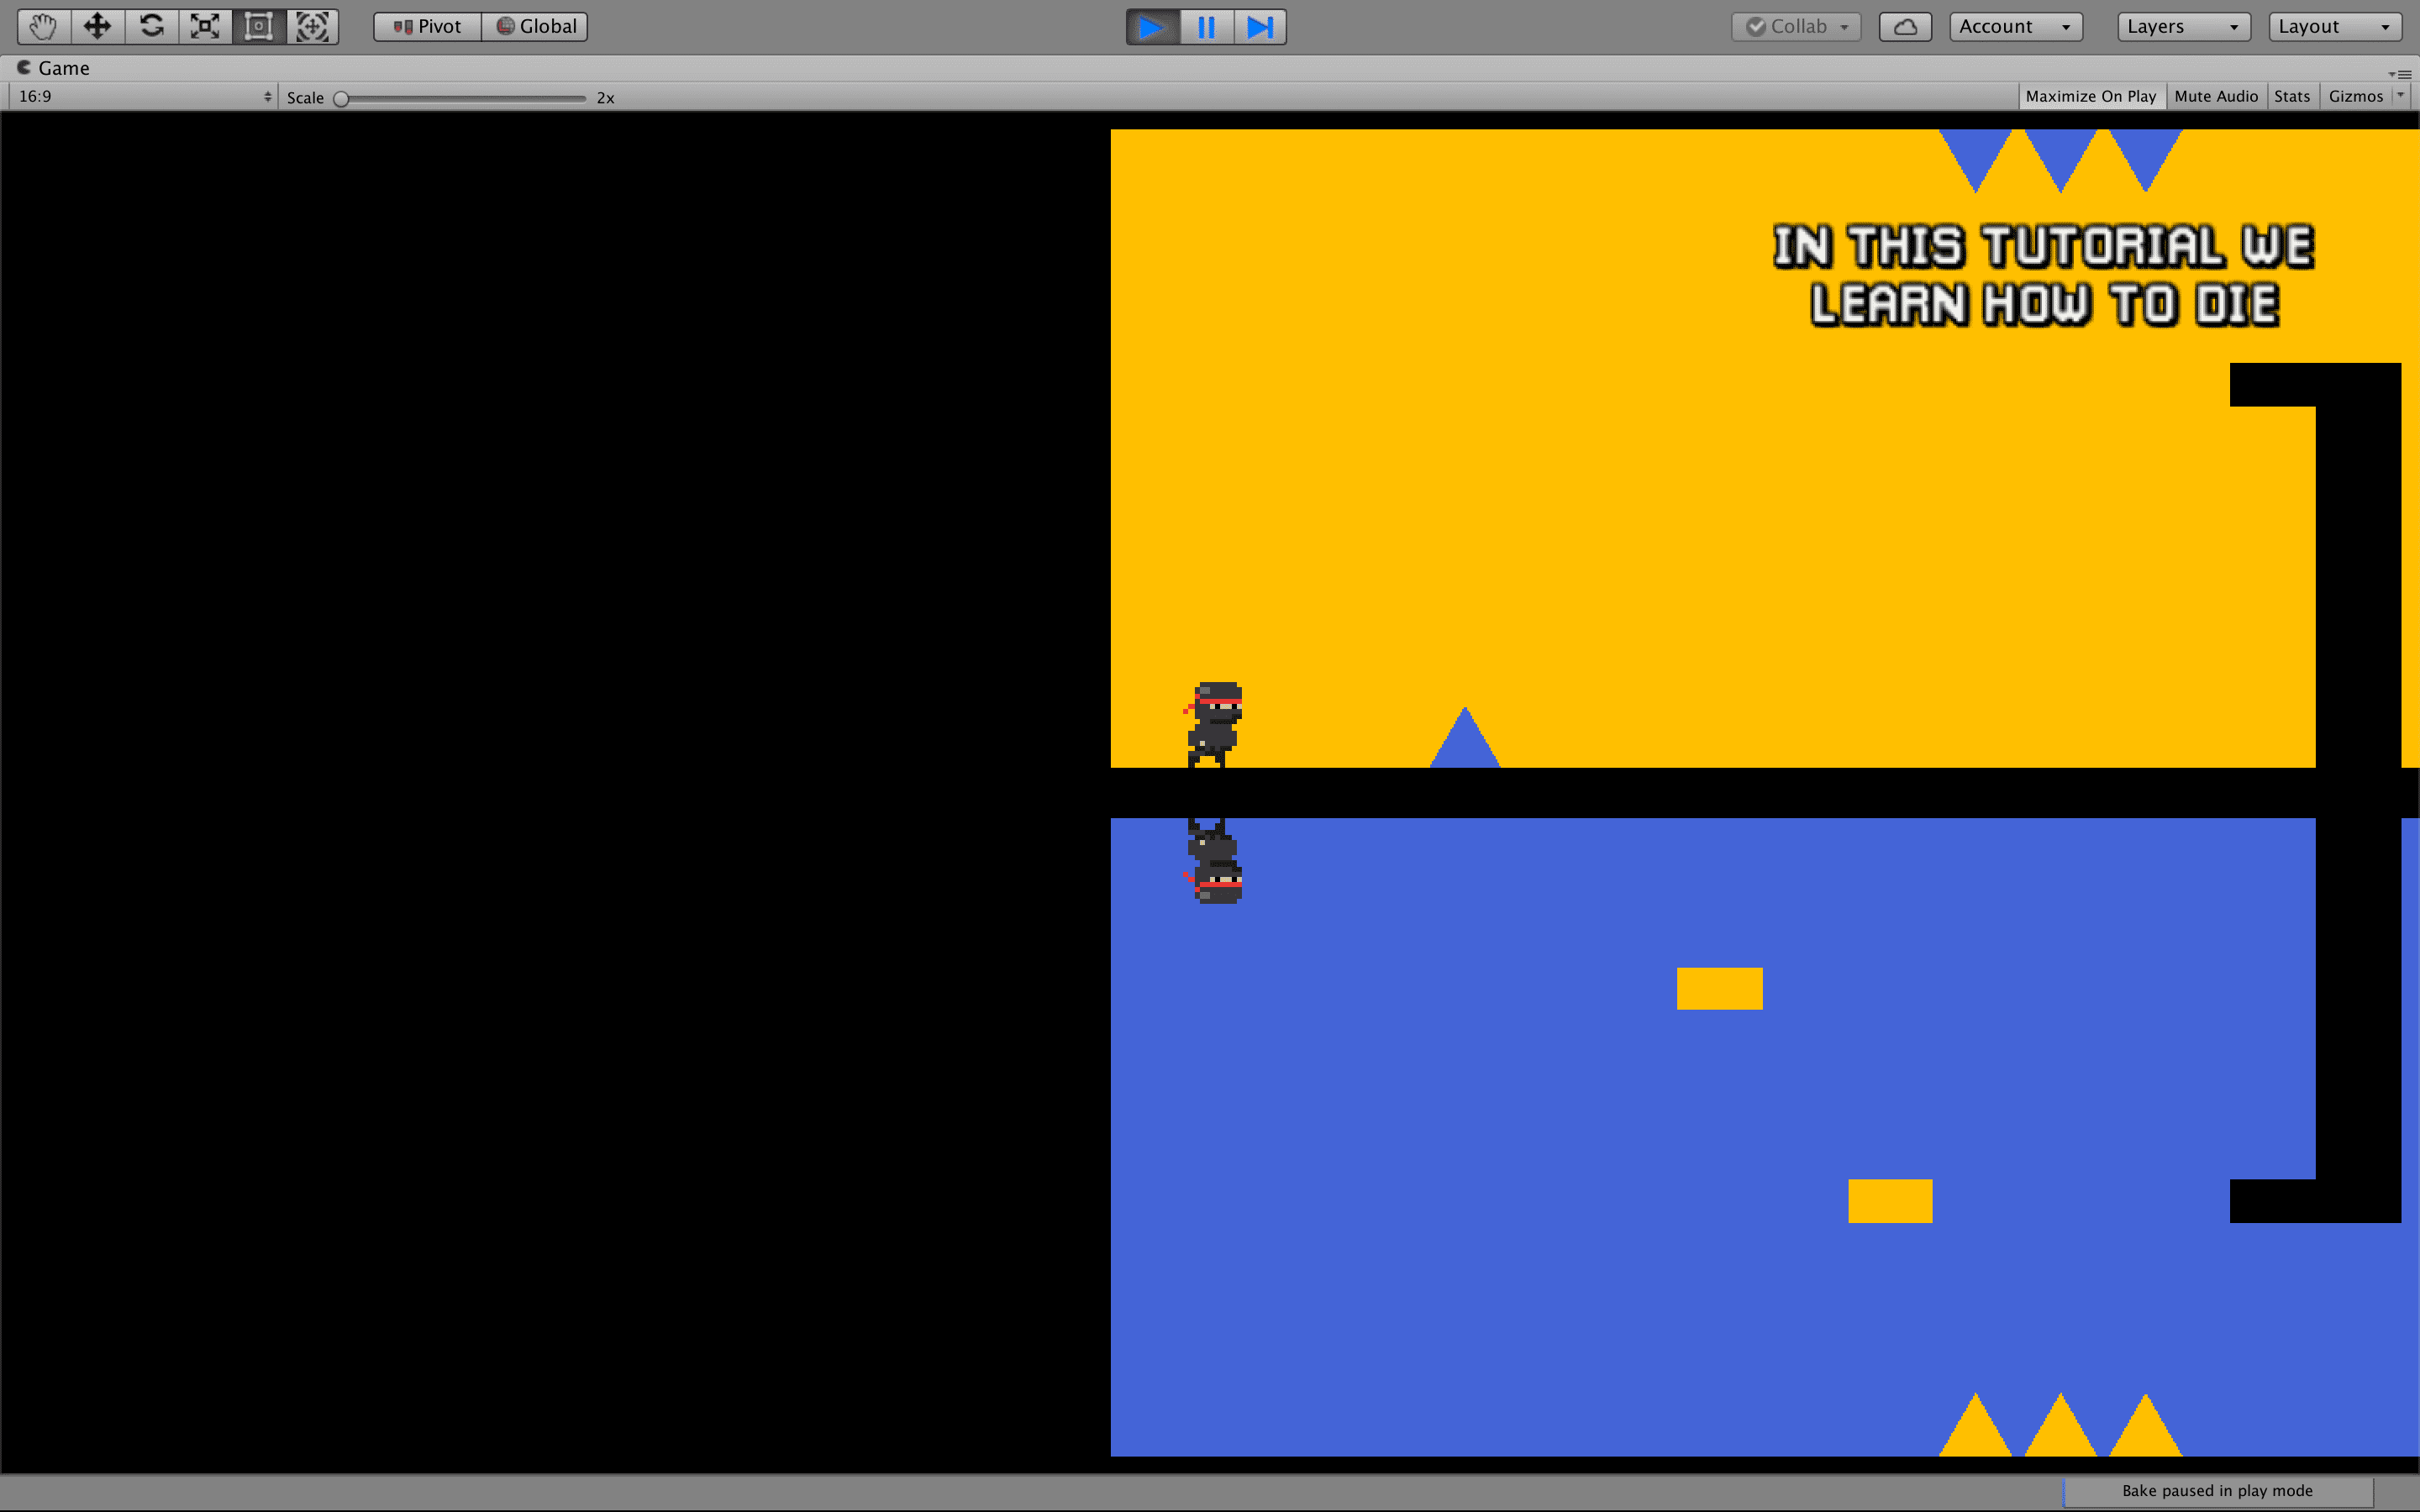
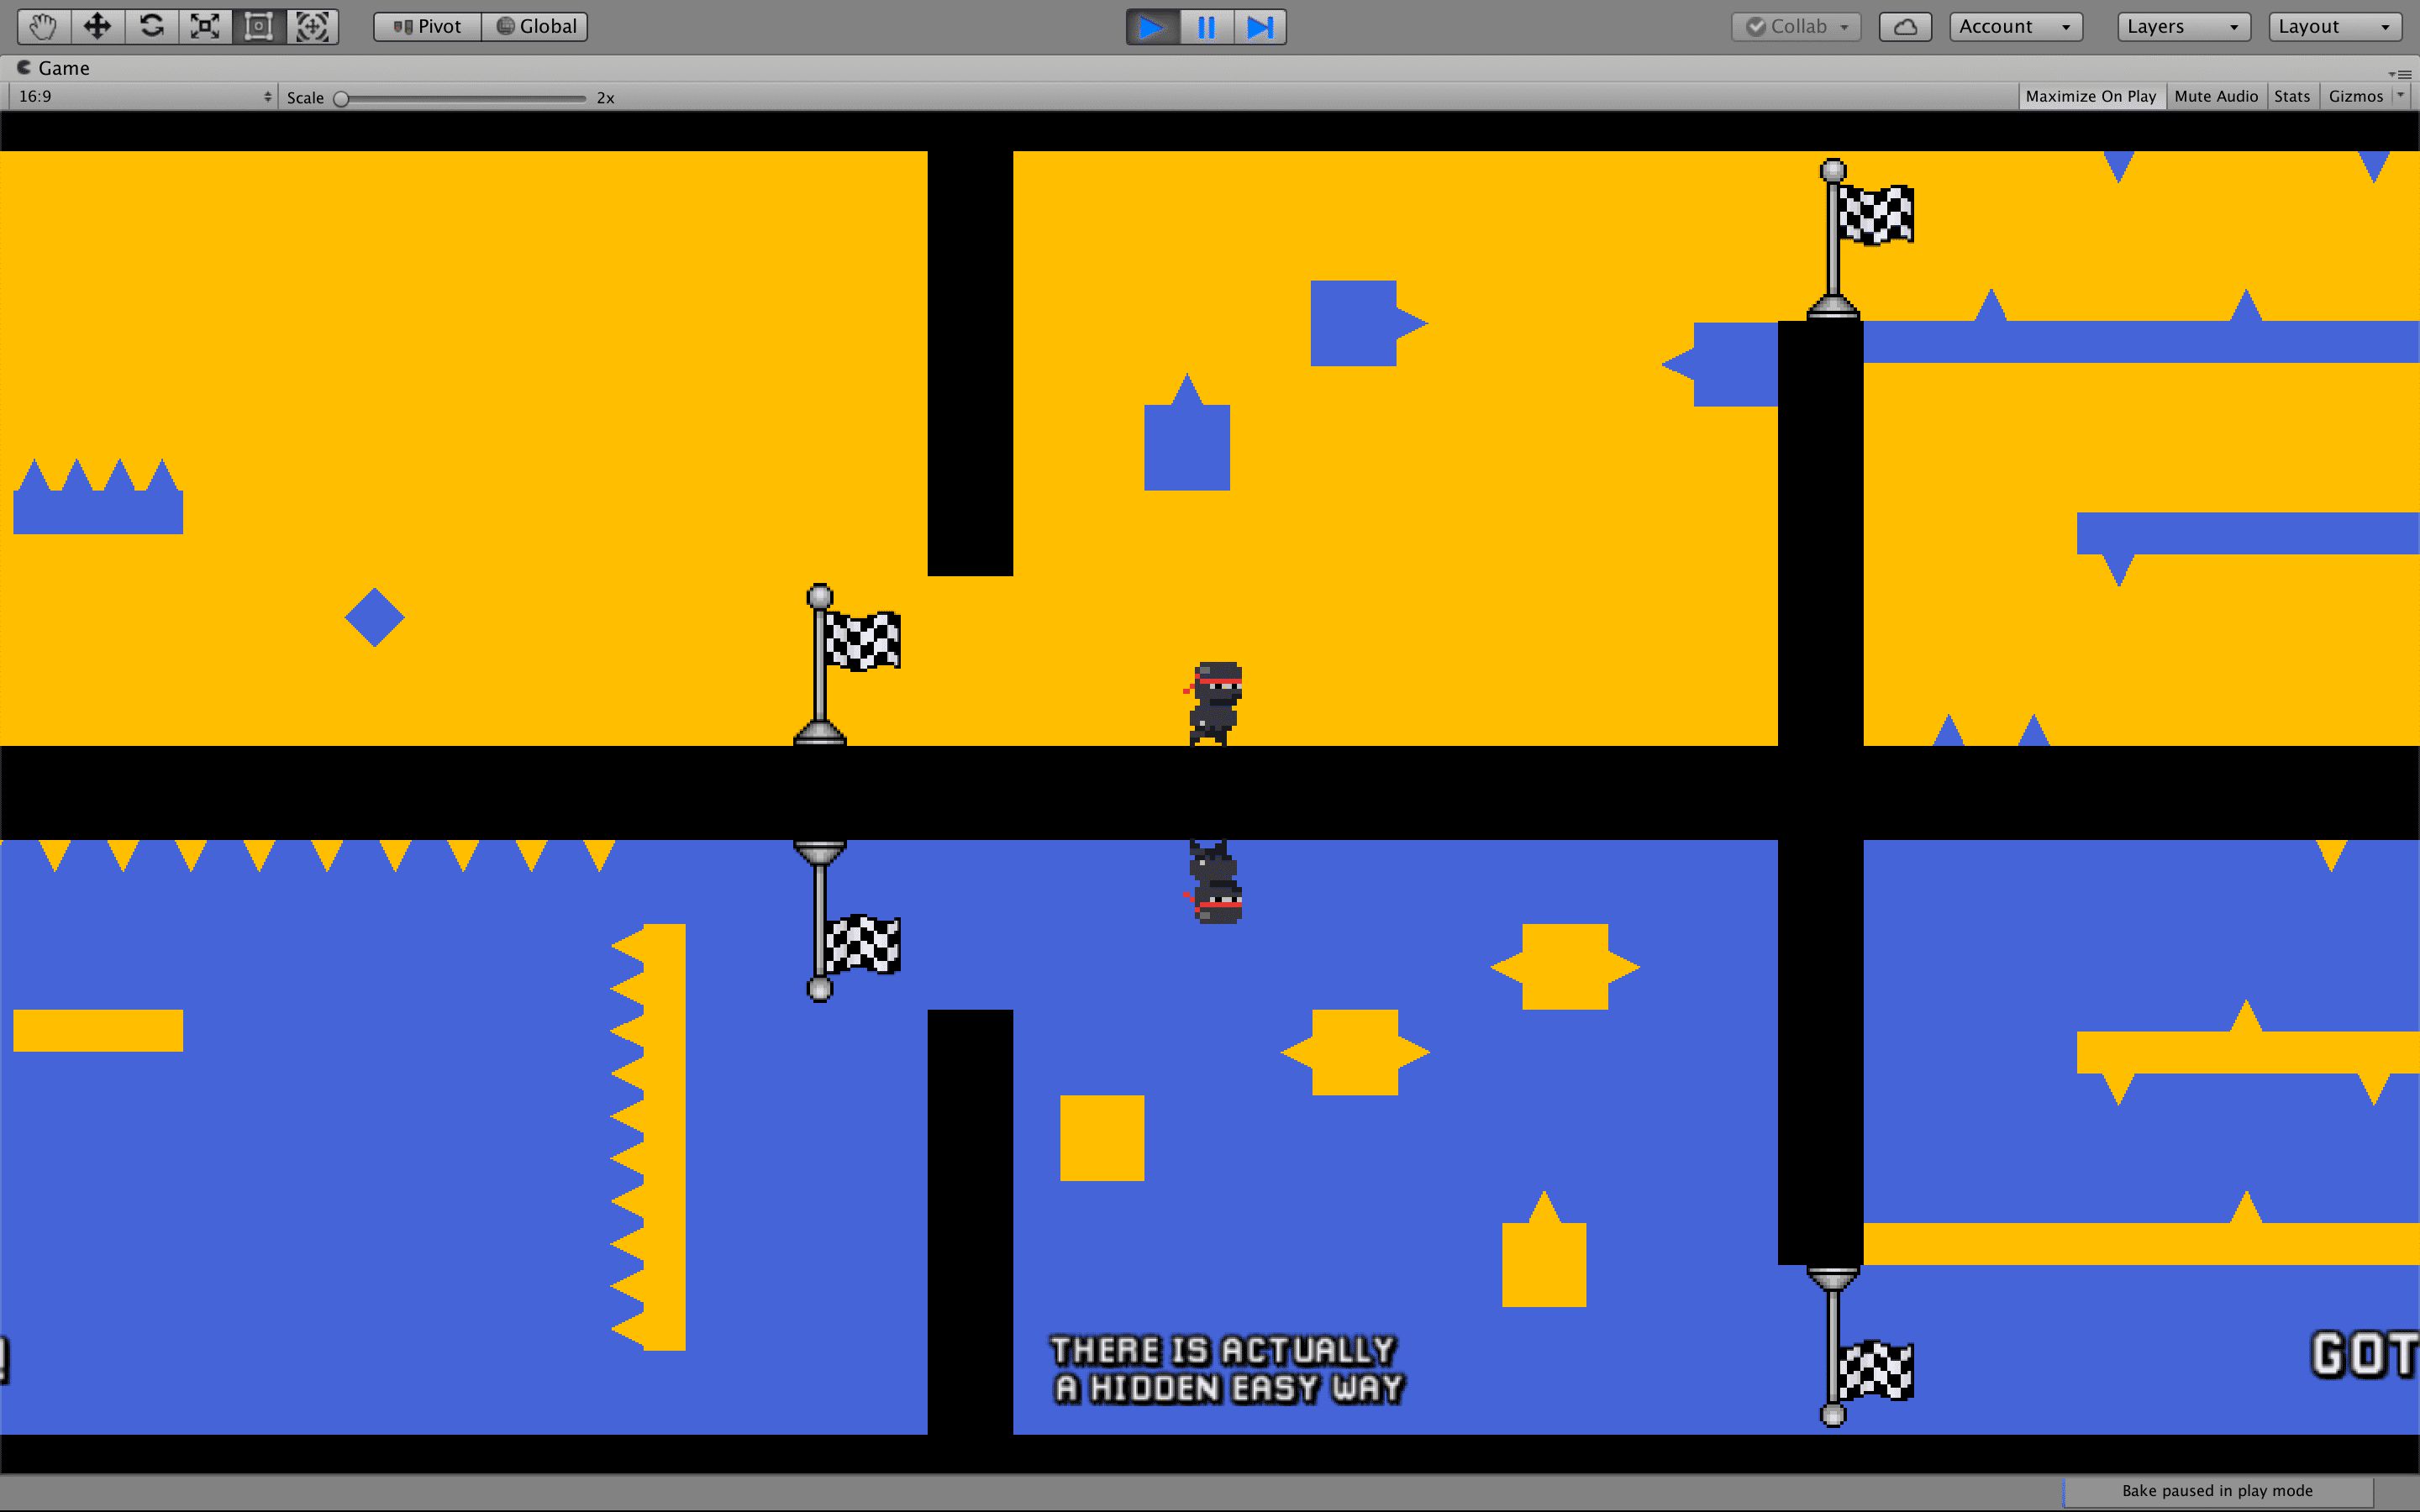
2A: reduced the number of spikes and added a spike in front of the player.
2B: added multiple spikes. Increased the right wall. Players now have to climb up do pass through it.
2C: better indications. Platforms were changed so that it is easier to climb up to the camera change area. The upper corridor now is a safe dead end. Reduced the length of the upper platform.
2D: visual change: switches are now stars.
2E: no changes.
Level 3
(Video walkthrough)

3A: no changes.
3B: no changes.
3C: no changes.
3D: reduced the amount of spikes and decreased overall delay from the switches.
3E: changed some triggers' positions, removed the first group of spikes. Added a spike barrier that requires a trigger to vanish at the end.
3F: new challenge: players must look to both screens to careful plan precise jumps.
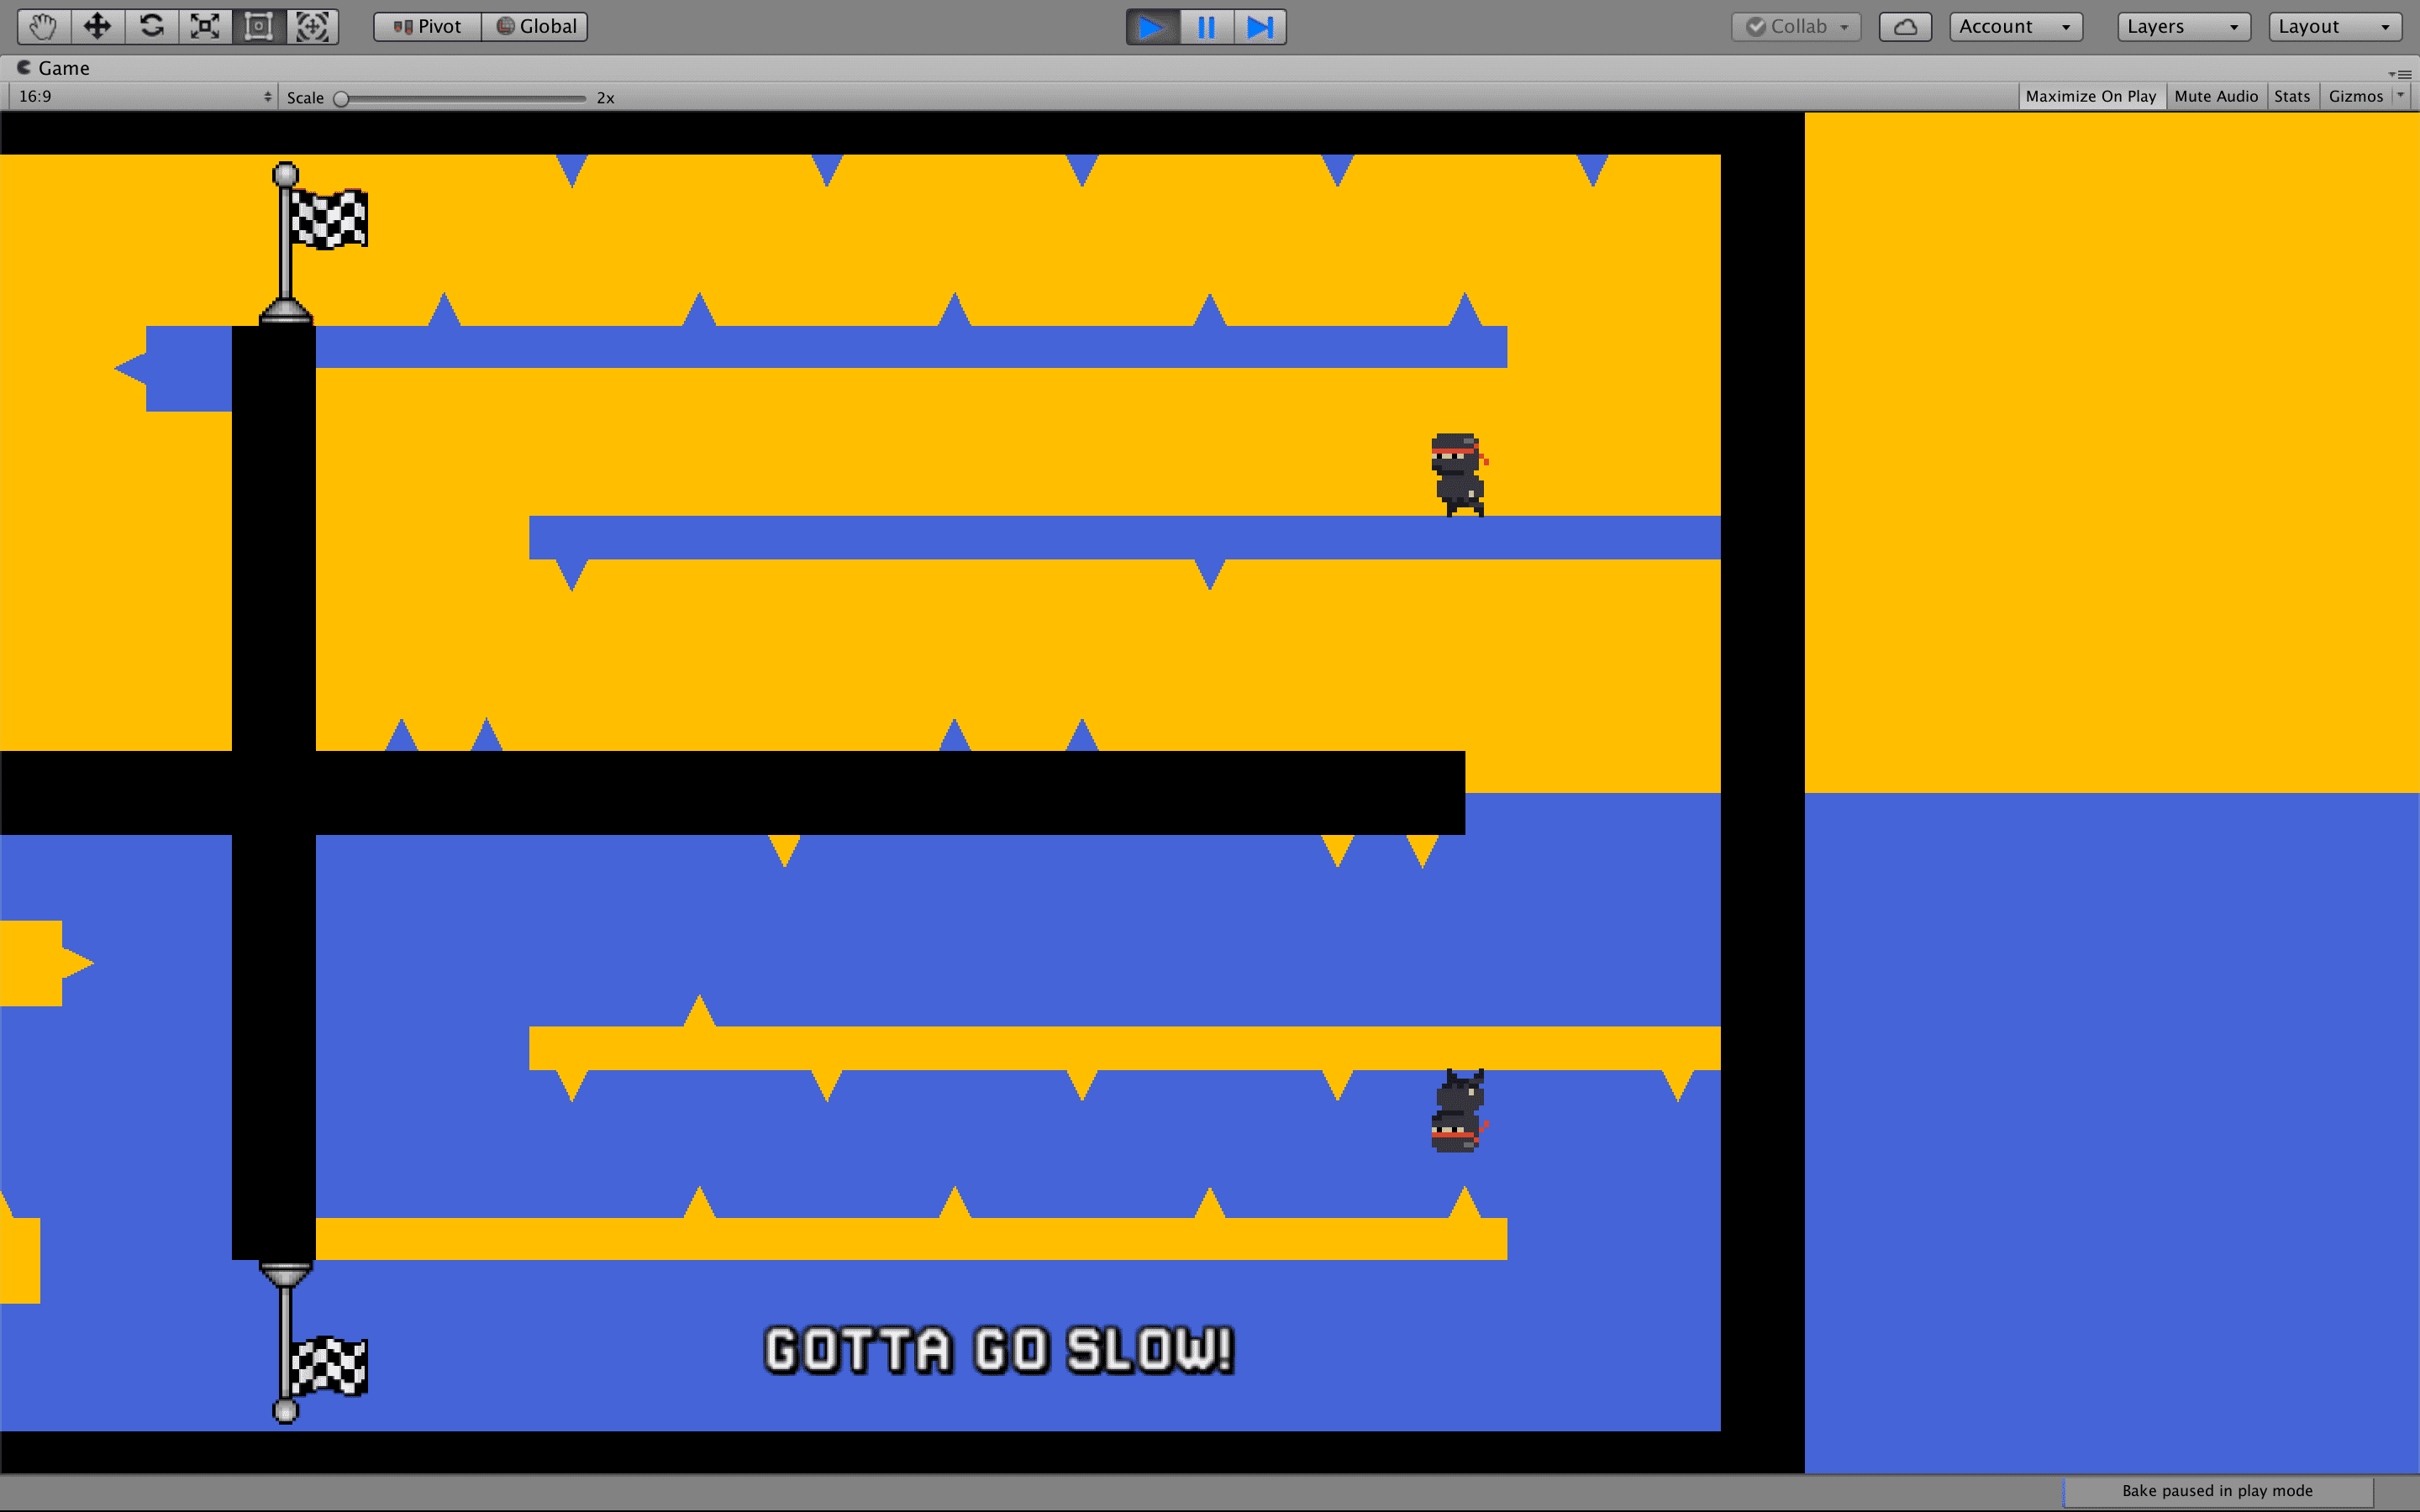
3G: no changes.
3H: small layout changes to facilitate in-air manouvering.