Game Design (v3)
Level 1
(Video walkthrough)
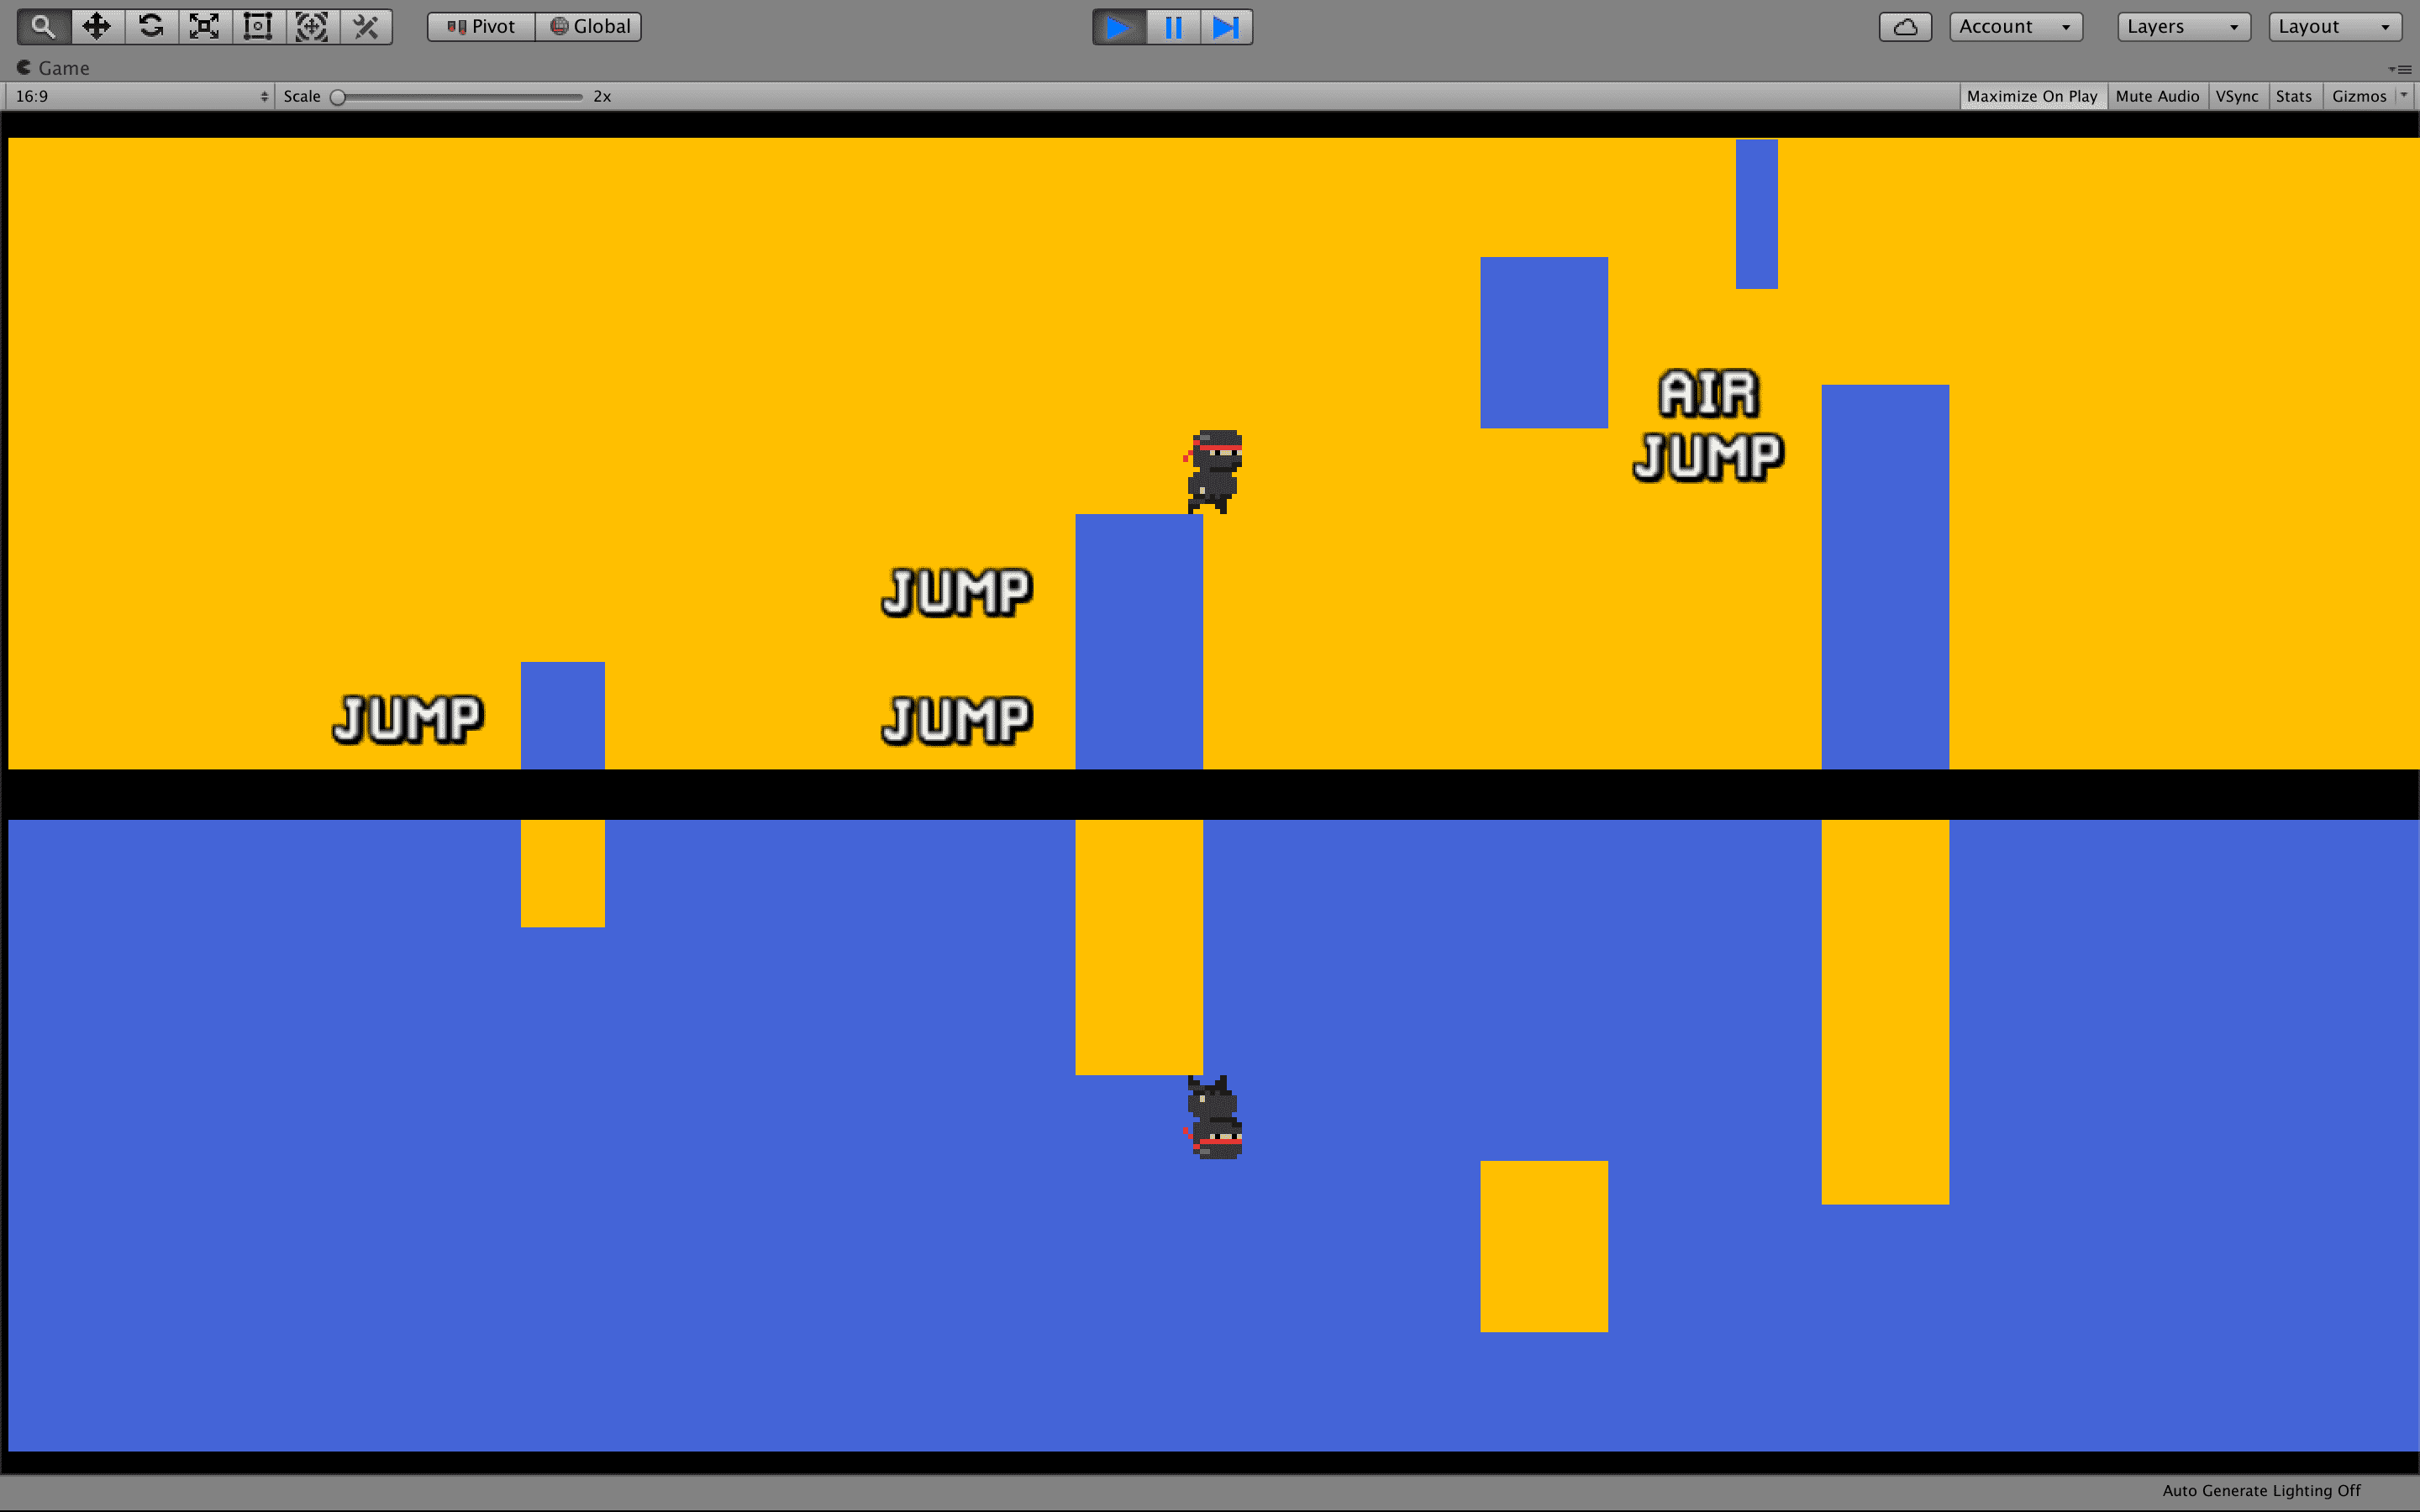
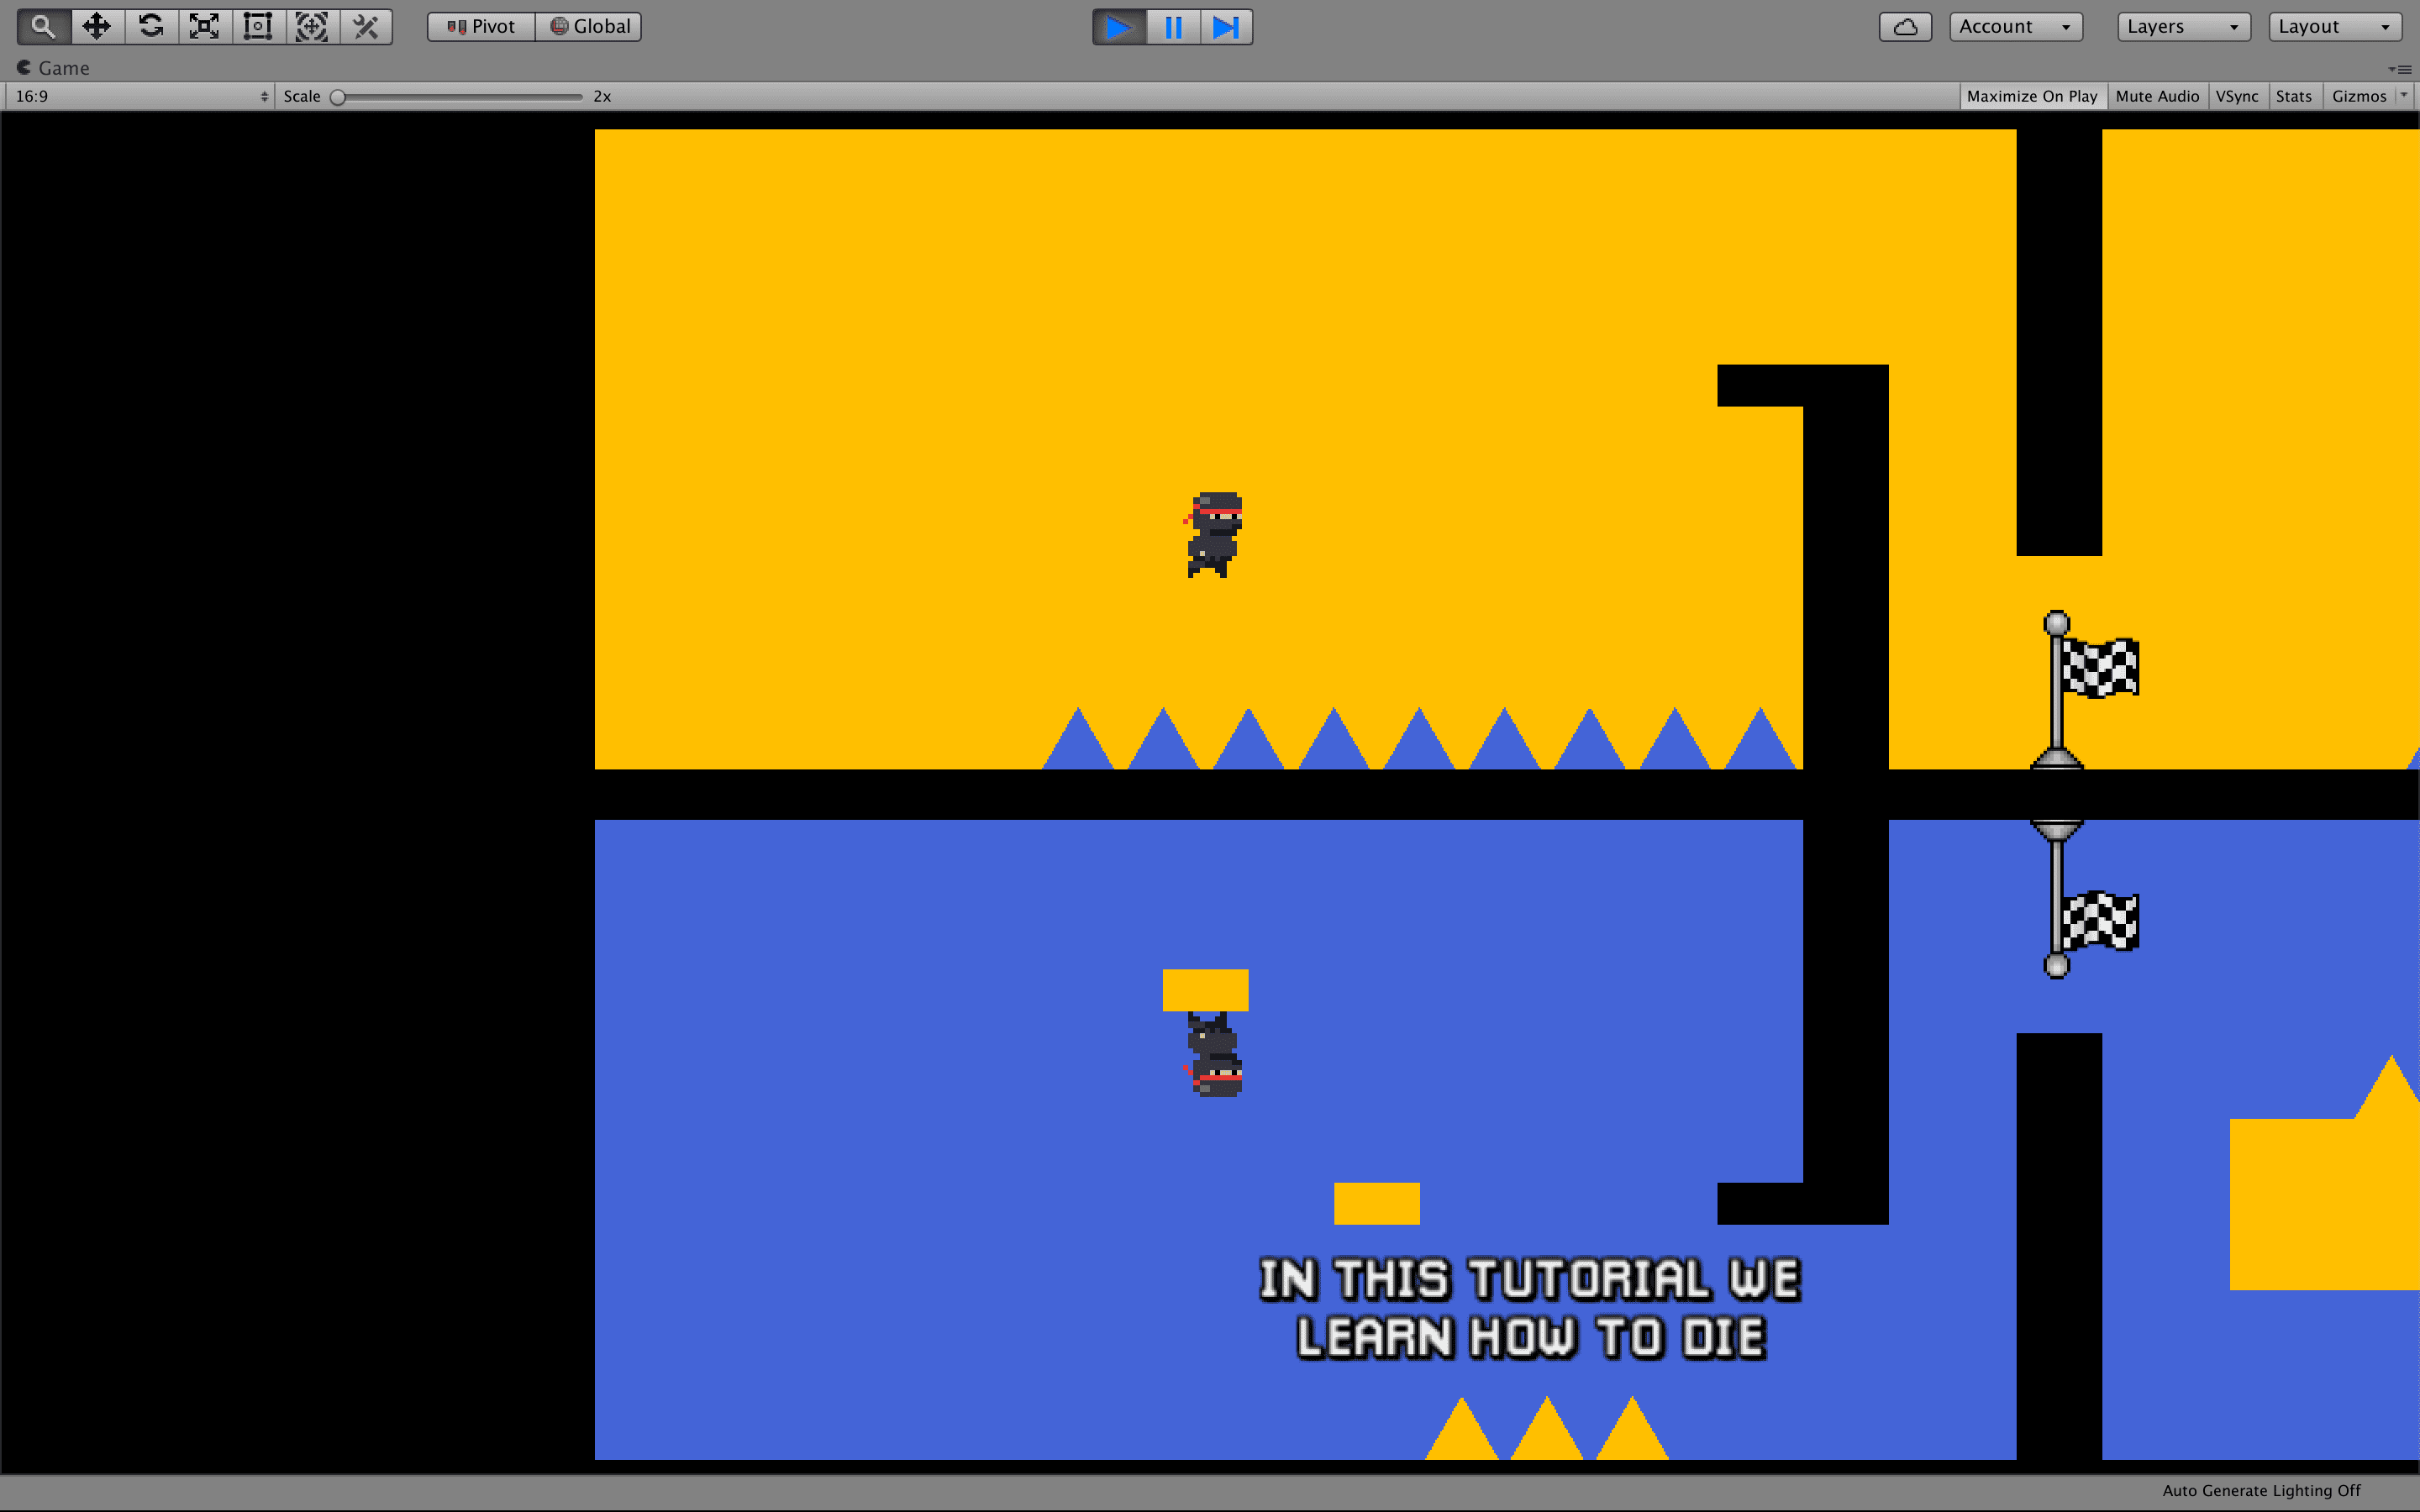
1A: here we changed the overall difficulty and presented all jumping mechanincs, as we felt players left the tutorial in v1 without knowing certain aspects of them.
1B: added a gap and two platforms that must be climbed to reach the top.

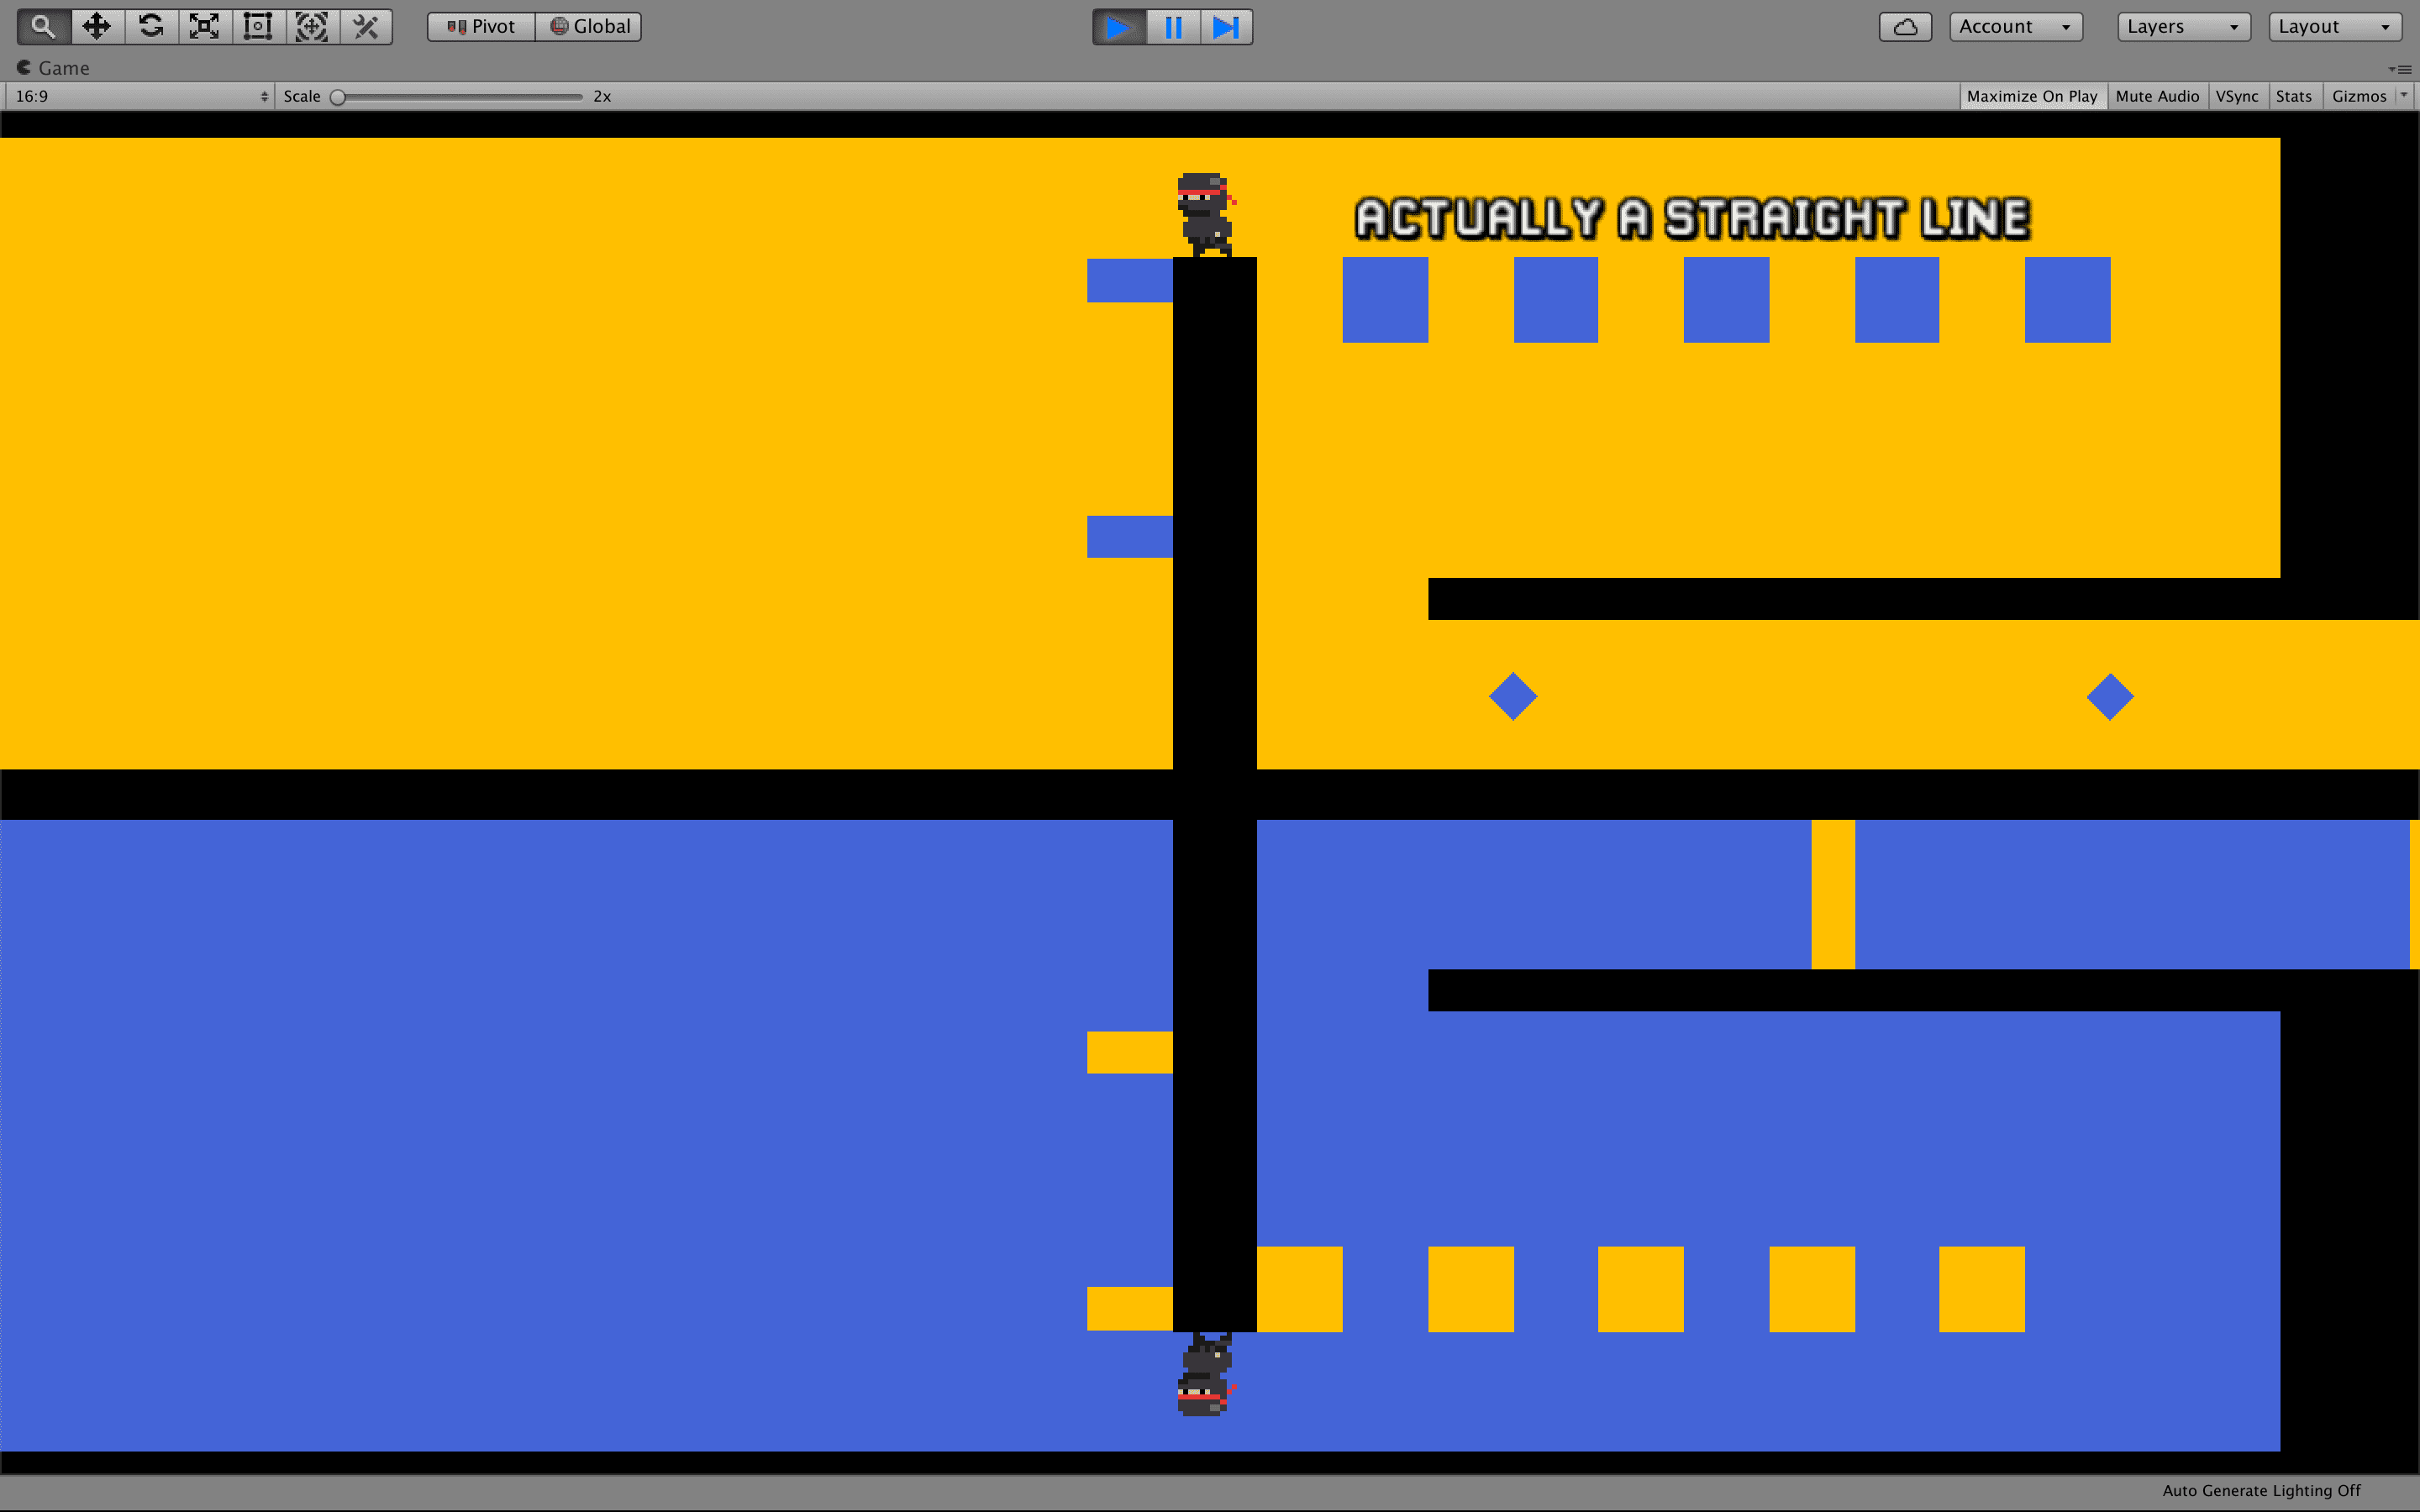
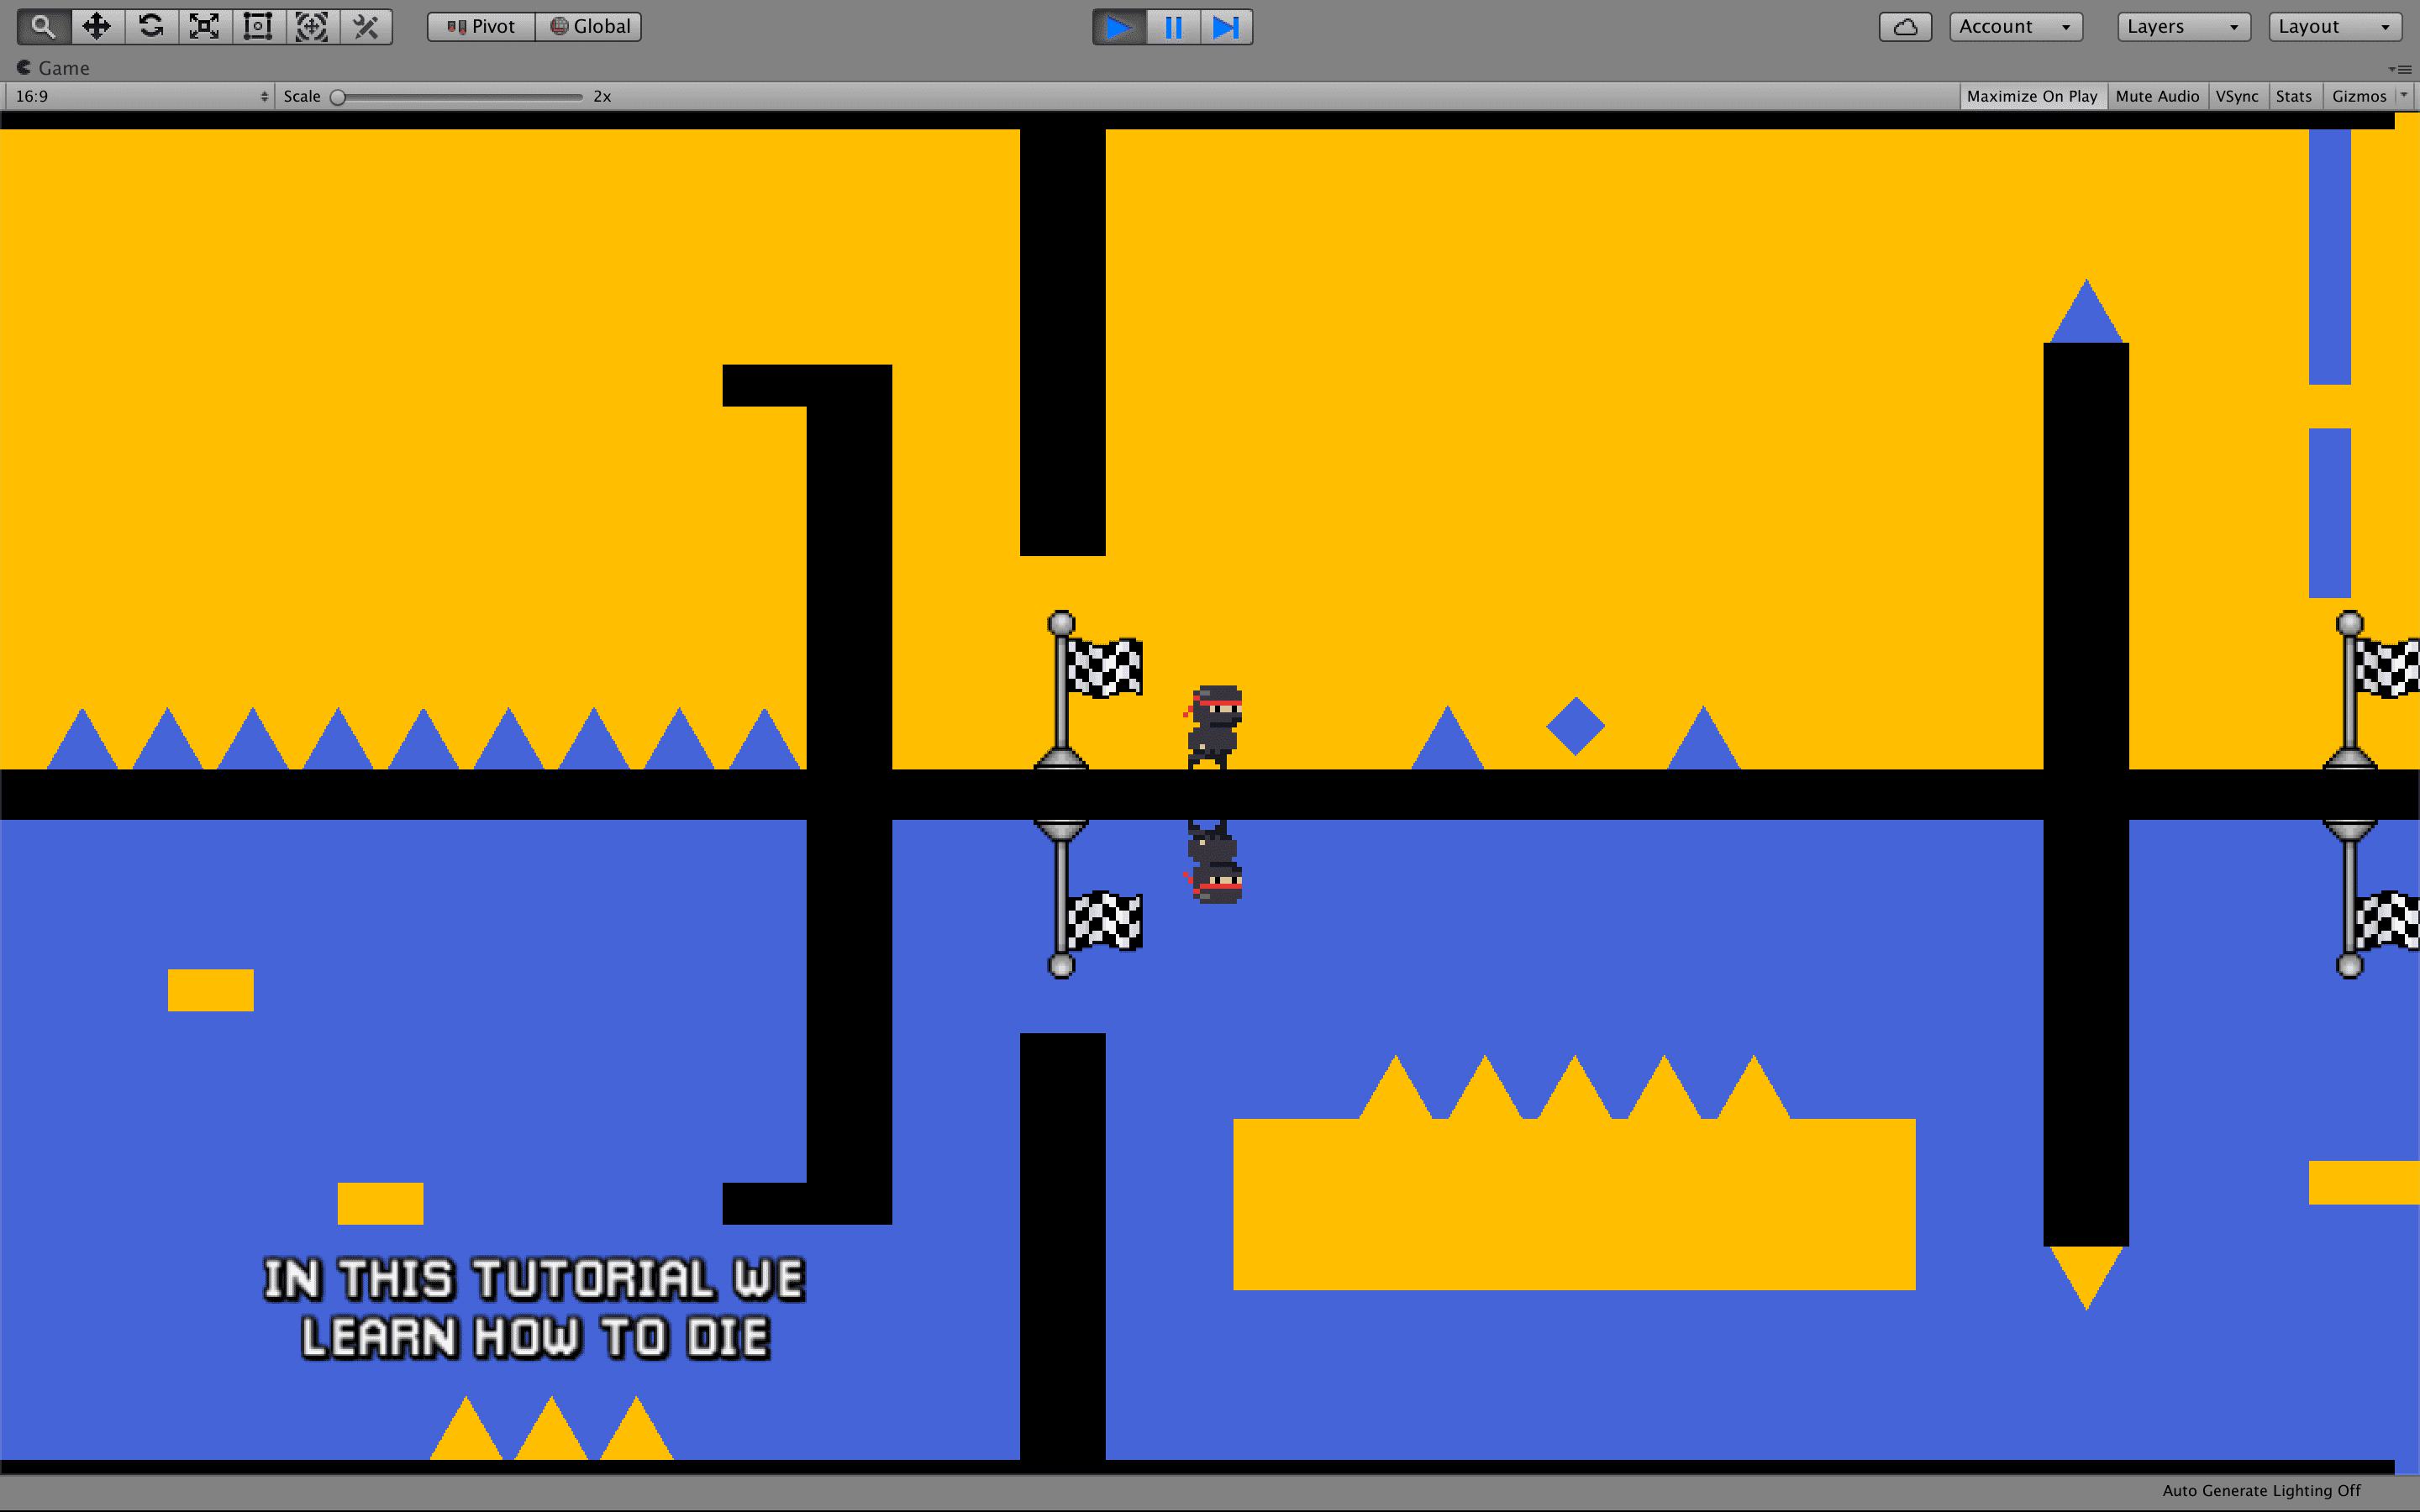
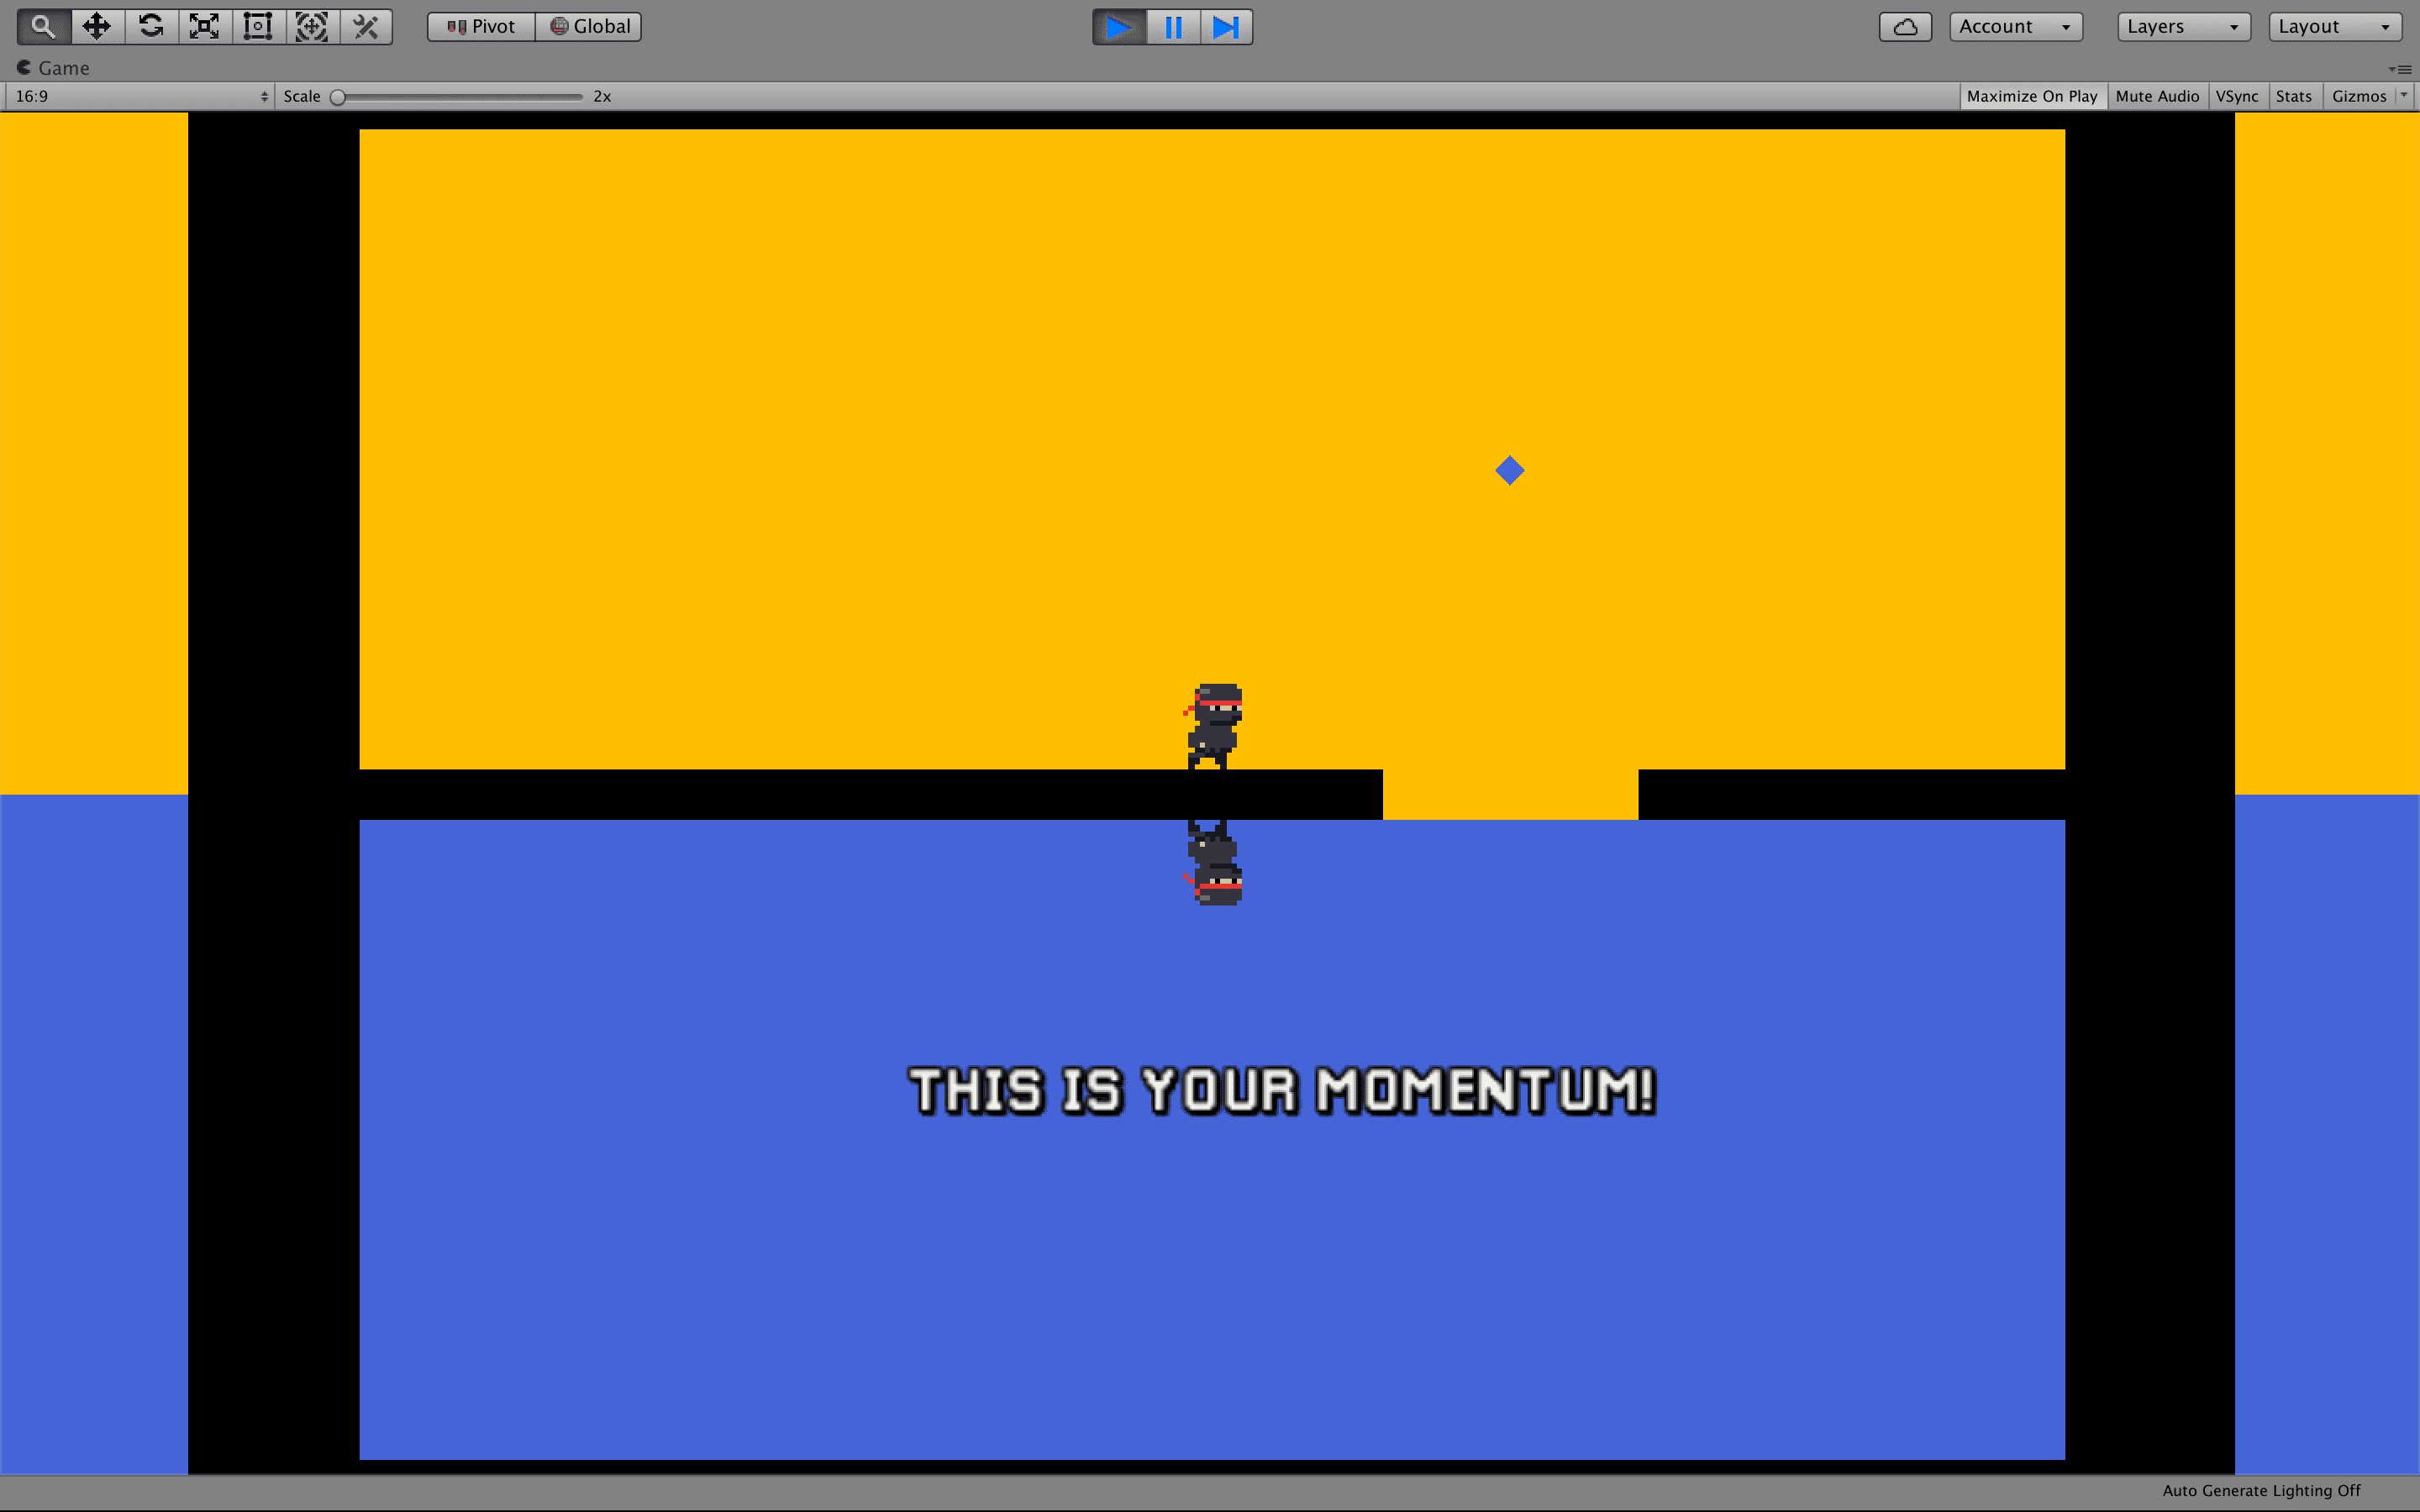
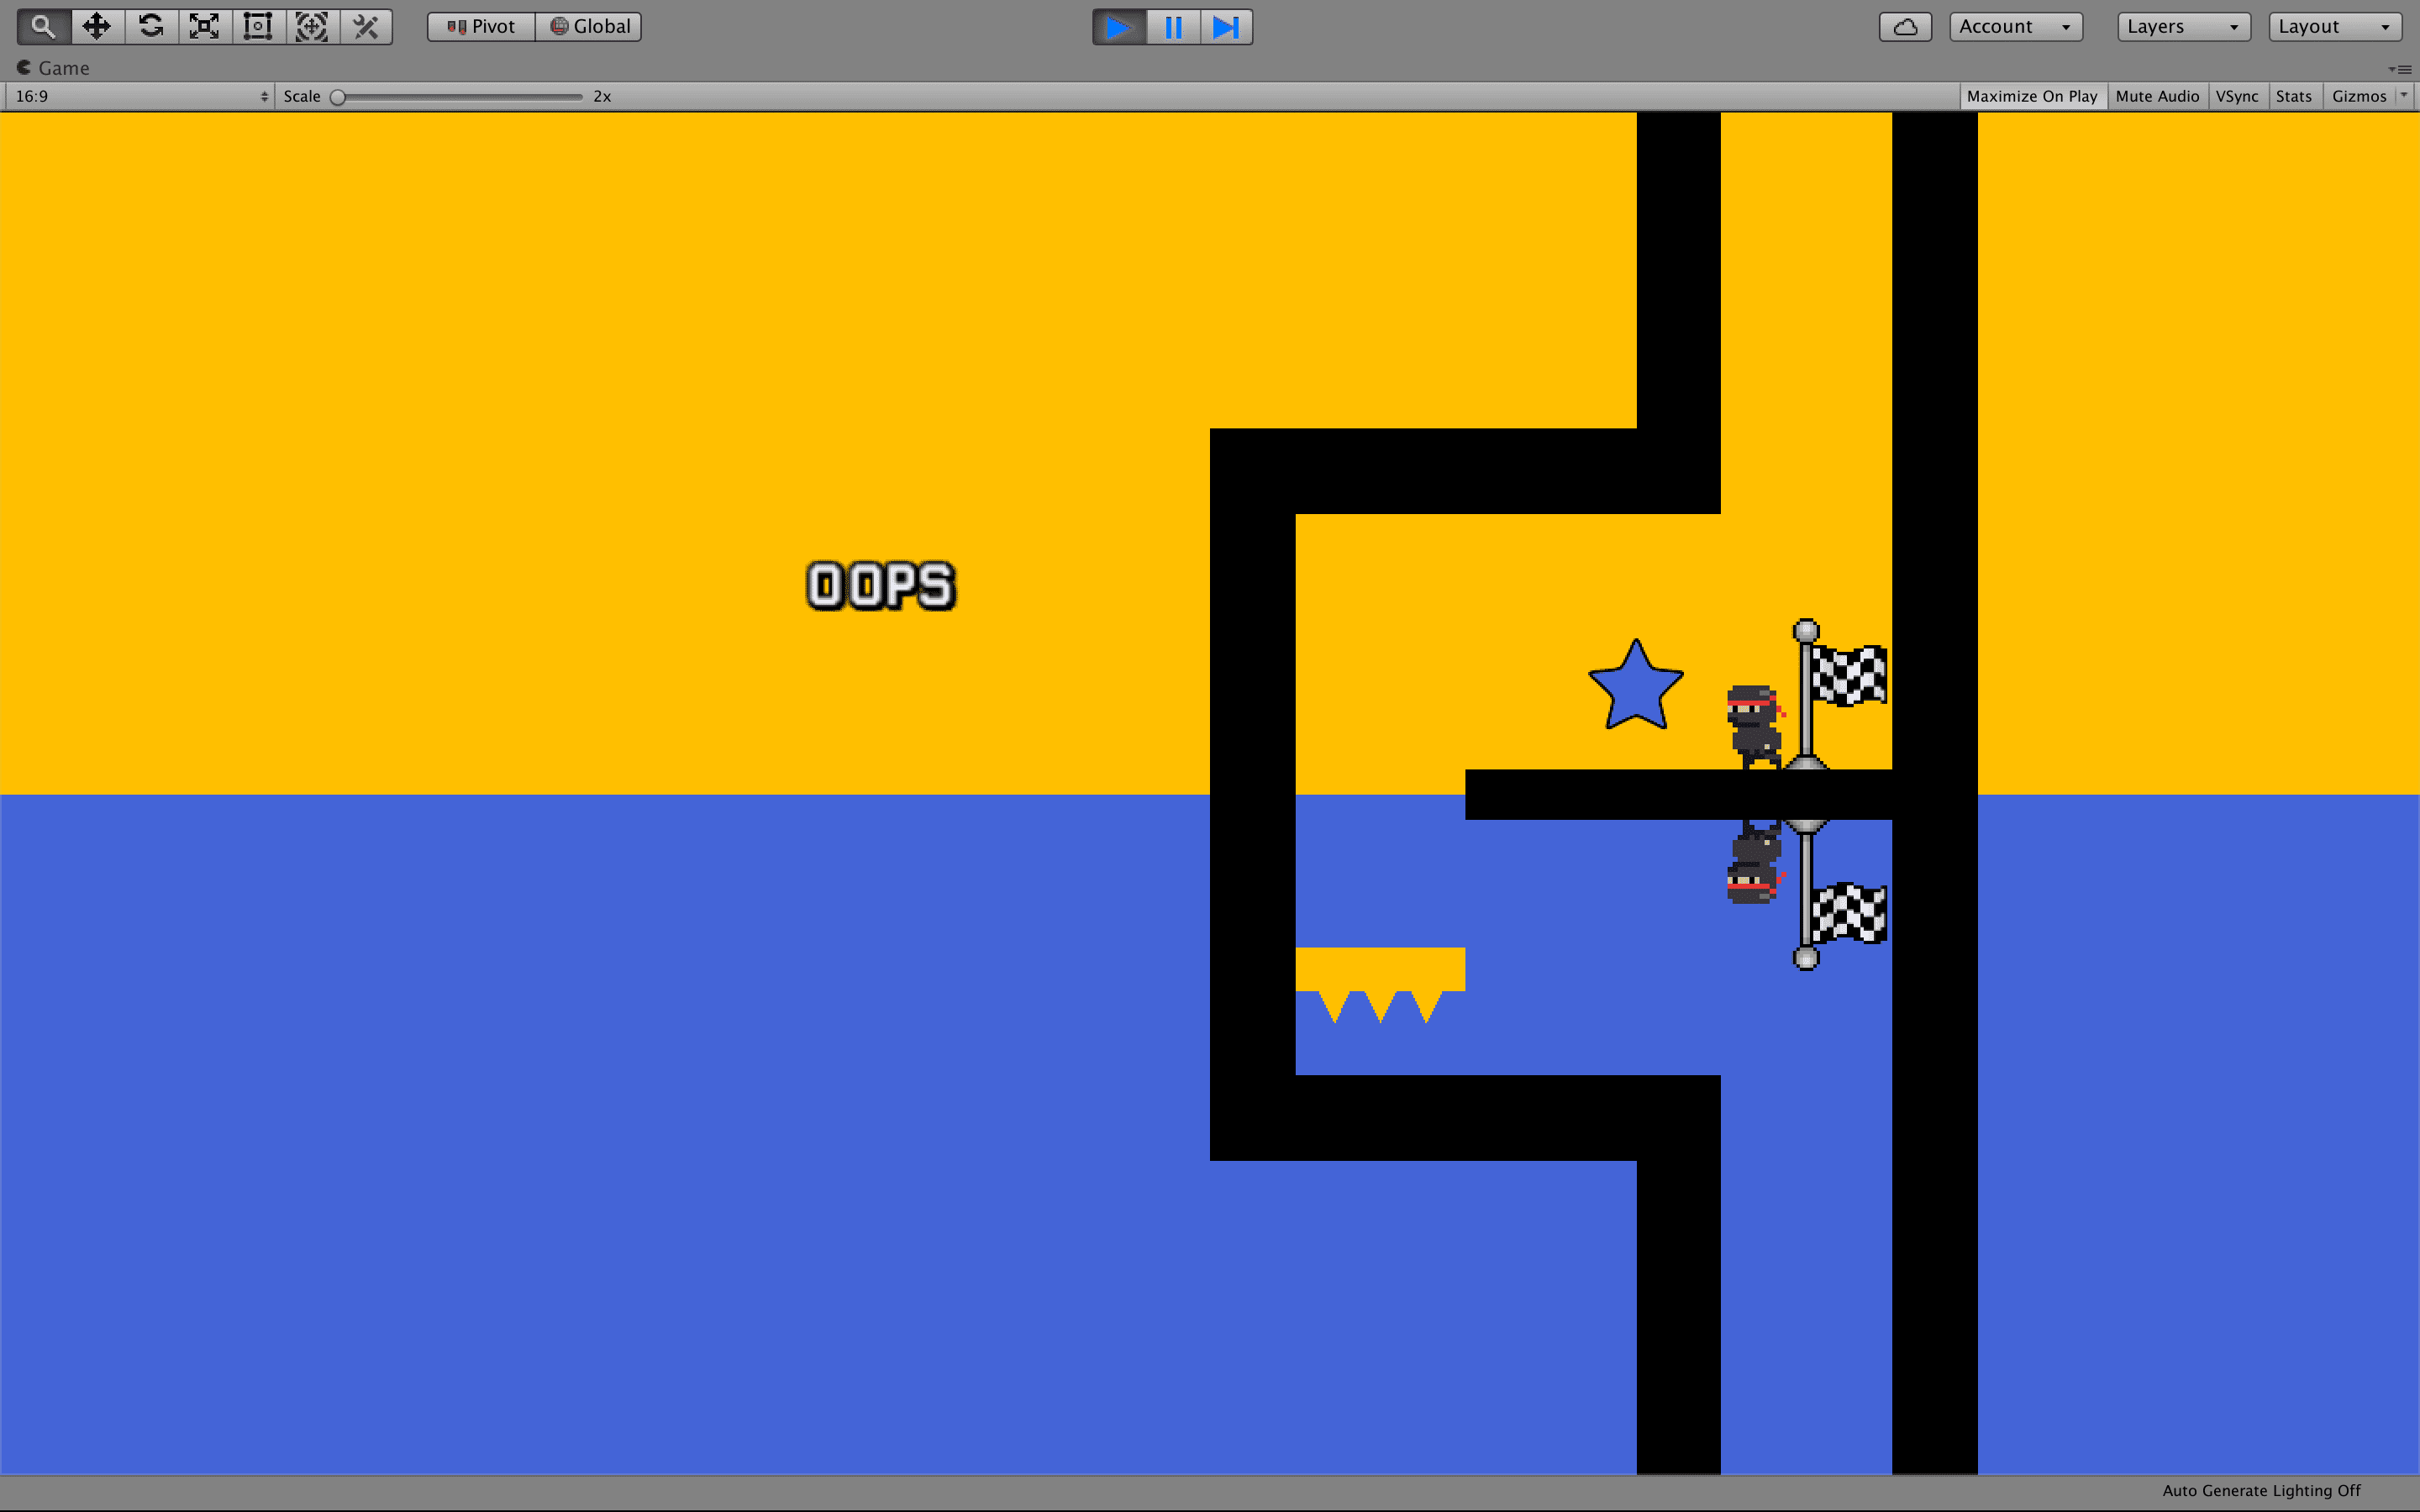
1C: a new area to better teach the multitasking aspect of the game.

1D: removed a blue platform and enlarged the yellow one.
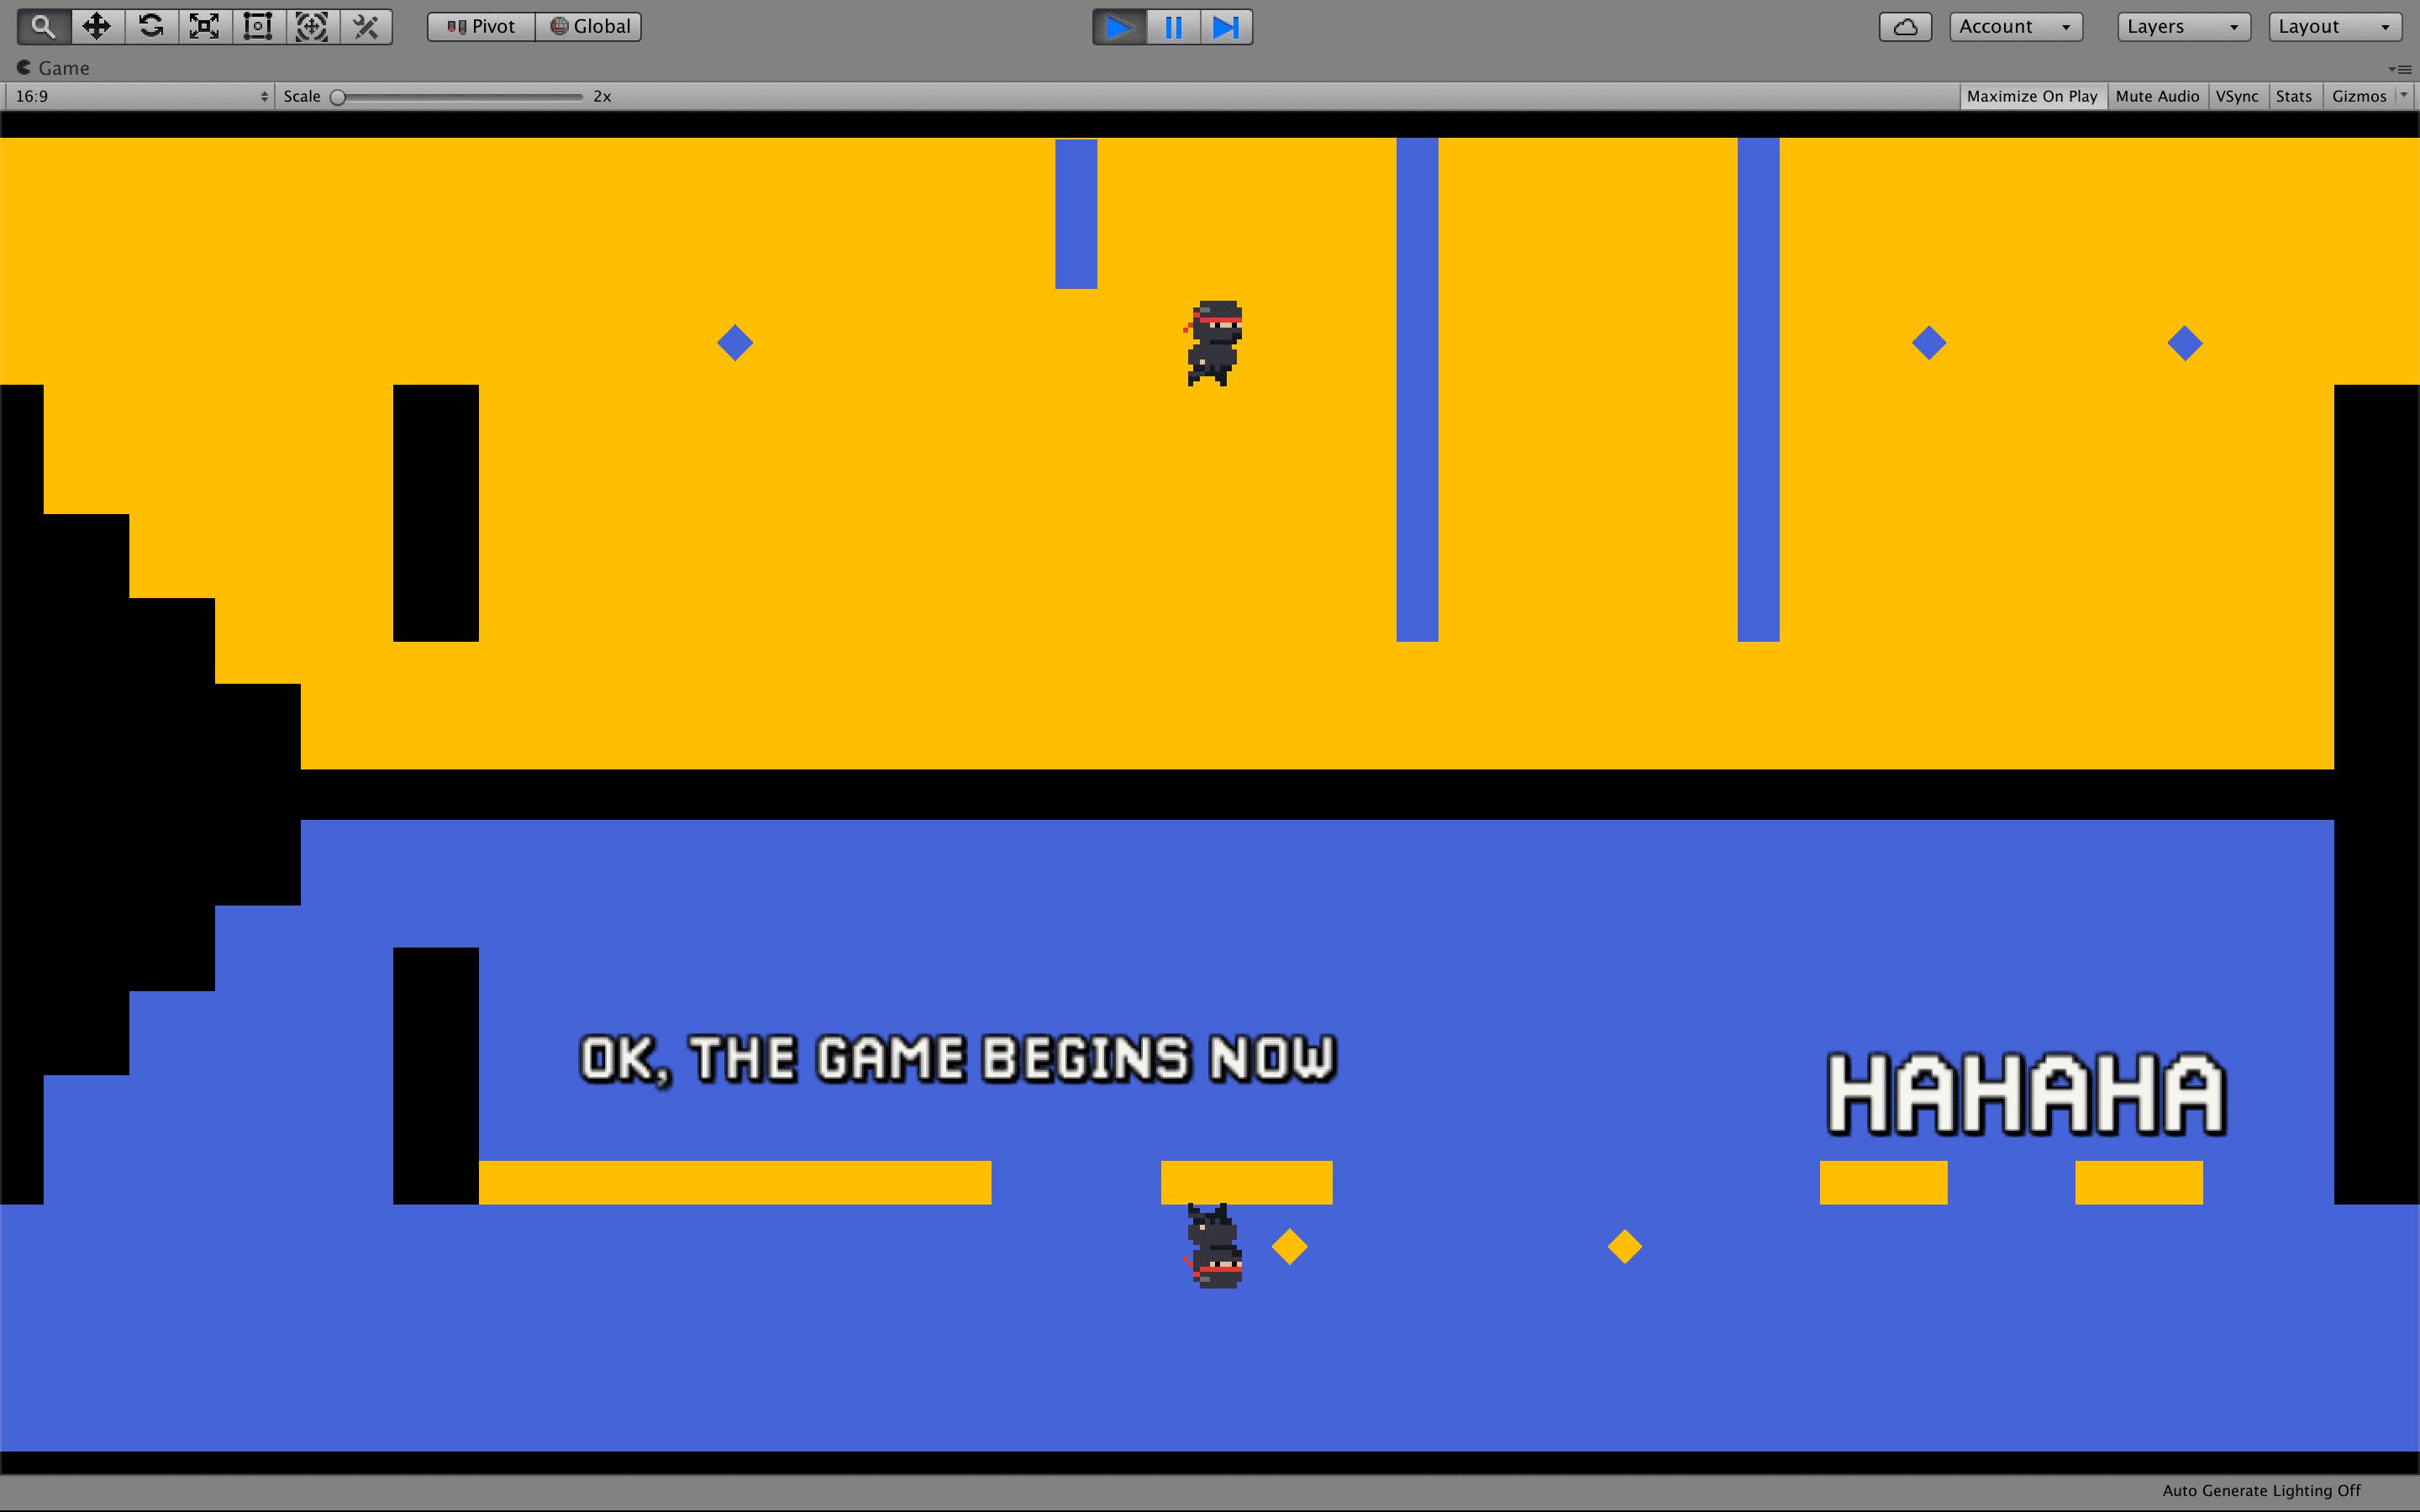
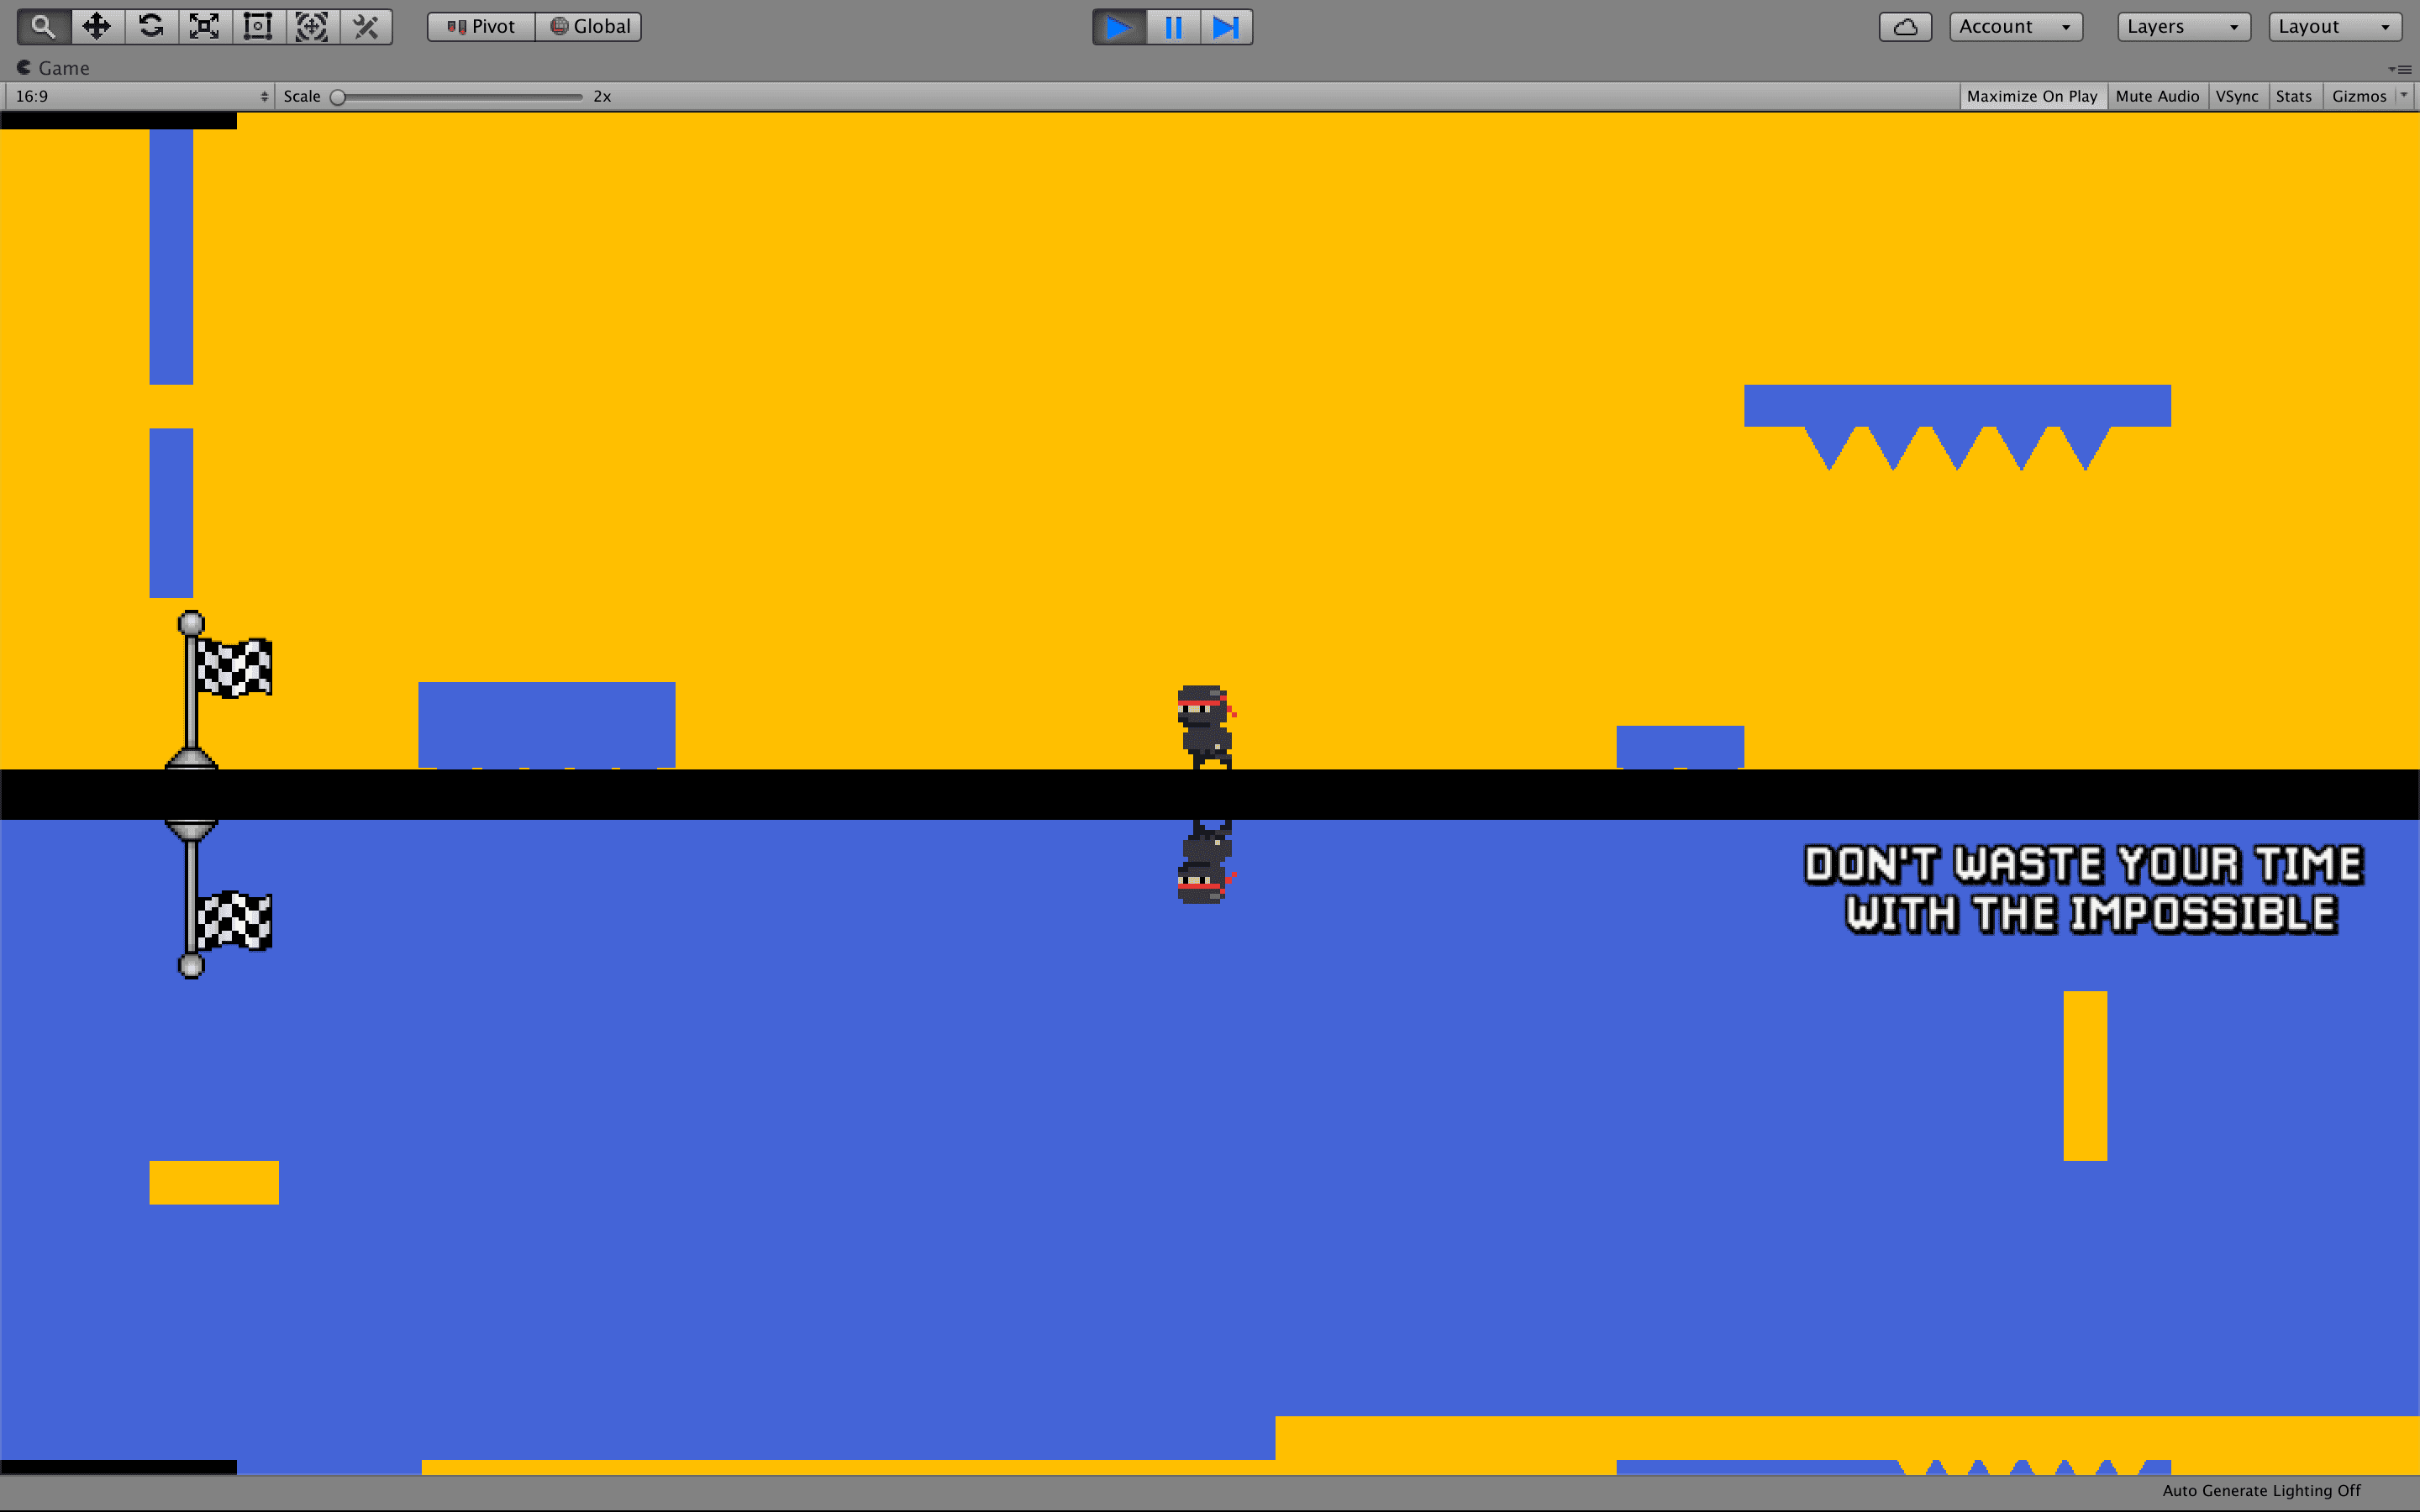
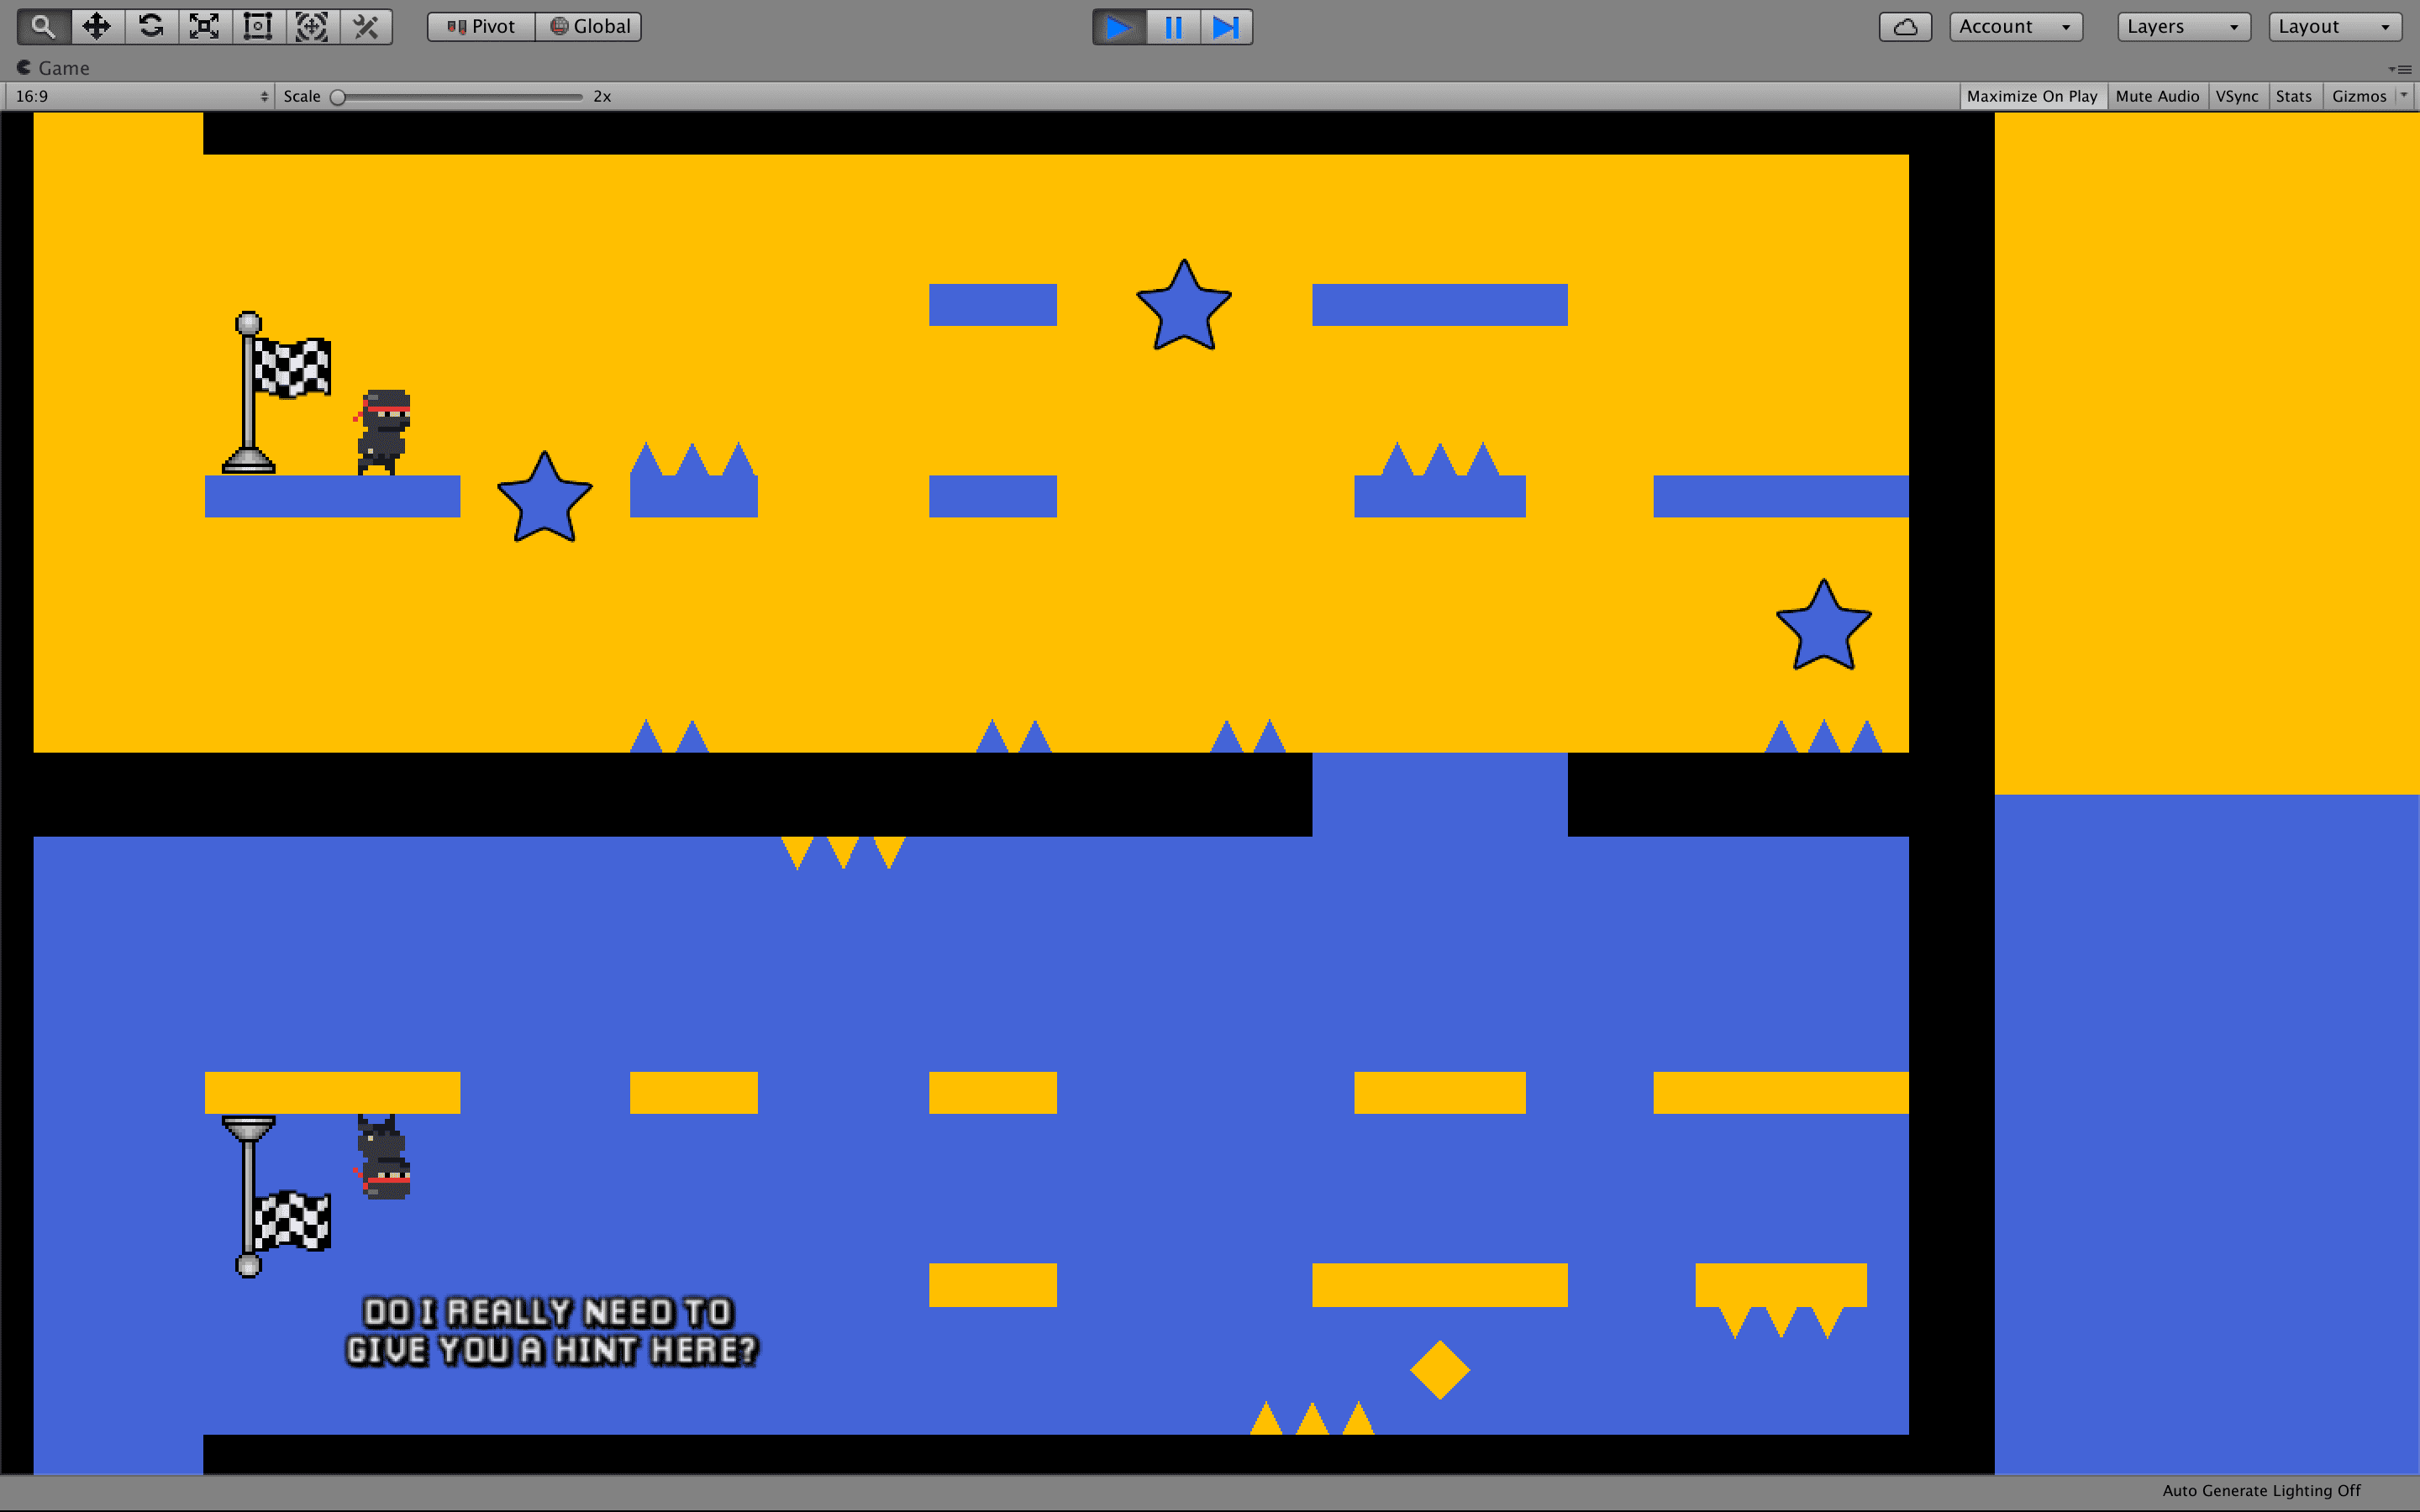
1E: new challenge: players have to do timed jumps to get the triggers and avoid the ones closer to the end.
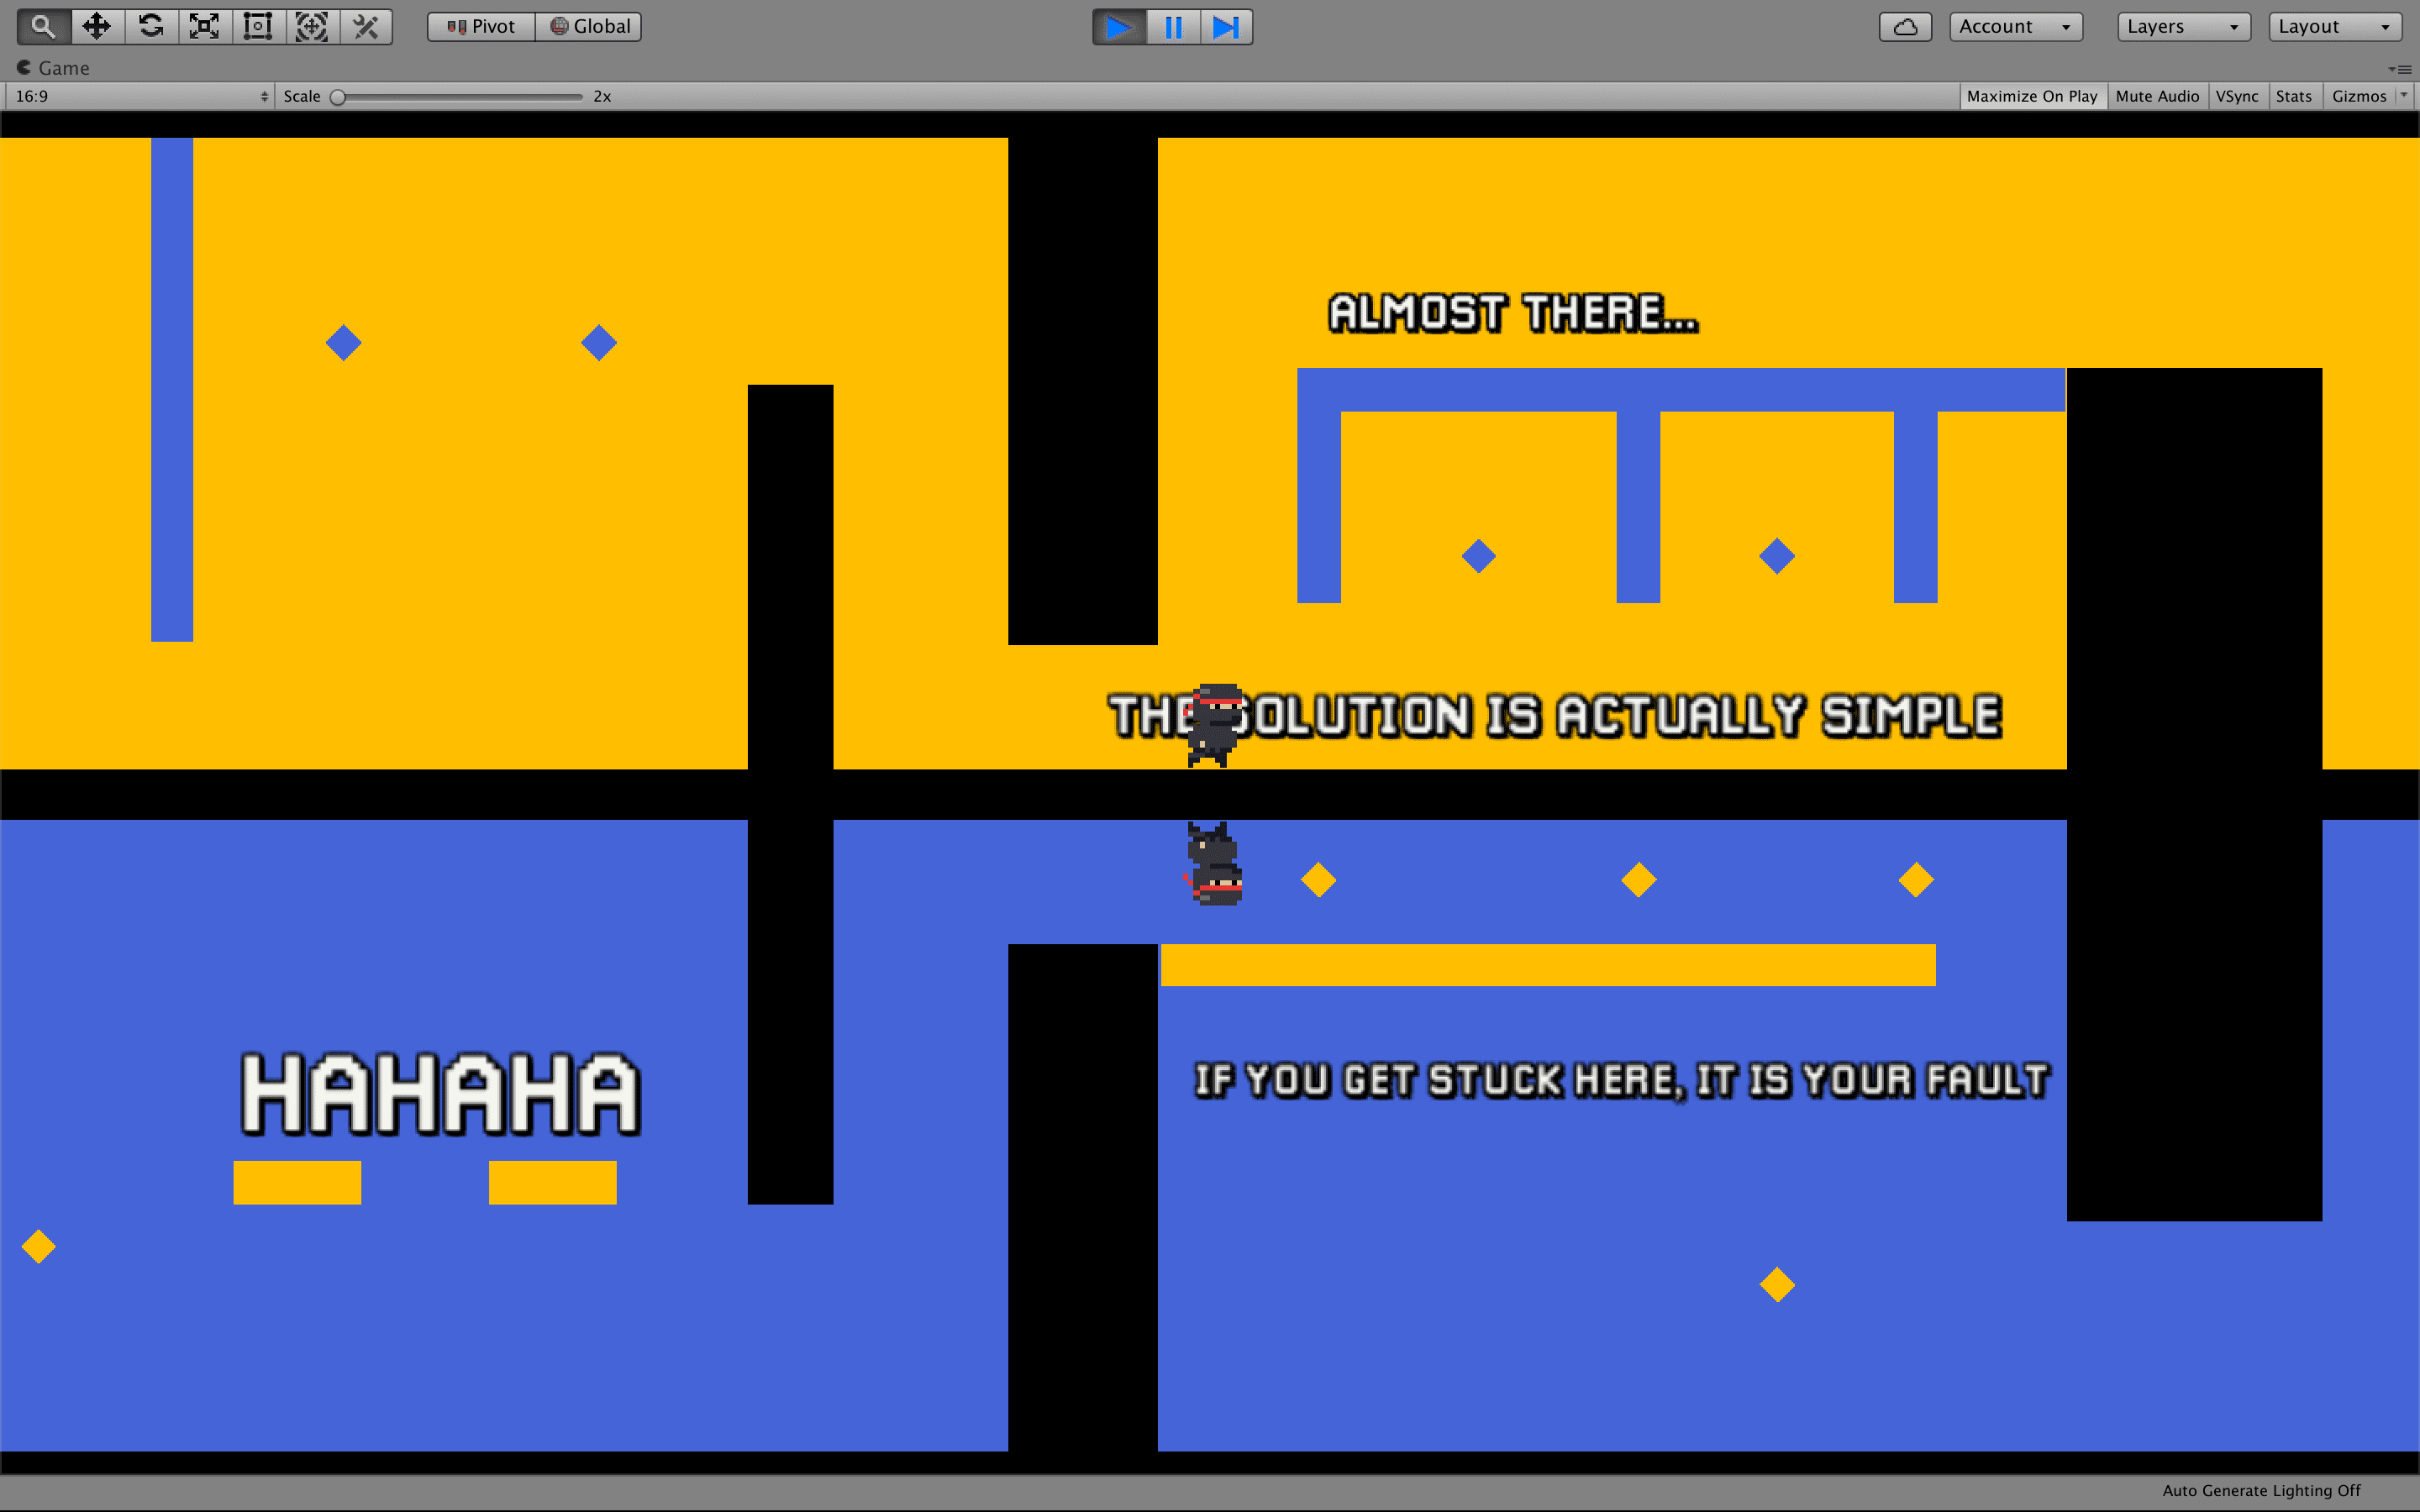
1F: shortened the original challenge and moved one diamond to trigger as a trap.
Level 2
(Video walkthrough)
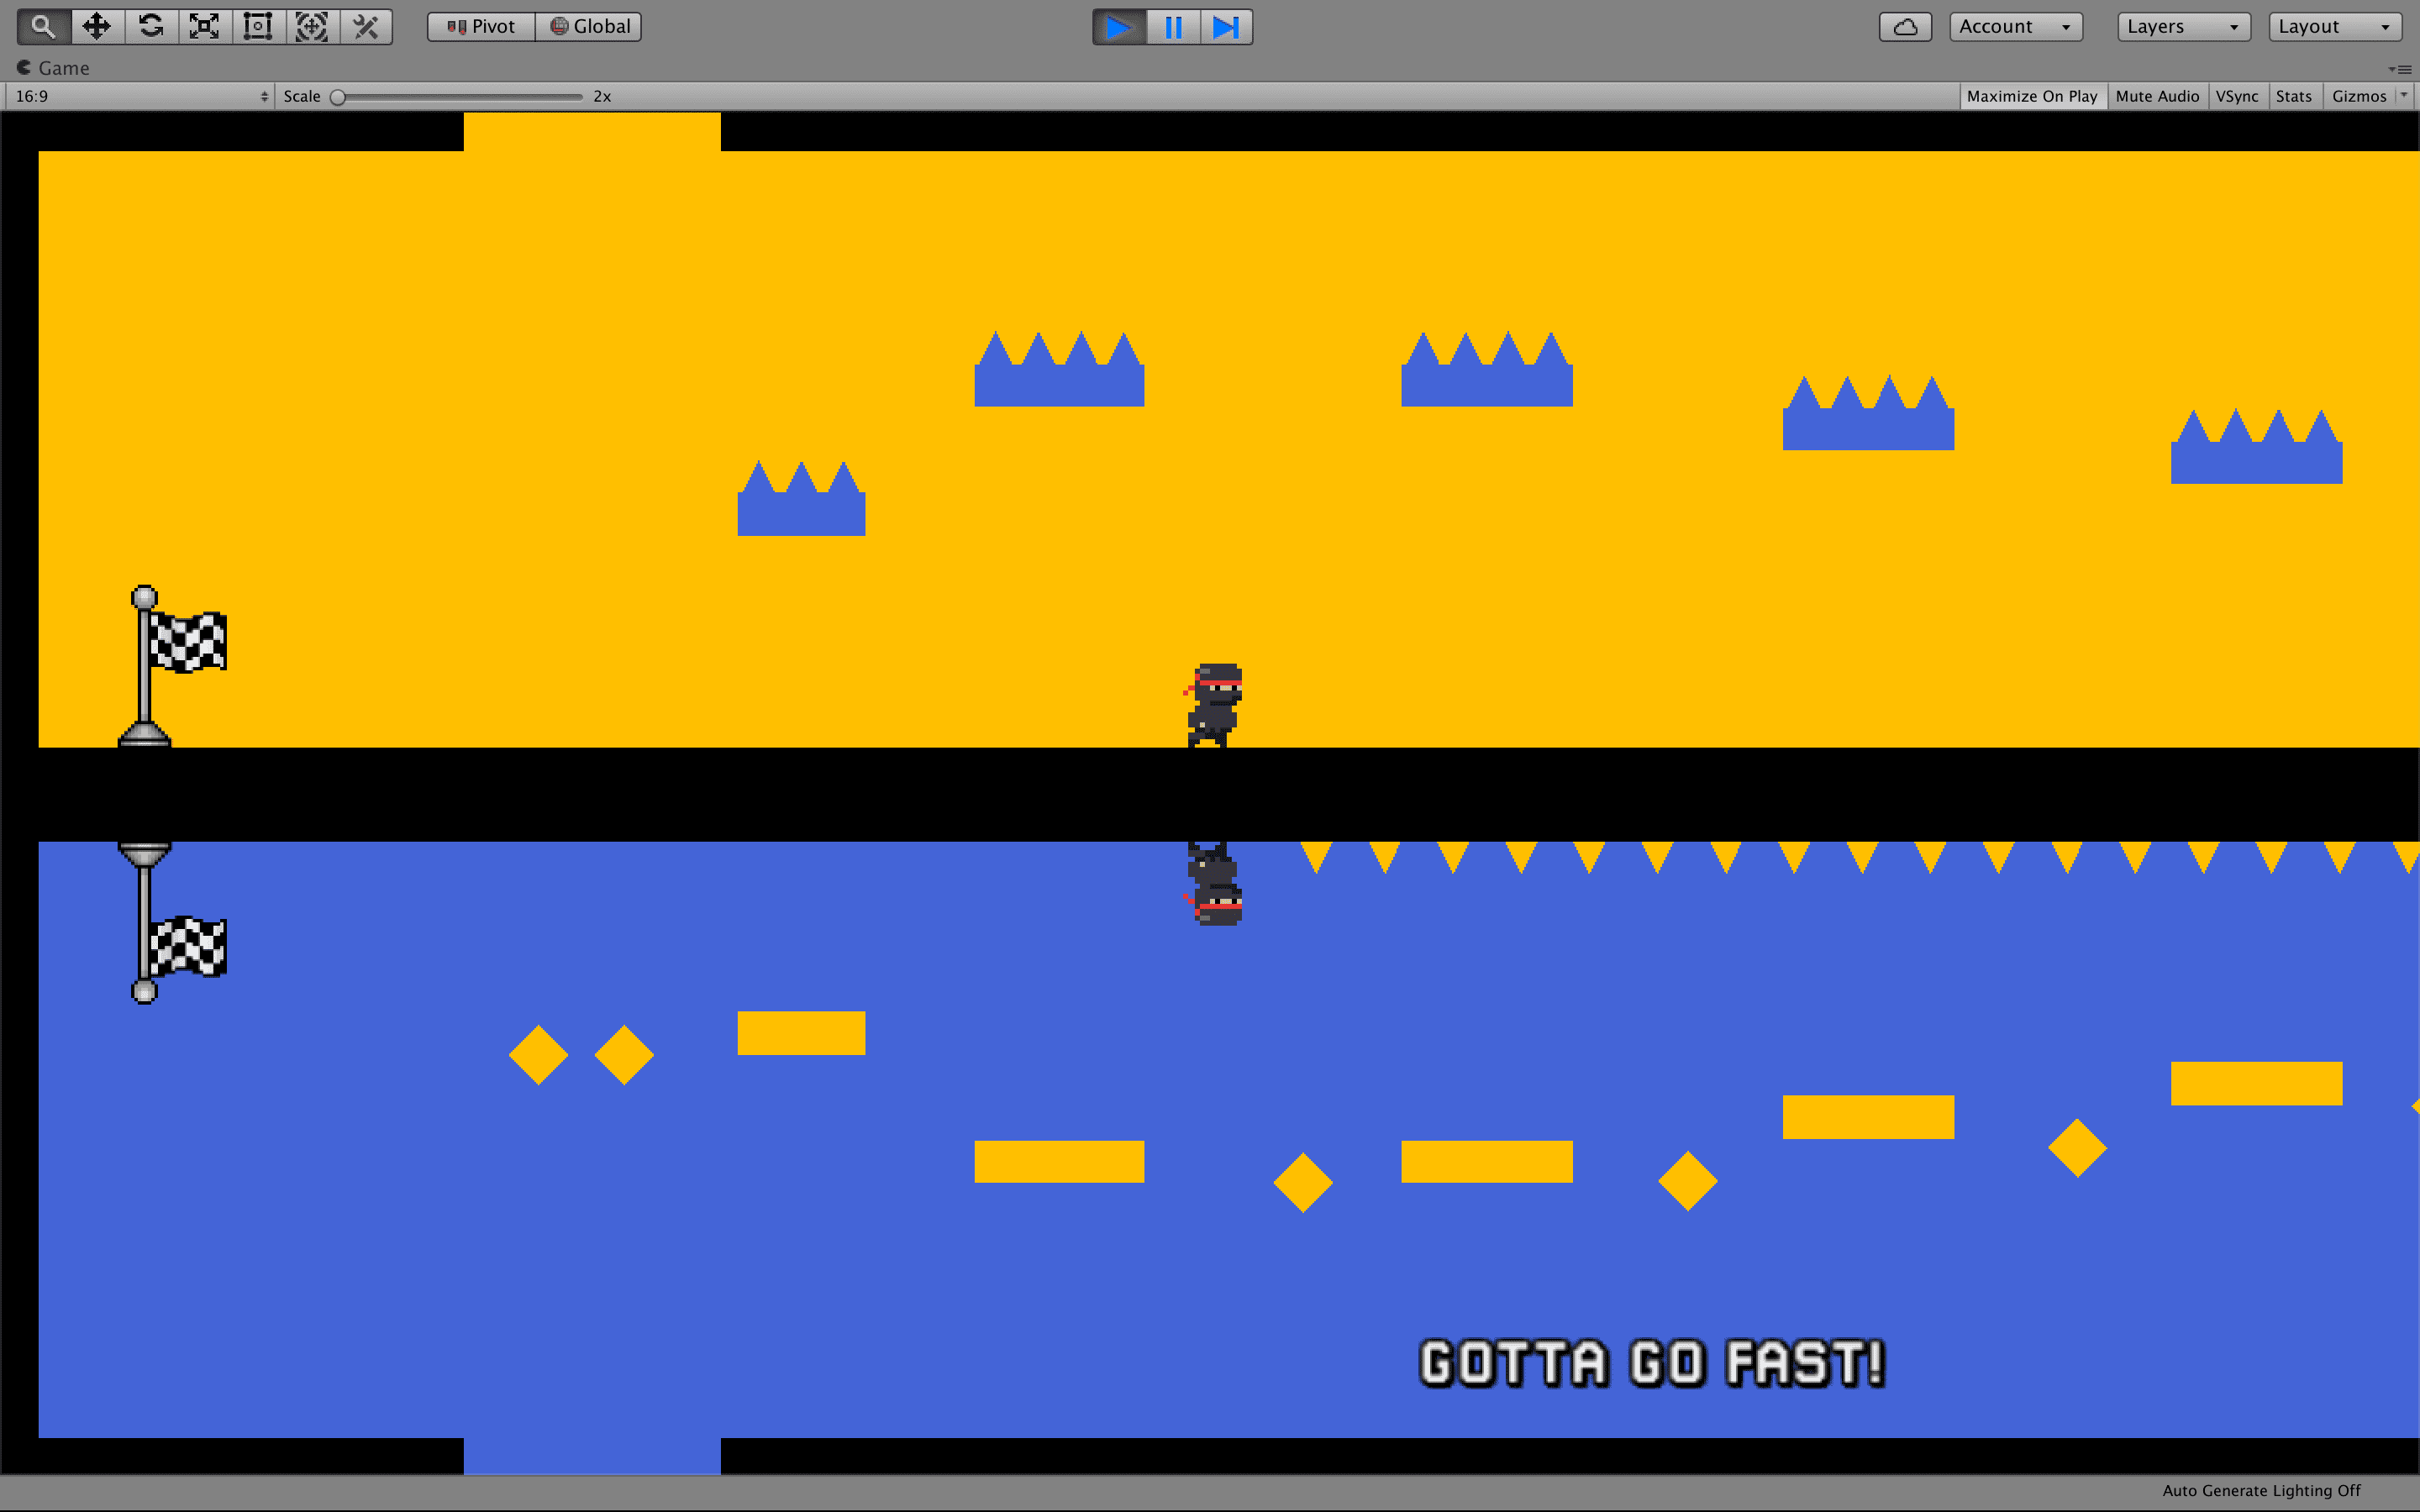
2A: reduced the number of spikes on the ceil and increased on the ground.
2B: shortened the space and added more spikes so players must die at least once to pass through.
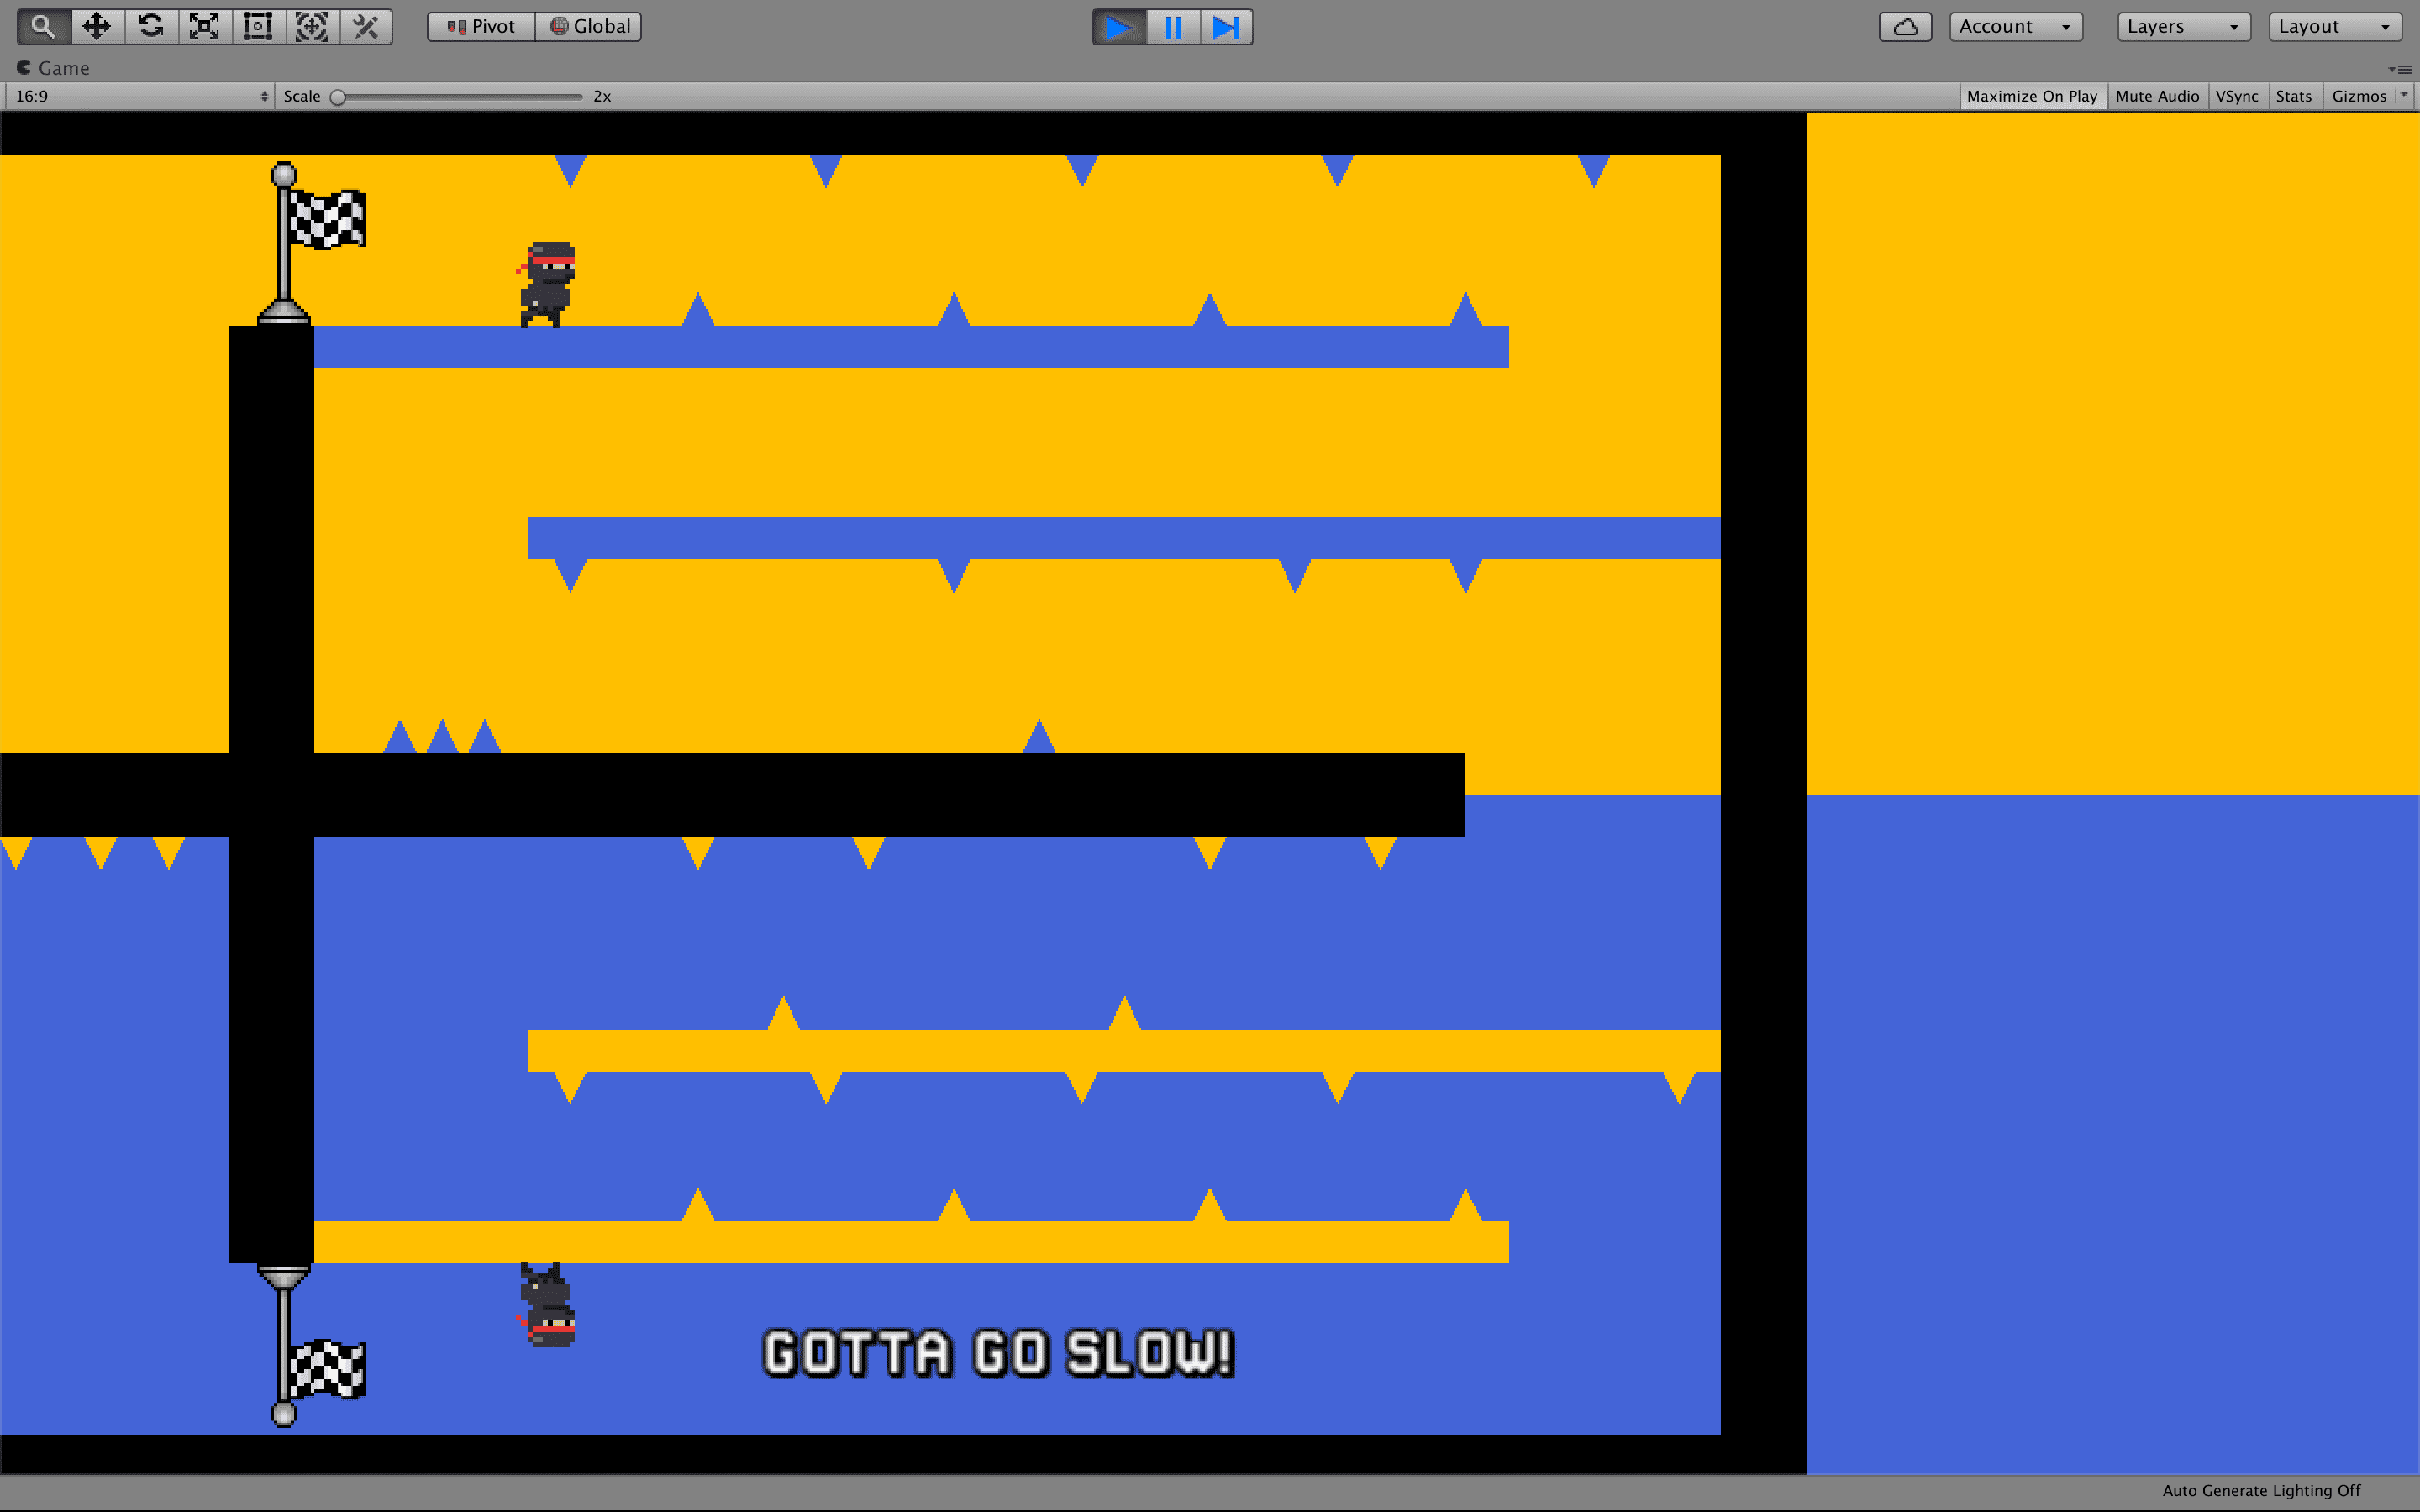
2C: better indications. Platforms were changed so that it is easier to climb up to the camera change area. The upper corridor now is a safe dead end. Reduced the length of the upper platform.

2D: new challenge: a simple tutorial in which players must activate the star at least two times to understand they function as a switch.

2E: added spikes and a wall to force players to interact with a star.

2F: no changes.
Level 3
(Video walkthrough)
3A: no changes.

3B: new challenge: players must trigger the correct stars, get the diamond and run towards the end.
3C: no changes.
3D: reduced the amount of spikes and decreased overall delay from the switches.
3E: changed some triggers' positions and added more triggers to make the challenge more linear.
3F: removed the first spike from the topmost row and changed the last row's layout to make it more challenging.

3G: small layout changes to facilitate in-air manouvering.